filmov
tv
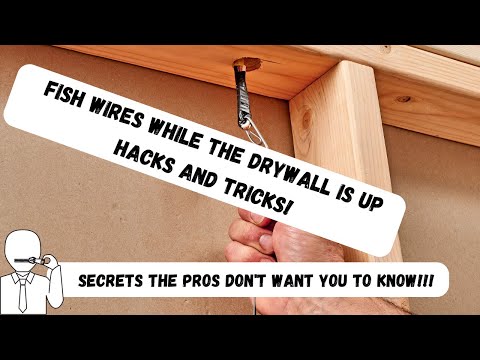
How To Run And Fish Electrical Wire Through Studs Inside Drywall! | DIY Tutorial For Beginners!

Показать описание
ITEMS I USED IN THIS VIDEO:
On this episode I'm going to show you How To Run And Fish Electrical Wire Through Studs Inside Drywall! DIY Tutorial For Beginners!
DO YOU HAVE QUESTIONS ON YOUR HOME REPAIR OR DIY PROJECT? GET TIPS, ADVICE AND ANSWERS! BECOME A FIX THIS HOUSE MEMBER!
FOR BUSINESS INQUIRES SEND TO:
FIX THIS HOUSE
P.O. BOX 2511
BREMERTON, WA 98310
UNITED STATES
FOR BUSINESS INQUIRES EMAIL ME AT:
DISCLAIMER:
Videos produced by Fix This House are provided for informational, educational and entertainment purposes only. Please use SAFETY precautions when following the tutorials on these videos. Viewers doing projects at their own home are doing it at their own risk and Fix This House cannot be held liable if they cause damage to their homes or injury. Fix This House cannot claim liability with all applicable laws, rules, codes and regulations for a project. Always stay informed of your local building codes! Happy and SAFE renovating!
DISCLAIMER: This video contains affiliate links, which means that if you click on one of the product links, I’ll receive a small commission.
#Outlet #Electricalwiring #Drywall
 0:14:48
How To Run And Fish Electrical Wire Through Studs Inside Drywall! | DIY Tutorial For Beginners!
 0:10:58
Uncommon Tricks to Fish Wire Through Walls and Ceilings Quickly | How To
 0:11:03
Fish Electrical Wire in Walls: The Secret to Easy Fishing! Running wires through existing walls.
 0:05:44
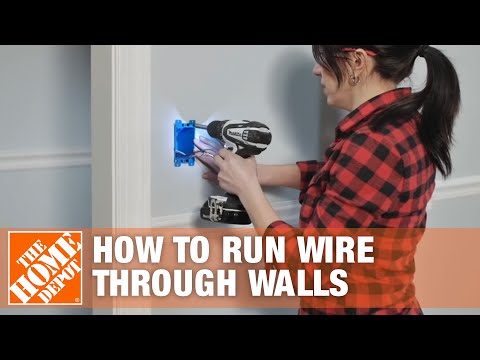
How to Run/Fish Electrical Wire Through Walls & Ceilings | The Home Depot
 0:11:42
How To Run And Fish Electrical Wire Through Inside Corner Studs Behind Drywall! DIY For Beginners!
 0:08:12
How To Fish Electrical Wires. 'SECRET OF THE PROS!' Tricks that Make Wire Fishing Easy!
 0:01:00
Electrician Quick Tip #4 - Fish Tape Trick
 0:04:28
Will the ocean ever run out of fish? - Ayana Elizabeth Johnson and Jennifer Jacquet
 0:08:18
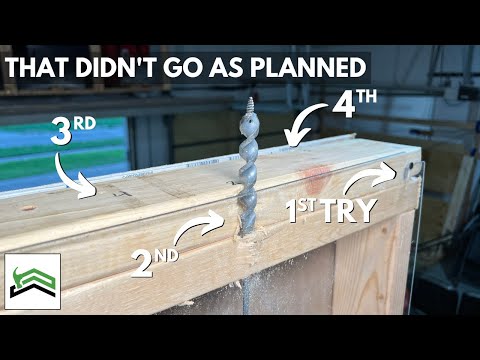
Using A Flexible Auger Bit To Fish Wires Through Walls
 0:10:42
How to Run/Fish Speaker Wire Through Walls and Ceilings
 0:11:39
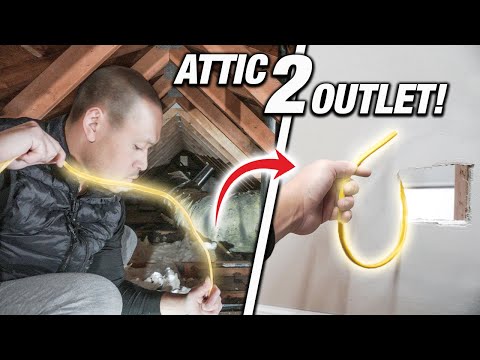
How To Fish And Pull Electrical Wire From Attic Or Crawlspace To Outlet! DIY Tutorial For Beginners!
 0:02:45
The Best Way to Run or Fish a Wire Through a Wall (Existing/Interior/Exterior) DIY Video
 0:02:41
Quickly Fish Wire Through Conduit
 0:00:28
How to ikejime a fish in under 30 seconds
 0:01:29
How to use a Fish Wire - CURT
 0:07:07
Wire Pulling Trick Everyone Needs to See: When the Fish Tape Fails, What You Do Next Will Shock You!
 0:03:41
HOW TO FISH CABLE WIRES THROUGH STUDS HORIZONTALLY USING FLEX DRILL BIT
 0:18:47
How to Run / Fish Wires Easily Through Ceiling for Power to Recessed Lights and Fans
 0:02:33
Golden Carp Fish Run Race - Stop motion Relaxing Catching Eggfish Cooking by Unique Fishing Cuckoo
 0:08:01
I Strapped A GoPro To A Fish!
 0:17:46
HOW TO Bobber Fish For SALMON. (IN DEPTH Salmon Fishing Tutorial)
 0:00:13
🔥🎣Carp Run and Fish Run🎣🔥#shorts #carpfishing #carp
 0:05:54
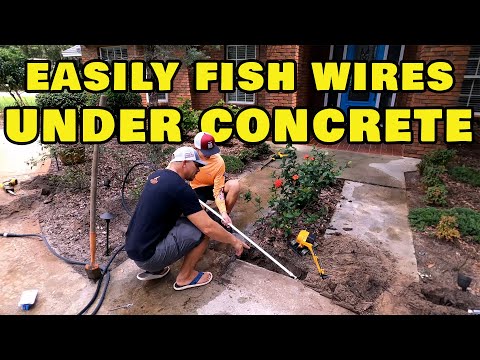
How To Easily Fish Wires Under Concrete Sidewalk
 0:06:51
How do I use a Fish Tape?
Комментарии