filmov
tv
How to Print Screen on windows 10
Показать описание
The print screen helps us to capture the display screen in Windows as an image. In this video, we will learn some steps to get a screenshot in Windows 10.
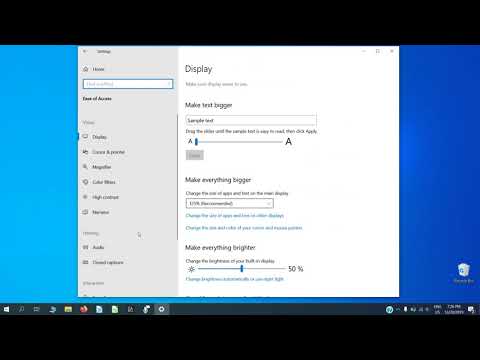
1. Open Settings and then click on Ease of Access.
2. Scroll down to the Interaction section on the left side and click on the Keyboard.
3. On the right side of the Keyboard settings, scroll down to the Print Screen shortcut.
4. Turn on the button if it showing off.
5. This will enable us to open the Snip & Sketch tool by using the Print Screen button on our keyboard.
6. Close the Settings window.
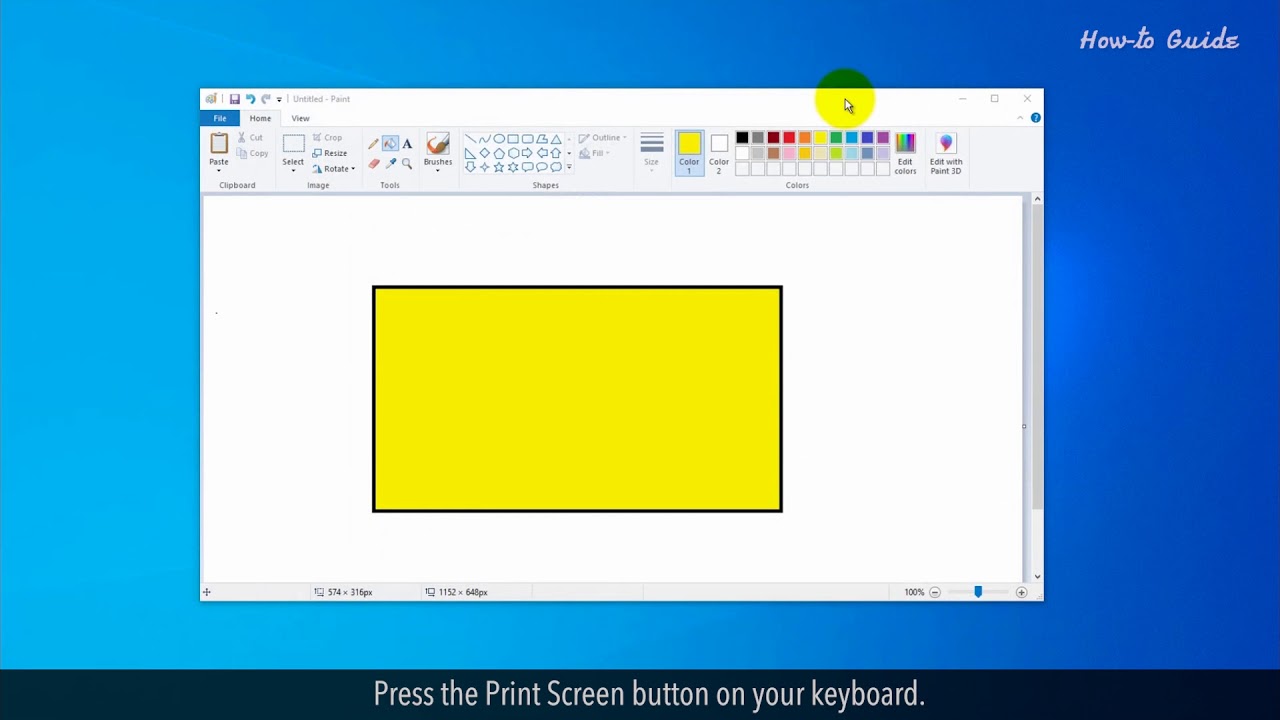
7. Press the Print Screen button on your keyboard.
8. You will notice that a toolbar of Snip & Sketch will open at the top.
9. Click on the Rectangular Snip tool, but you can also select the free-form, full-screen, and window snips tool from here.
10. Select the area that you want to take a print screen.
11. At the bottom right, you will see a notification that Snip saved to clipboard.
12. Click on it.
13. Now, click on the Save file icon to save your Print screen at the top right in the Snip & Sketch window.
Thank you for watching this video. Please subscribe to our channel.
Content in this video is provided on an "as is" basis with no express or implied warranties whatsoever. Any reference of any third party logos, brand names, trademarks, services marks, trade names, trade dress and copyrights shall not imply any affiliation to such third parties, unless expressly specified
1. Open Settings and then click on Ease of Access.
2. Scroll down to the Interaction section on the left side and click on the Keyboard.
3. On the right side of the Keyboard settings, scroll down to the Print Screen shortcut.
4. Turn on the button if it showing off.
5. This will enable us to open the Snip & Sketch tool by using the Print Screen button on our keyboard.
6. Close the Settings window.
7. Press the Print Screen button on your keyboard.
8. You will notice that a toolbar of Snip & Sketch will open at the top.
9. Click on the Rectangular Snip tool, but you can also select the free-form, full-screen, and window snips tool from here.
10. Select the area that you want to take a print screen.
11. At the bottom right, you will see a notification that Snip saved to clipboard.
12. Click on it.
13. Now, click on the Save file icon to save your Print screen at the top right in the Snip & Sketch window.
Thank you for watching this video. Please subscribe to our channel.
Content in this video is provided on an "as is" basis with no express or implied warranties whatsoever. Any reference of any third party logos, brand names, trademarks, services marks, trade names, trade dress and copyrights shall not imply any affiliation to such third parties, unless expressly specified
 0:00:39
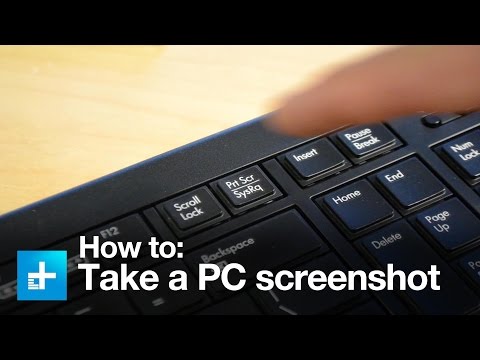
How to take a screenshot on a PC or laptop with Windows
 0:00:28
Windows 10 - How to enable print screen key
 0:00:27
How to Screenshot on PC
 0:03:02
How to Print Screen [Quick Guide]
 0:02:12
How to Print Screen Without Printscreen Button [Guide]
 0:05:39
How to Take a Screenshot on Windows 10
 0:03:30
How to take a screenshot on a PC or Laptop any Windows
 0:00:50
HOW TO TAKE SCREENSHOT IN HP LAPTOP | HOW TO PRINT SCREEN IN HP ELITE BOOK LAPTOP | SCREENSHOT IN HP
 0:03:43
Using the Creality Ender 3 V3 SE to print a case for my 7 inch Home Assistant Display
 0:00:36
Enable Print Screen Shortcut for Snipping tool in Windows 11
 0:01:29
How to Print Screen on windows 10
 0:04:45
Windows 10 - Screenshots - How to Take a Screenshot - Print Screen in Computer on PC Laptop Tutorial
 0:01:01
How to take a screenshot on a 60% keyboard #shorts
 0:02:34
How to Print Screen (Screenshot) on a Windows Laptop
 0:00:36
How To Print Screen On Computer
 0:00:53
How to Screenshot on PC
 0:09:50
How to Print Screen, Capture or Save Any Screen Content - Ask a Tech #3
 0:10:22
💻 How to Screenshot on Laptop or PC with Windows
 0:00:50
Stop Snipping Tool ✂️ When Pressing Print Screen Key Windows 11 Defaults How To
 0:01:11
How to Take a Screenshot on Your Mac | Mac Basics
 0:02:42
How to solve Print Screen Not Working in Windows 10/11
 0:02:07
Windows 10: Fastest Way to Take a Screenshot / Screen Capture / Print Screen
 0:00:28
How to print Screen on Windows with a Mac
 0:02:30
How-to: Screen Capture on a Mac (Print Screen / Screenshot) Basic Keystroke + Advanced Commands
Комментарии