filmov
tv
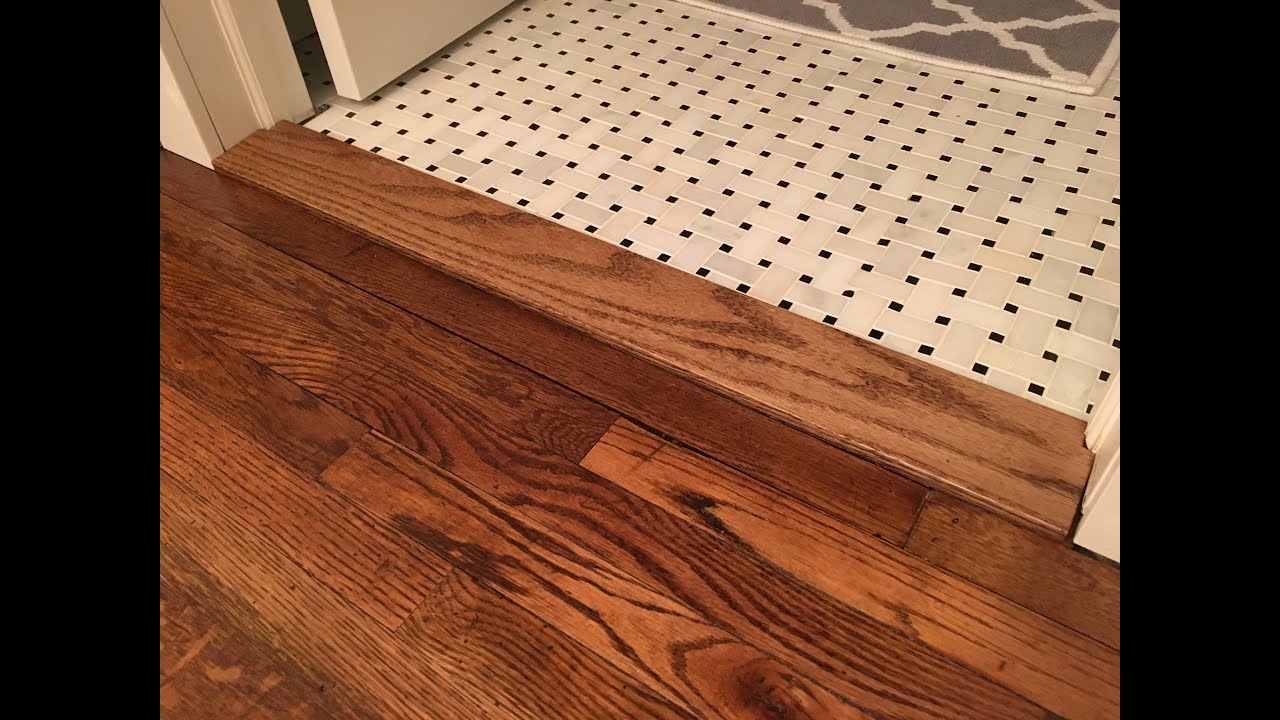
Building a Custom Floor Transition Threshold - Kraftmade
Показать описание
Building a custom threshold from my dining room to bathroom
 0:00:59
Custom flooring transition #diy #carpentry
 0:04:33
Building a Custom Floor Transition Threshold - Kraftmade
 0:05:50
Say GOODBYE to Uneven Floors with This Easy Transition Trick!
 0:00:59
How to Make a Semi Custom Floor Transition || Easy Fast Project #shorts
 0:04:11
HOW TO MAKE CUSTOM THRESHOLDS FOR WOOD FLOORING - HOW TO - DIY - MAKE DOORWAY MOLDING ALL FLOORING
 0:10:04
Making Your Own Flooring Transition Pieces
 0:02:33
DIY - Making A Flooring Transition Piece - Woodworking
 0:00:12
Homemade transition between bedroom/hallway #diyprojects #diy #flooring #floor #tile #home #homemade
 0:00:50
Tile to hardwood transition
 0:04:20
HOW TO MAKE A FLOORING TRANSITION FOR TWO FLOORS THAT ARE DIFFERENT HEIGHTS
 0:08:55
How To Install Transition Strip Up To 1 Inch Tall On Tile, Vinyl, LVP, Laminate And Wood Flooring!
 0:00:52
How to transition a thick tile floor
 0:12:42
How to DIY make your own Step Up Transition strip From LVP to Tile Floor
 0:02:31
Instructions: Self-assembly of HARO Premium transition moulding Type 888 Flex
 0:00:36
What is a T-MOLD? Flooring Quick Tip (Transition Molding)
 0:00:58
Another Way To Make a Custom Floor Transition || Video Clip
 0:00:13
custom oak threshold
 0:12:44
Build a transition strip to make up height between two floor levels
 0:00:52
How to make a wooden Steller Floor Transition #diy #hardwoodfloors #home #construction
 0:00:24
What Is A REDUCER? Flooring Quick Tip (Transition Molding)
 0:00:34
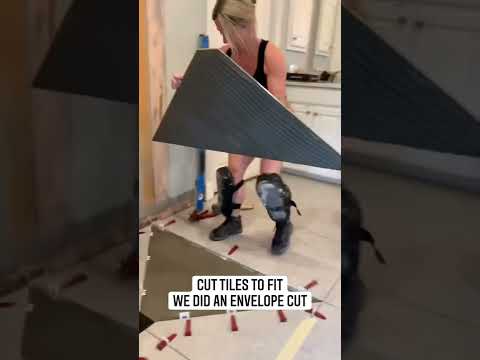
30 second curbless shower #shorts #shortsvideo #diy #tile
 0:11:11
How to Make Your Own Wood Floor Transition Strips
 0:00:18
Quick Laminate Flooring Hack
 0:00:41
Installing a custom flooring transition #diy #renovation #construction #remodel #bathroomremodel
Комментарии