filmov
tv
Transfer micropython program to esp8266 using thonny
Показать описание
to transfer a micropython program to an esp8266 using thonny, follow these steps:
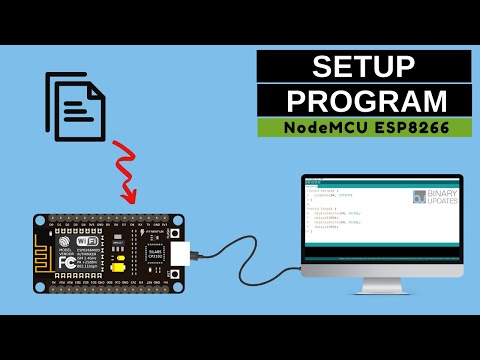
1. connect your esp8266 board to your computer using a usb cable.
2. open thonny ide on your computer.
3. click on the "interpreter" drop-down menu at the top of the thonny ide window and select "micropython (esp8266)" as the interpreter.
4. click on the "open" button to open the micropython repl (read-eval-print loop) prompt.
5. write your micropython program in the thonny ide editor.
6. to transfer the program to the esp8266 board, click on the "file" menu and select "save as" to save the program to your computer.
7. once the program is saved, click on the "file" menu again and select "transfer to micropython device."
8. thonny will transfer the program to the esp8266 board, and you should see the program running on the board.
here is an example of a simple micropython program to blink an led connected to gpio 2 on an esp8266 board:
save this program in thonny and follow the steps above to transfer it to your esp8266 board.
please note that the gpio pin numbers on esp8266 boards may vary, so make sure to check the pinout diagram of your specific esp8266 board to ensure you are using the correct gpio pin for your led.
...
#esp8266 python firmware
#python flash esp8266
#circuitpython esp8266
#python connect to esp8266 server
#python esp8266
esp8266 python firmware
python flash esp8266
circuitpython esp8266
python connect to esp8266 server
python esp8266
esp8266 i2c lcd python
esp8266 python ide
esp8266 python web server
esp8266 micropython projects
esp8266 python example
micropython python unterschied
python install micropython
python vs micropython vs circuitpython
python micropython const
windows python micropython
micropython python library
python to micropython converter
python micropython difference
 0:05:42
 0:06:23
 0:11:27
 0:06:55
 0:04:24
 0:01:00
 0:05:28
 0:05:28
 0:18:06
 0:08:54
 0:05:35
 0:04:19
 0:08:53
 0:21:14
 0:01:40
 0:09:22
 0:08:10
 0:00:14
 0:11:16
 0:12:21
 0:18:46
 0:09:25
 0:00:22
 0:04:42