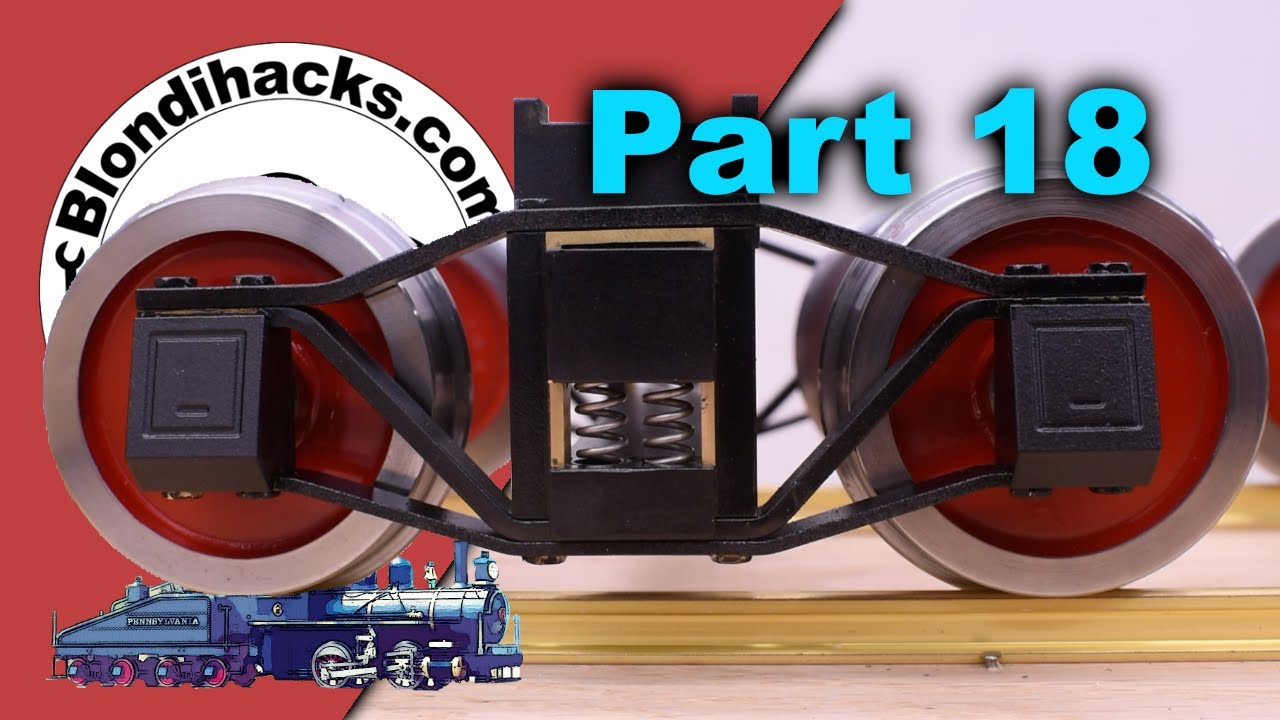
Railroad Trucks! Pennsylvania A3 Switcher, Part 18

preview_player
Показать описание
This episode on Blondihacks, I’m finishing the tender trucks! Exclusive videos, drawings, models & plans available on Patreon!

Here are links for many of the tools that you see me using:
(I earn small commissions on these links)

As an Amazon Associate, I earn from qualifying purchases.
Рекомендации по теме
Комментарии
Автор

Hey everyone! Lots of folks asking why you can’t leave the clamps on the stack, flip it over and machine the other side. That doesn’t work because you have to tap in the stack after flipping it, and clamps can’t hold against that tapping. The parts move differentially and you don’t end up with accurate cuts on all pieces. What DOES work though is supergluing them together and doing all the machining as a stack. I figured that out after this video and you’ll see me do it later in this series.

Lots of people also ask why brass. It’s a lot less work to machine and form than steel is, mainly. It’s the traditional model engineering material for this reason. Every operation you see here is three times as much work in steel. Aluminum would not be strong enough.

Blondihacks
Автор

My Dad is a machinist for over 30 years and i showed him your channel, well he has been binge watching your videos all weekend while off.. Now my Mom is calling screaming she can not get him to go anywhere all weekend.. lol sorry mom... but your welcome dad...

theabhominal
Автор

You are, without a doubt, the most articulate technical person I’ve ever seen on YouTube. You would be an amazing teacher. In fact you are an amazing teacher. It’s fascinating to watch the patience, the set-up’s and then the reward of all the work that you do. But my favorite thing so far of this channel hands-down; no close second even, is the picture of you and your dad together. Every dad loves pictures of himself and his princess.

StringDriver
Автор

Love to see this progress! In the railroad, to change a bearing we actually use a "crows foot" bar that clamps the wheel and then jacks up the journal box - which allows for removal of the bearing without removing the box.

Hyce
Автор

Truly these are the Mercedes of bends 😊

jimsvideos
Автор

25 years of painting totally unrelated structures has taught me 2 things (only). Paint always takes longer to set fully (weeks)
And, it’s just paint, it’s coming off eventually, don’t get too hung up on it. Your work is beautiful.

nathanweese
Автор

I never realised how clever the design of railroad trucks are. They look very rigid, but are actually very flexible 😮

josephkarl
Автор

For the brass pieces, to prep for painting, sandblast the items first, this will rough the surface up better than using wet and dry paper. Just tape up any bearing surface first. You can buy small sandblasting cabinets that will do the job. Once sandblasted, the etch primer will stick better. then a light sand of the primer once cured then top coat. Let dry and cure for a good week before assembly.

grantbelton
Автор

24:03 - I think you already know what I'm going to which is impressive, because I have no idea! ;)

Fun to see things starting to really roll! 😍

DavidLindes
Автор

I have not tried many painting options for brass but the best I've found is the Tamiya bottled lacquer paints for model building.
Plenty of colors are available, including flat, satin and gloss black and lots of greys.
It can be brush painted and airbrushed. It dries is minutes, especially the matt paints. It hardest within 24 hours, full hardness takes a few days.
Even without a primer it holds reasonably well since it dries up pretty hard. It's hard to scratch, it prefers to chip.
I use this on brass parts I build for highly detailed RC4x4 trucks, crawlers we call them. Some of these parts will frequently bump into rocks, trees and sand but the finish lasts a while and I do end up repainting some things every now and then.

zanthraxnl
Автор

Oh boy, a new Blondihacks video, time make some tea and relax for half an hour ♥

here-be-ember
Автор

A quick tip for a vertical bandsaw with an iron(steel) table. If you need to cut multiple parts the same length, a switchable magnet (like an indicator base) can be used as a quick and dirty fence. Obviously it doesn't work as well if the part is magnetic as well.

billgill
Автор

Alternatives for clamping multiple thin parts, superglue for those that don’t mind a bit of heat for releasing. Cut over length, clamp together and drill a hole in each end and put 2 bolts through to clamp them together. Or I have a couple of miniature mole grips modified with pivoting jaws to get really good grip. With the items cut a bit over length to allow for the clamps. Steve

steveallen
Автор

Quinn, you do beautiful work. You are a top-notch Machinist.

michaelcarpenter
Автор

@13:16 Didn't realize that all four were there until you started taking them off the stack. VERY uniform and consistent! IMPRESSIVE!

davidkaye
Автор

I have 20+ years of experience casting brass and aluminiumbronze decorations for gravestones. I've tested several methods of blackening those pieces and I've settled using black silicone aluminium heat resistant paint. I oxidate my pieces first with propane flame to get something for the paint to grab, then I apply the heat resistant paint and bake the paint in the oven for couple of hours.
You can't get glossy finish using heat resistant paint though, the finish is always matte, but it stays on for years and years through Finnish winters and summers. It's not very abrasion resistant, so the paint can wear off in places that rub against something else.

filopat
Автор

A large toaster oven from your local thrift store is a great tool to have for things like drying preheating, annealing, and curing paint.

I have successfully powder-coated many thousands of bullets and a few various parts in a toaster oven using the shake and bake process. Once you learn it it's very simple but there's a lot of nuance having to do with cleanliness and dryness. Powder coat is all about static electricity. Having a good powder and very clean very dry parts makes everything easier.

GunFunZS
Автор

One tip I can give if its possible when trying to paint stubborn slick materials is you can try sndblasting the parts with silica sand to give you more tooth fine sandpaper will almost never give you enough tooth for anything that isn't gonna sit and never be touched it will make the surface rougher and may require more coats etc to get a smooth surface unfortunately you're in a tricky spot for durability without using chemicals that one will be very pricey and two you may not wanna mess with for small model parts there isn't many off the shelf easy low cost hobby grade materials that stand up to more than sitting on a shelf lol there were some great materials that are now illegal and no longer made

umahunter
Автор

These are really beautiful, and well-machined parts are so satisfying . My only possible contribution to the painting discussion would be to blacken then paint them? That way, if the paint chips, as it would in real life, the under lying surface is still blackened? Assuming paint will stick to the blackening of course.

bradthayer
Автор

About painting brass, you could experiment by creating a rough surface somehow to create tiny voids for the paint to pool in. I think that a polished surface is definitely going to make it more difficult. Maybe you could get the effect by hammering emery paper on the brass.
Another option might be to tin it with solder.
Also I recently saw on a bush craft channel where a guy had a high carbon steel knife and to prevent rust he held it in boiling vinegar and it came out a dark grey colour which might be a more realistic colour than black though I don’t know if this would work with brass but again it’s good to try things through experimenting.

Cooliemasteroz