filmov
tv
How to Replace the Rear Shocks on a BMW E90 (325i, 328i, 335i & More)

Показать описание
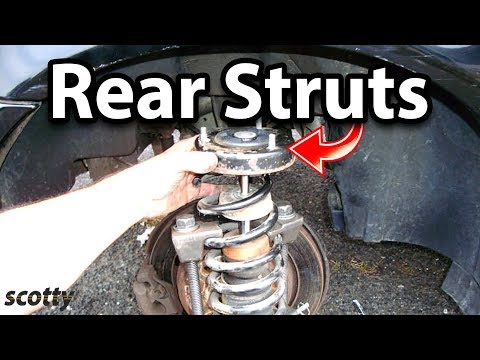
► If your suspension is feeling "bouncy" or "loose" it can likely be attributed to blown or worn shock absorbers. The purpose of shock absorbers is to dampen the recoil of the coil spring as your travel over dips and bumps in the road. Other symptoms of a blown shock are noise over bumps, leaks, poor handling and a harsh ride. In this video Gareth Foley takes you through the process of replacing the rear struts on your BMW E90 chassis.
This Part Fits the Following Vehicles:
BMW 330i
2006 BMW 330i
BMW 325i
2006 BMW 325i
BMW 325xi
2006 BMW 325xi
BMW 330xi
2006 BMW 330xi
BMW 328i
2007 BMW 328i
2007 BMW 328i
2007 BMW 328i
2007 BMW 328i
2008 BMW 328i
2008 BMW 328i
2008 BMW 328i
2009 BMW 328i
2009 BMW 328i
2010 BMW 328i
2010 BMW 328i
BMW 328xi
2007 BMW 328xi
2007 BMW 328xi
2008 BMW 328xi
2008 BMW 328xi
BMW 335i
2007 BMW 335i
2007 BMW 335i
2008 BMW 335i
2008 BMW 335i
2009 BMW 335i
2010 BMW 335i
BMW 335xi
2007 BMW 335xi
2008 BMW 335xi
BMW 328i xDrive
2009 BMW 328i xDrive
2009 BMW 328i xDrive
2010 BMW 328i xDrive
2010 BMW 328i xDrive
BMW 335i xDrive
2009 BMW 335i xDrive
2010 BMW 335i xDrive
Get free parts from FCP Euro:
Follow FCP Euro on:
 0:03:39
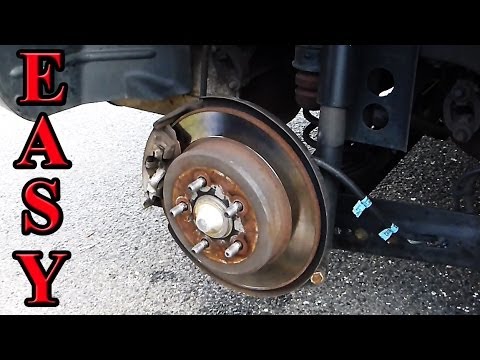
How to Replace Rear End on Your Car (Differential)
 0:03:23
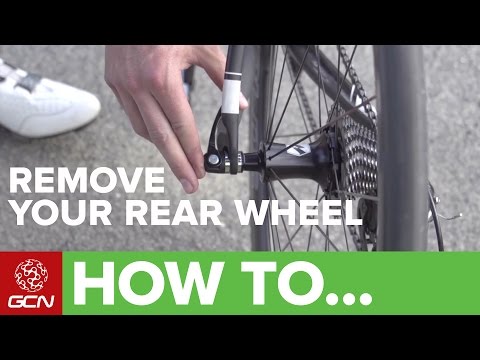
How To Remove And Replace Your Rear Wheel
 0:34:59
How to PROPERLY Replace a Rear Windshield (No Special Tools DIY)
 0:06:56
How To Replace Your Rear Derailleur | GCN Tech Monday Maintenance
 0:08:21
How to replace Rear Brakes with Electronic Parking Brake for Toyota
 0:18:40
How to Change Front and rear Brake Pads and Rotors (Complete Guide)
 0:02:43
How To Replace The Rear Wheel Gears On A Bike
 0:00:44
How to: Replace Rear Wiper Blade 2017 Nissan Rogue
 0:01:26
How-To: Replace the Most Overlooked Part - Rear Wiper on Your Pajero!
 0:21:43
How to Change Rear Brake Pads
 0:03:36
How to Replace Rear Struts on Your Car
 0:02:05
How to replace the REAR wheel bearings Toyota Yaris Step by Step with Torque Specs for the bolts
 0:17:33
How to Replace Rear Brakes 2003-2008 Toyota Corolla
 0:04:09
How To: Replace Rear Shock Absorbers
 0:01:04
Rear Wiper Blade Replacement (Subaru Crosstrek, Impreza, & Other Companies/Makes) • Cars Simplif...
 0:08:16
How to Replace the Rear Struts on a 2004 Toyota Corolla
 0:01:41
How to Replace Rear Wiper Blade on Toyota Rav4 and Highlander
 0:16:09
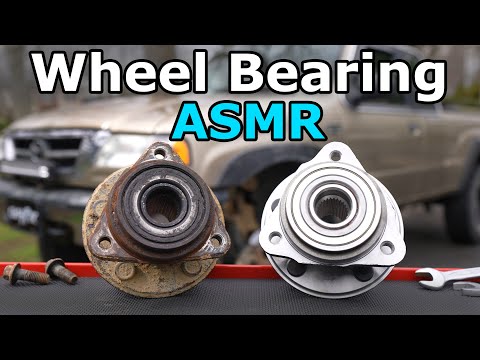
How to Replace a Front or Rear Wheel Bearing (Full ASMR)
 0:05:19
HOW TO: Rear Wiper Blade Replacement - Jeep Grand Cherokee 2014
 0:01:45
How to Replace Rear Wiper Blade 09-17 Chevy Traverse
 0:01:47
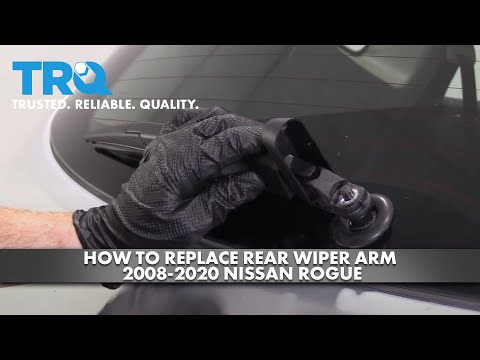
How To Replace Rear Wiper Arm 2008-20 Nissan Rogue
 0:02:26
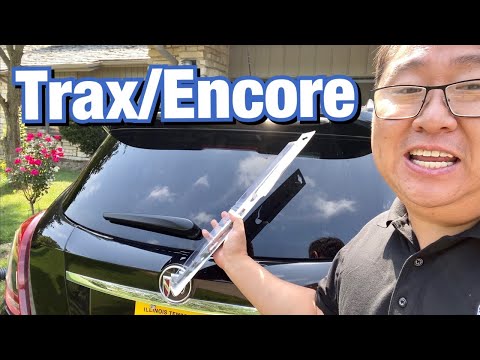
How To Replace Rear Window Wiper Blade on Buick Encore
 0:02:45
How to Replace Rear Wiper Blade on Chevy Equinox and GMC Terrain
 0:01:28
How To Replace Rear Windshield Wiper 2009-2017 Chevy Traverse
Комментарии