filmov
tv
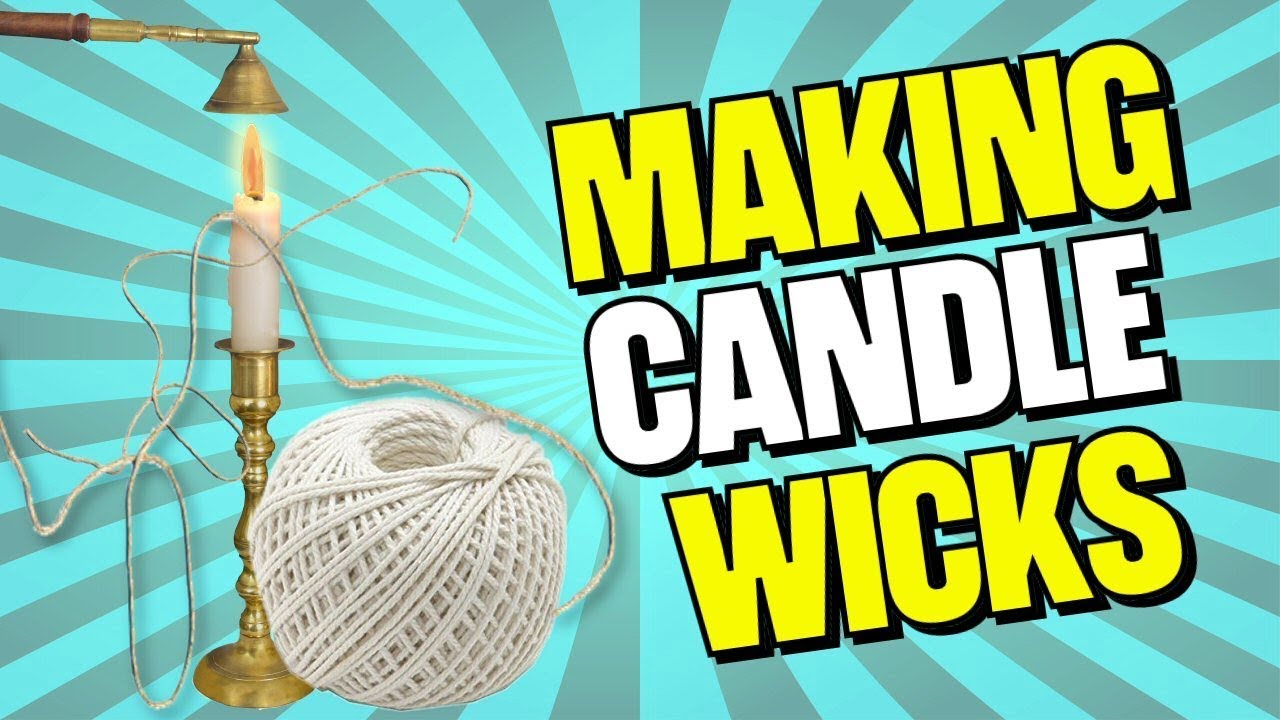
How to Make Great Candle Wicks (Tutorial)
Показать описание
How to make great candle wicks. In this video, we use 100-percent cotton fiber as our material of choice, as it is the highest quality wick material and can be used successfully in most candles. The cotton wick produces a robust flame which helps control carbon build-up throughout the burn cycle. By following our simple instructions, these wicks are almost smokeless, too.
We use balled cotton string, also known as butcher’s twine. It is inexpensive and readily available from hardware and home improvement stores.
#HowToMakeGreatCandleWicks
#CandleWicks
#CottonFiber
We use balled cotton string, also known as butcher’s twine. It is inexpensive and readily available from hardware and home improvement stores.
#HowToMakeGreatCandleWicks
#CandleWicks
#CottonFiber
 0:07:22
How to Make Candles in 5 Minutes (Crash Course) | DIY Candle Making for Beginners
 0:00:45
CANDLE MAKING: How to DIY Your Own Candles #candlemaking #diycandles #diy
 0:01:52
How to Add Scent to a Candle : Basic Candle Making
 0:03:08
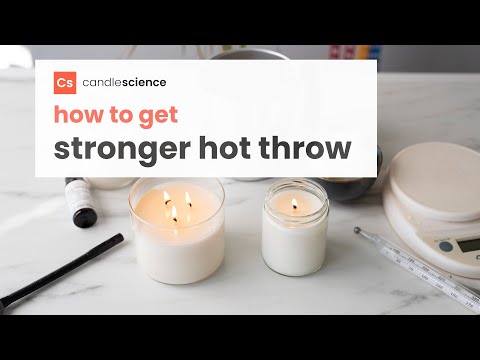
How to Make Stronger Smelling Candles // Candle Making 101: Hot Throw
 0:00:11
How To Make A Candle At home
 0:00:58
How To Make Soy Candles | Beginners Candle Making Tutorial
 0:07:33
How To Make Soy Candles DIY Candle Making Tutorial
 0:04:15
Dessert Candle making at home for beginners
 0:00:23
MARBLE CANDLE making video #shorts #diy
 0:08:25
How to Make Great Candle Wicks (Tutorial)
 0:00:18
HOW TO MAKE HOMEMADE CANDLES
 0:02:32
How To Make an INFINITE CANDLE Wick – Burns Forever!
 0:04:16
How to make candles smell stronger | Candle making Tips
 0:00:59
Candle Making For Beginners || Easy ||
 0:00:49
Candle makers don't want you to know this
 0:04:16
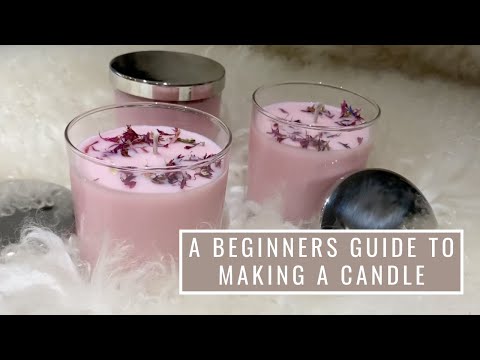
A Beginners Guide To Making A Candle
 0:09:14
Start Your Own Profitable Candle Making Business! How to make Candles at home #businessideas #candle
 0:01:00
Candle sellers are hiding this from you (Homemade candle that won't go out just stone and wate...
 0:04:23
HOW TO MAKE CANDLES THAT ACTUALLY SMELL GOOD
 0:00:29
DIY candle making pt 2 #candlemaking #candles #thatgirl #girlygirl #pink #diy #home #homemade #short
 0:00:34
How To Make an INFINITE CANDLE Wick - Burns Forever! #survival #camping #lifehacks #diy
 0:23:22
How to make Soy Candles ~ Candle Making Business ~ Candle Making Tips ~ Candle Making Tutorial
 0:00:20
$5 Wick?? Let’s try it🤍🕯️💫#candle #candles #candlemaking #diy #candlebusiness #wick #soywax #eco...
 0:00:15
how I make candles at home for my small business #candlemaking #candle #candles #smallbusiness
Комментарии