filmov
tv
Advanced Watercolour Techniques using an unusual invention which you can make yourself.

Показать описание
Enfield Watercolour Artist John Salmon showcases a simple tool to help you gain superior control of watercolour.
Are you ready to take your watercolour skills to the next level? Look no further than this innovative invention that you can make yourself. My step-by-step tutorial will show you how to create a unique tool that will unlock advanced techniques and allow you to create breathtaking works of art.
With this tool you'll be able to achieve stunning effects that were previously out of reach, the possibilities are only limited by your imagination.
You make your own Watercolour Charger with bits and pieces you have at home and even things you may throw away.
It will allow you to achieve some of the advanced watercolour techniques that you may have been struggling with. It will also open the door to new possibilities with watercolour.
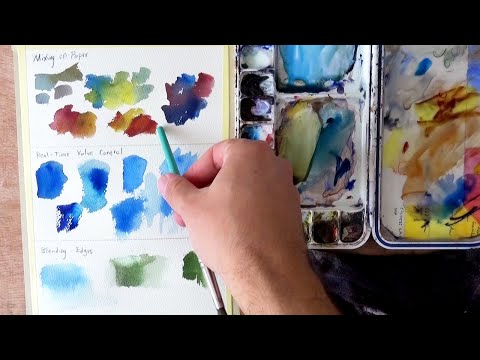
I've found this to be an extremely useful tool especially where detail and blending is important. It allows me to paint certain passages much quicker than I normally could, thereby preserving underlying layers of paint.
I provide a couple of short demonstration clips in my video which I will back up with more demonstrations as time allows. I also provide full instructions in a slide show format to show how to make your own Watercolour Charger using simple tools.
I will add more information and new technique demonstrations as time allows.
Please ask any questions you may have and I'll do my best to answer as soon as I can.
#Advanced #Watercolour #Techniques #Gradations #Control #innovation #Enfield #artist #watercolourdemonstration
Are you ready to take your watercolour skills to the next level? Look no further than this innovative invention that you can make yourself. My step-by-step tutorial will show you how to create a unique tool that will unlock advanced techniques and allow you to create breathtaking works of art.
With this tool you'll be able to achieve stunning effects that were previously out of reach, the possibilities are only limited by your imagination.
You make your own Watercolour Charger with bits and pieces you have at home and even things you may throw away.
It will allow you to achieve some of the advanced watercolour techniques that you may have been struggling with. It will also open the door to new possibilities with watercolour.
I've found this to be an extremely useful tool especially where detail and blending is important. It allows me to paint certain passages much quicker than I normally could, thereby preserving underlying layers of paint.
I provide a couple of short demonstration clips in my video which I will back up with more demonstrations as time allows. I also provide full instructions in a slide show format to show how to make your own Watercolour Charger using simple tools.
I will add more information and new technique demonstrations as time allows.
Please ask any questions you may have and I'll do my best to answer as soon as I can.
#Advanced #Watercolour #Techniques #Gradations #Control #innovation #Enfield #artist #watercolourdemonstration
 0:10:01
Advanced Watercolor Techniques 🌹 You Must Try!
 0:18:40
6 Advanced Watercolor Techniques to Jump Start Creativity
 0:10:49
3 ADVANCED Watercolor Techniques You NEED to Know
 0:09:27
Advanced Watercolour Techniques using an unusual invention which you can make yourself.
 0:13:25
The Ultimate Wet-on-Wet Guide: 12 Techniques Every Watercolorist Should Know
 0:12:37
4 Advanced Watercolor Techniques - 4 Tricks That Have Transformed my Art
 0:21:28
Advanced watercolor Technique - Underpainting Tips
 0:09:59
A new way to erase watercolor! Including 3 Advanced Watercolor Techniques
 0:05:09
5 Advanced Watercolor Painting Techniques You Need to Try!
 0:14:40
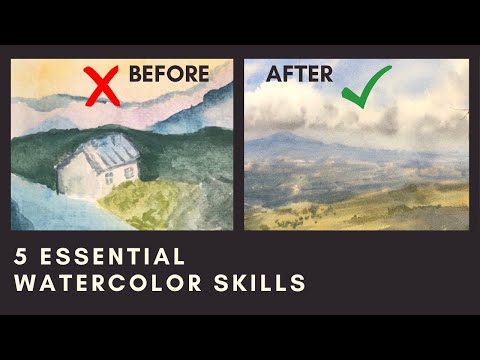
The 5 Essential Watercolor Skills (that completely changed my paintings)
 0:21:46
Struggling to Learn These 5 Advanced Charles Reid Watercolor Techniques
 0:14:18
3 Basic Watercolor Techniques of Transparent and Botanical Painting
 0:10:28
This DETAIL Will CHANGE How You Watercolor Paint!
 0:13:05
HOW TO IMPROVE YOUR PAINTING SKILLS 🐚 Advanced Watercolor Techniques
 0:08:55
3 Watercolor Techniques Every Beginner Must Learn!
 0:24:09
An Excellent Technique to ADVANCE Your Watercolor (Simplify)
 0:13:59
5 different watercolor texture techniques to make your painting stand out
 0:07:43
Advanced Brush Techniques | 2 Tips for Accuracy!
 0:08:12
This Watercolor Technique is a GAME CHANGER!
 0:11:29
Powerful Watercolor Technique (Most Tutorials Ignore) 💙 Blue Orchids
 0:10:30
6 MOST Important Watercolor Techniques to Master
 0:17:39
Watercolor Blending and Edge Control Technique | Tutorial
 0:09:52
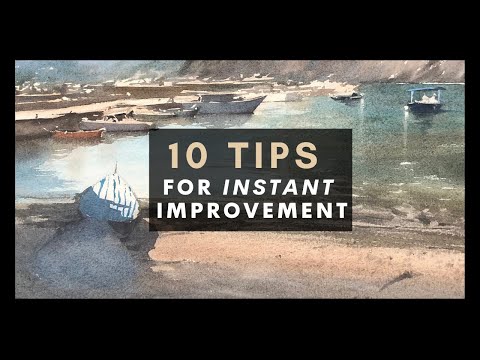
10 Quick Watercolor Tips That Will Help Your Paintings Today
 0:17:46
The most relaxing watercolor technique ever!
Комментарии