filmov
tv
Turn a Photo into a Moving 3D Image | Premiere Pro Tutorial

Показать описание
Working with 2D still photos can be a dread from time to time, as there is no real motion. In this Adobe Premiere Tutorial, we will turn a photo into a moving image. This effect is very easy and use parallax techniques to make our photo come to life. We make a specific focus into creating depth and adding multiple layers. We talk able animation and 3D effects to add dimensional rotation. Finally, we look at how to separate objects from the background.
Save time and produce amazing work with our Extension Window that allows you to preview templates in After Effects and Premiere. Then quickly change your template within seconds to fit your needs!
Social Media:
Save time and produce amazing work with our Extension Window that allows you to preview templates in After Effects and Premiere. Then quickly change your template within seconds to fit your needs!
Social Media:
 0:01:20
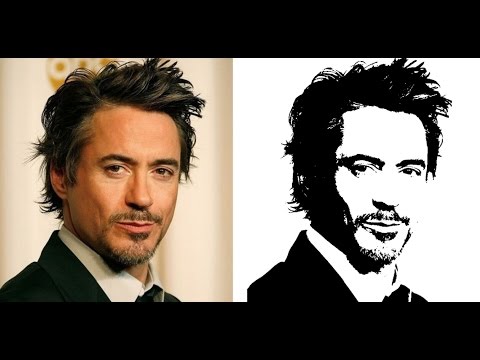
Photoshop Tutorial - How To Turn a Photo Into a Stencil
 0:10:07
Turn a photo into an illustration! Threshold by Path in Photoshop 2019
 0:01:05
Turn Photo into Pencil Sketch Photoshop Tutorial
 0:01:31
How To Turn a Photo into a Sketch in Canva (Free)
 0:13:06
Turn a BASIC photo into an EXPENSIVE Video!
 0:07:57
How To Turn Any Photo Into A Pencil Sketch In Canva
 0:06:14
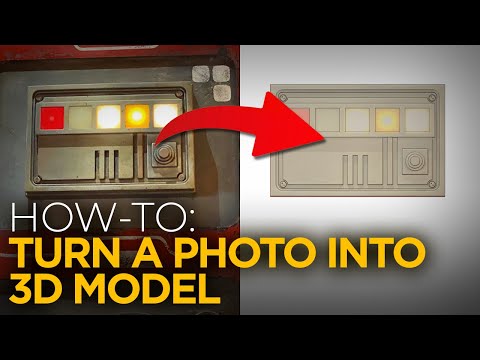
How-to: Turn a Photo into a 3D Model
 0:00:44
How to turn a photo into a sketch
 0:03:01
How To Use Sketch To Image On Samsung Galaxy Z Fold 6
 0:00:48
How to Turn A Photo Into A Renaissance Painting
 0:09:56
Turn a Photo into an SVG for FREE and cut on your Cricut
 0:21:40
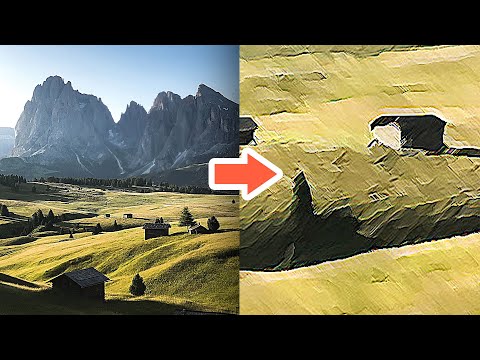
150 How to turn a photo into a painting tutorial
 0:10:08
Turn a PHOTO into a realistic Pencil DRAWING in PHOTOSHOP. NEW + improved sketch effect
 0:27:34
Turn a Photo Into a Stunning Painting Using Luminar NEO - Full Photo Edit
 0:11:53
Turn ANY Photo into an SVG File for Cricut Design Space (FULL TUTORIAL)
 0:01:29
How to Turn your Photo into Cartoon Image
 0:27:48
Adobe Fresco - Turn a Photo into Painting
 0:05:24
How To Turn a Photo Into an SVG for FREE to use in Cricut Design Space
 0:01:21
How To Turn Photo Into Cartoon In Canva (Step By Step)
 0:10:45
Stitch my Photo, Using Procreate to Turn a Photo into a Sketch
 0:08:29
Turn a Photo to a Color Dot Pattern in Photoshop
 0:11:28
Turn a photo into a vector image using illustrator - Getting photos ready for CNC, Laser, or Vinyl
 0:16:51
Turn ANY Photo into an Oil Painting!
 0:04:59
How to Turn a Photo into a Painting in Photoshop (Using the Filter Gallery)
Комментарии