filmov
tv
Manual Color tool | Magic Buttons color separation plugin

Показать описание
When preparing a color separation file, it is very often
necessary to edit a separate color channel.
Since in software for color separation, channels are
generated using a filter system, the color composition
of channels that are close in color spectrum to each other
can intersect.
The filter cannot completely eliminate parasitic overlays
from related parts of the color spectrum on its own.
Just for independent editing of the color composition
of a separate channel, the Manual Color tool is provided.
--
With this tool, you can edit (for example) the gray color
so that it matches the shade you want.
The plugin generates many types of gray for comfortable
work, and you can edit each of them depending on your
task.
This gives a huge scope for solving creative and
professional problems in color separation.
In this video, we will just look at an example of how
the Manual Color tool works with shades of gray.
--
To create a high-quality black channel,
you need to make a white
background for the image.
--
Let's call it Basic Black.
--
ATTENTION! The algorithm works in such a way that if there is
a channel named "Black", then the Manual Color tool will
automatically replace it.
Be careful. When working with the Manual Color tool, rename
the existing black channel instead of "Black" to any other name,
or create a black channel after working with the Manual Color tool.
--
To generate all the other colors,
we need a black background.
Turn on the Flatten Image mode.
--
To generate the underbase,
use the AutoUbase tool.
--
Create a black background
and adjust the underbase using
the Enhanse Channel tool.
--
Crop a part of the histogram with a fill
of 5% or less using the Levels tool.
It is automatically configured in such
a way that you just need to click on it.
--
Create a gray channel with t
he Color 2 tool. We will use this channel
to work with the Manual Color tool.
We place it separately.
--
When using the Manual Color tool.
First, you will need to select the range
on the Histogram that you want to work with.
We recommend that in most cases work with
the full range of 0 to 255 as shown in this video.
--
After pressing the OK button, you will see
a menu for choosing the color composition
of the channel.
Here you can adjust the amount of each color
present in the selected channel. In the case
of the video, this is gray Color 2.
--
Let's make the color dark blue by
adjusting the Color 2 channel.
To do this, we need to make a visual
assessment of the color composition
and adjust the purple and blue controls.
Remove the rest of the colors.
--
After pressing the OK button, the
Manual Spot Channel will appear.
By default, it is assigned black and 10% opacity.
Assign the desired color to it using Color Picker.
--
Adjust the result with the Levels tool.
We should get a blue shadow that looks
harmonious on the artwork.
--
Create a channel for the dark purple
color in the same way.
To do this, select the channel with which
we want to work and press
the Manual Color button.
--
We have two channels with blue and
purple shadows. Now you need to
correlate them with each other and
minimize the places of their intersection
as much as possible.
--
To do this, let's strengthen the blue
channel, select it, then switch to
the purple channel and delete what is
highlighted in blue.
In other words, we are subtracting
the blue channel from the purple one.
--
We now have 2 maximum
spaced channels with blue and purple.
--
You can adjust them a little with
the Enhance Channel tool.
--
Refined colored shadows appear more natural than
neutral gray when printed.
If a good print result is important to you, and you have
the necessary number of printing stations, you should
definitely use this gray separation by color.
It is no secret that in addition to the technical equipment
of the printing industry, it is also a matter of the complexity
of the color separation of color shades in the shadows.
With the Manual Color tool, you can get good results with
a reasonable effort.
--
Let's finish the separations.
To do this, let's create the rest of
the channels for this artwork.
Use the Basic Colors tool.
--
Adjust each channel with the Levels and
Enhance Channel tool.
--
Compare the original image and the color separation.
We got an almost complete light-shadow picture
without the use of gray and black colors.
Later we use a little black just to emphasize
some of the shadows.
--
But the main work with shadows has already
been done. If we carried out the work with shadows
using black, then we would lose in brightness when printing.
Darkening with black loses the color saturation of the artwork.
--
Let's add and adjust the red color.
--
Now let's add some black color.
We need it everywhere, but only in some
places.
Therefore, we use Manual Color for
the black channel too.
--
Adjust the black color.
--
Use Color Picker to match Panton colors.
 0:06:04
Magic Buttons v2.3 Manual Color tool. Example 1
 0:06:33
Magic Buttons v2.3 Manual Color tool. Example 2
 0:09:13
Manual Color tool | Magic Buttons color separation plugin
 0:01:42
Magic Buttons v2.3 Multicolor raster preview
 0:01:29
Ridley's Magic How To - Cups and Balls
 0:00:15
RGB Vs White Colors Mixing!🔴🟢🔵 #colors #artvideo #paintmixing #satisfying #shorts #art #asmr #music...
 0:00:29
new science experiment 🧪 magic trick do at home very easily
 0:00:29
✨Ultimate ASMR💎Diamond Painting😍 #satisfying #diamondpainting #asmr #shorts #diy #relax #gift #art...
 0:00:27
Tutorial on how to make the nano tape bubble 🙂✨ #nanotape#diy#tutorial
 0:00:22
How to put thread in punch needle #punchneedle #embroidery #australia #needleart #textileart
 0:00:27
Worlds Easiest Magic Trick
 0:00:56
Car Touch Up Paint Pen #whojoedaddy
 0:00:41
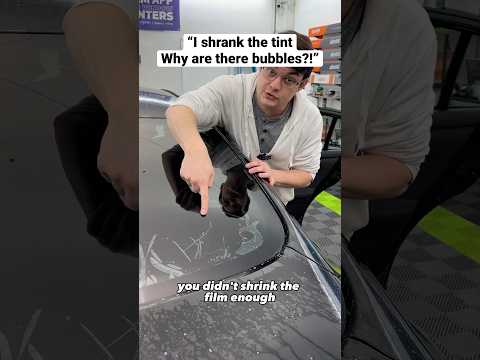
Shrink Tint NO Creases! #tint #cars #diy #windowtint
 0:00:16
Step 1: acrylic base layer 👊 #art #paintprep
 0:00:04
Manual bucket screen printing process- Satisfying jobs and machinery in the world #satisfying
 0:00:46
How to actually do heatless curls! (The instructions are wrong 😑) #heatlesshairstyles #heatless
 0:00:27
If you’re wanting to learn the basics of punch needling look no further #punchneedletutorial #shorts...
 0:00:16
Rainbow looming 🌈☁️ bracelet rainbow loom rubber band bracelet
 0:00:15
DIY mini elephant toothpaste #shorts
 0:00:24
#flipkart #pigeon pigeon handy vegetable chopper | Salsa prepration with my new vegetables chopper
 0:00:17
Be sure to remember this tip! How to cleanly cut laminate flooring? #shorts #tips #tools
 0:01:01
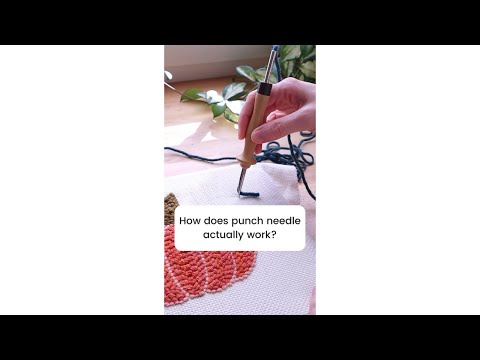
How does punch needle actually work (3 tips)? SHOP: studioversie.etsy.com
 0:00:51
Easiest way to Tint Your Car Windows Like a Pro (Step-by-Step DIY Guide) #detailing #tint
 0:00:18
Galaxy S24 Ultra Pro Mode: Capturing a Spinning Fan in Action
Комментарии