filmov
tv
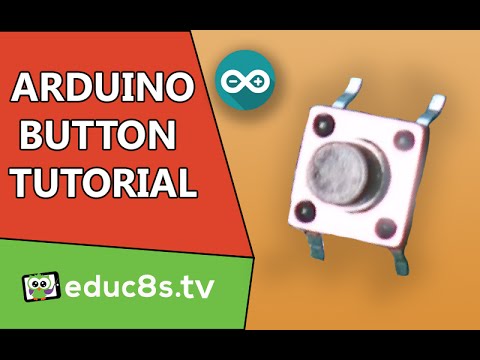
Arduino Tutorial 02: Buttons and PWM

Показать описание
Welcome to the second Arduino Tutorial from our Arduino Tutorial Series. In this tutorial we will learn how the Digital Input and Output pins work and we will make few examples using Buttons and LEDs. Also we will learn what is PWM (Pulse Width Modulation) and make examples for controlling the LED brightness using PWM.
Like my page on Facebook:
Add me on Google+:
 0:14:28
Arduino Tutorial 02: Buttons and PWM
 0:08:17
Push Button and LED with Arduino(code explained) | Control LED with push button | Arduino Tutorial 3
 0:08:48
LED ON & OFF with 2 push button using Arduino UNO. Basic operation of PUSH BUTTON.
 0:14:54
Arduino Tutorial ITA #2: Blink, iniziamo a programmare
 0:03:13
Arduino Turorial: How to use a button with Arduino Uno
 0:07:02
STM32 Arduino Tutorial - How to use the STM32F103C8T6 board with the Arduino IDE
 0:25:02
Arduino Tutorial 27: Understanding Pushbuttons and Pull Up and Pull Down Resistors
 0:41:38
Arduino Tutorial 29: Using Push Buttons to Create Dimmable LED
 0:17:22
Get Started with ESP32: Lesson 02 - Draw GUI with LovyanGFX
 0:10:26
Arduino Tutorial 34: Simplest Way to Use a Pushbutton Switch
 0:08:18
Arduino for Beginners: Using Push button to turn ON LED light
 0:05:52
Arduino Tutorial - 3. Einfacher Input (#3)
 0:03:37
The Simplest Way to Wire a Button to Arduino (with Internal Pull-Up) | Arduino Button Tutorial
 0:03:34
Nema23 Stepper Motor and TB6600 Arduino (Quick tutorial for beginners)
 0:21:58
Arduino Tutorial 28: Using a Pushbutton as a Toggle Switch
 0:08:14
Arduino Tutorials: Control a LED with a Button
 0:20:57
How to Use a Button with an Arduino (Lesson #5)
 0:07:59
LED Arduino Tutorial #1 - Elegoo Uno R3 Basic Starter Kit
 0:02:24
Arduino Plug and Make Kit: Building the Sonic Synth
 0:02:57
Arduino Tutorial #2 : Push Button, Buzzer, LED
 0:11:35
ESP32-Cam Quickstart with Arduino Code
![[DEMO] Nextion Display](https://i.ytimg.com/vi/YaMKLtj9om0/hqdefault.jpg) 0:03:34
0:03:34
[DEMO] Nextion Display with Arduino – Getting Started
 0:02:42
PUSH BUTTON ARDUINO Tutorial | PUSH BUTTON ARDUINO Nano with Code
 0:44:12
Arduino für Einsteiger #02
Комментарии