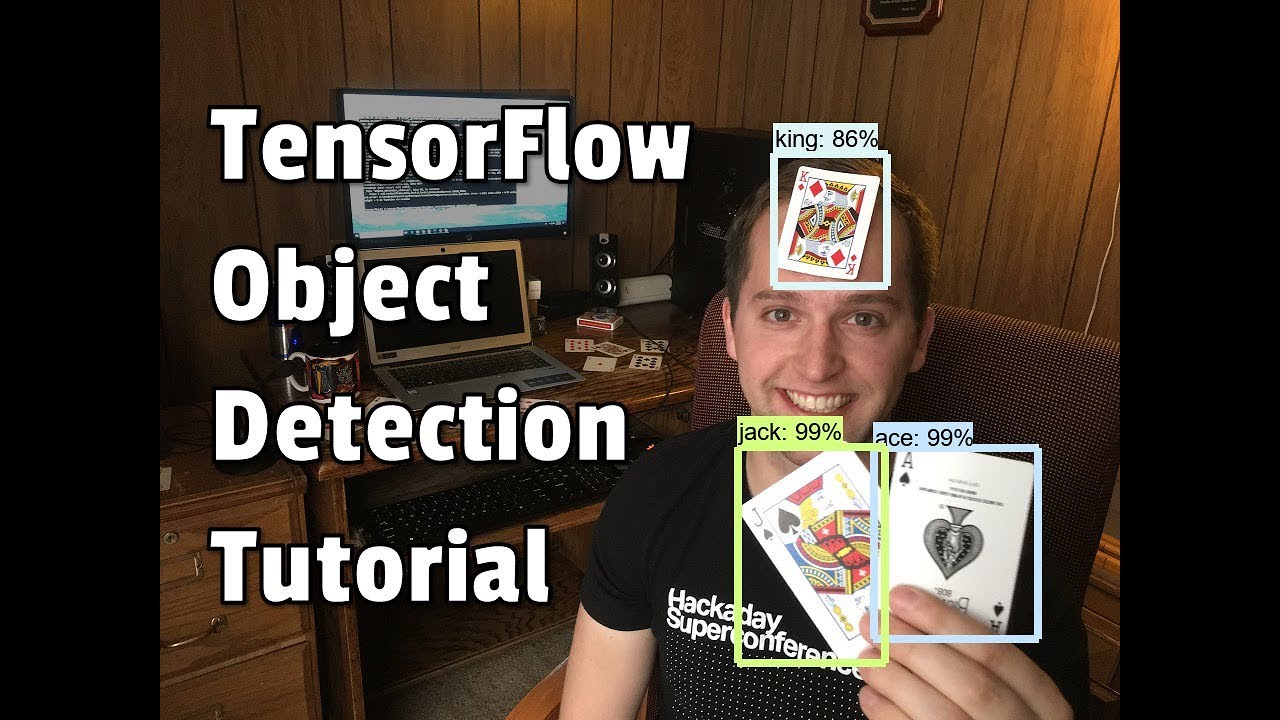
How To Train an Object Detection Neural Network Using TensorFlow (GPU) on Windows 10

preview_player
Показать описание


Here's the relevant specs of the PC I used for training.
GPU: GeForce GTX 1060 6Gb
CPU: Intel i5-7600
RAM: 16GB DDR4-2133

-----Other links referenced in the video------

-----Time links to each step in the video-----
1:54 Step 1. Install TensorFlow-GPU
3:14 Step 2. Set up Object Detection directory and Anaconda virtual environment
15:21 Step 3. Gather and label pictures
18:35 Step 4. Generate training data
20:16 Step 5. Create label map and configure training
23:46 Step 6. Train object detector
26:54 Step 7. Export inference graph
27:45 Step 8. Try out your object detector!!

Music: Mason Donovan - Coffee House
Рекомендации по теме
Комментарии
Автор

Hey everyone! I recently updated the written version of this guide to work with TensorFlow versions up to 1.13.1. If you are encountering errors following this video, please check out the guide and make sure you are using the most up-to-date commands. Here are answers to some common questions:
- Where is the train.py file? The train.py file is now located in the /object_detection/legacy folder. You can copy it to the /object_detection folder and use it as normal.
- Images aren't appearing when testing the Jupyter notebook, even though there were no errors? Try this: go in to and comment out the import statements on line 25 and 26 that include matplotlib. Then, re-run the script.
- Can I run this just using CPU and not GPU? (Yes, just use "pip install tensorflow" instead of "pip install tensorflow-gpu".)
- How to resolve errors related to _pb2 files? See Step 2f of the guide linked below.

EdjeElectronics
Автор

13:38 -> you will find the setup.py in the slim folder copy that into research folder
13:59 -> - Is located in the for anyone who can't find it
24:19 -> according to fixed comments, train.py file is now located in the /object_detection/legacy folder.
fpn_pb2 -> protoc --python_out=.
center_net_pb2 - > protoc --python_out=.
official -> pip install tf-models-official
etc...

If these error were found, I think you should start again from the beginning

cvjmszk
Автор

So, for anyone who is trying to use this tutorial in january 2020, with a ton of help I've finally made it to work out. Here's how:


For Tensorflow-GPU:
Download and install NVIDIA CUDA 10.0
Download cuDNN 7.4.2 for CUDA 10.0 -> open archieve and navigate to the 'bin' folder -> extract the only dll file from there to the CUDA v10.0/bin directory
Your Tensorflow-GPU is ready to work!


If you want to use Tensorflow-CPU ignore the steps from above


Next:


Download the latest version of models from the github repo linked in the description
Download the faster_rcnn_inception archieve and extract it into the
Download the Object-Detector API from the repo and extract it's files into


Inside delete the inference_graph folder content, as well as the 2 csv files from images and the content of the training folder


Open an Anaconda Command prompt and create a virtual env:


C:\>conda create -n tensorflow1 pip python=3.6.10 //the 3.6.10 version its working with my overall setup
C:\>activate tensorflow1
(tensorflow1) C:\>pip install tensorflow-gpu==1.13.1 //the 1.13.1 version is working as well
(tensorflow1) C:\> conda install -c anaconda protobuf
(tensorflow1) C:\> pip install pillow
(tensorflow1) C:\> pip install lxml
(tensorflow1) C:\> pip install Cython
(tensorflow1) C:\> pip install contextlib2
(tensorflow1) C:\> pip install jupyter
(tensorflow1) C:\> pip install matplotlib
(tensorflow1) C:\> pip install pandas
(tensorflow1) C:\> pip install opencv-python


now uninstall numpy:
(tensorflow1) C:\> pip uninstall numpy
(tensorflow1) C:\> pip install numpy==1.16.4 //the 1.16.4 v is working
(tensorflow1) C:\> set


(tensorflow1) C:\> cd


NOW very important: open a file manager and navigate to and search for the "protos" folder.
Inside this folder you'll see a bunch of .proto files -> you need to make a .pb2 file instance for every single .proto file.
DO NOT USE the long command from the written tutorial (protoc --python_out=.
Instead, look up for the first .proto file u see inside this folder and write the next command:


(tensorflow1) C:\>protoc --python_out=.


Repeat this command for every file you see inside the folder untill you make sure that every single .proto file has a .pb2 copy (it takes some time but it's the way to go)


Next:


(tensorflow1) python setup.py build
(tensorflow1) python setup.py install


BEFORE RUNNING THE JUPYTER COMMAND download the models file for version 1.7 from github -> open the archieve and search for -> extract that specific file into YOUR ACTUAL MODEL and replace it's own (otherwise it will mess your tensorflow version)


Also, I'm not sure if this whole jupyter step is necessary since I'm still having an import error and the images are not showing, but it's still working out.


Next:


(tensorflow1) python xml_to_csv.py


Then, generate the TFRecord files by issuing these commands from the \object_detection folder:

python generate_tfrecord.py --image_dir=images\train --output_path=train.record
python generate_tfrecord.py --image_dir=images\test --output_path=test.record


Do the labelmap thing just as in the tutorial, it's nothing to explain here
!! Make sure to modify those specific lines inside the config file just as in the written tutorial


And now you can run the training :


python train.py --logtostderr --train_dir=training/


Hope it works ! Let me know if it is woking for any of you ! Have a good day!

neagoeiulian
Автор

weeks on the search for a good start tutorial that doesn't have 50+ parts and this is where I land. One of the best clear and concise tutorial/introduction video I've seen so far! Keep it up!!

ahmadhasan
Автор

Here are the issues that have been found so far with this tutorial:

- TensorFlow moved the train.py file used in Step 6 to the "legacy" folder inside the /object_detection folder. You can still use it by moving it back into the /object_detection folder.
- If the images aren't appearing in Jupyter notebook at the end of Step 2, try going in to and comment out both the import statements at the top that include matplotlib. Then, try re-running the Jupyter notebook.
- Starting at 21:41, I say to change the num_classes variable to 6, but I accidentally changed it to 36. It should be 6. (Thanks Rafael!)
- Google may add more .proto files to the object_detection/protos folder, so it may be necessary to add more files to the "protoc" command at 13:13. You can do this by adding to the end of the long command string for each new file. (Thanks exnaruto1!)
- When running the "python train.py" command, if you get an error that says "TypeError: __init__() got an unexpected keyword argument 'dct_method'.", then remove the "dct_method=dct_method" argument from line 110 of the file. (Thanks Evpatoria!)
- When running "python train.py", if you get an error saying 110:25 : Expected string but found: '“' ", try re-typing the quotation marks around each of the filepaths. If you copied the filepaths over from my GitHub tutorial, the quotation marks sometimes copy over as a different character type, and TensorFlow doesn't like that.
- For train.py, if you get an error saying "TypeError: Expected int32, got range(0, 3) of type 'range' instead.", it is likely an issue with the learning_schedules.py file. In the file, change line 153
from "tf.constant(range(num_boundaries), dtype=tf.int32), " to "tf.constant(list(range(num_boundaries)), dtype=tf.int32), ".

Please let me know if you see any more errors with the video or with the commands/instructions from my GitHub repository!

EdjeElectronics
Автор

Spent a whole night with this. Totally worth it. Amazing tut man...

KamilRiyas
Автор

a shortcut while labelling the images is to make use of
w - to start capturing the area (selecting)
d- to move to the next image

also, auto save your work

leafiadias
Автор

These settings seem to work for me :
Tensorflow 1.13.1
Tensorflow-gpu 1.15
Cuda version 10.0


*Important* : From tensorflow model github repo, Only clone from the branch "r1.13.0" otherwise it will not work

AeroAndZero
Автор

For those who have been stuck with choosing versions of software and modules to use, this is my additional suggestion.
I am using Windows 10 pro.
- Installing Anaconda: I chose the last version of anaconda released in 2018 which supports python 3.7.1. Technically, you can use the latest released version.
- Python version: 3.7.1
- NumPy version 1.16.4
- pandas version 1.1.5
- Matplotlib version 3.0
For the rest, I just follow the author's instructions and the support from other guys here. Thanks a lot.

nguyentuan
Автор

For those of you looking for the new zoo model link:
The Jupyter notebook is now in:


Update: I got the project to working.. what you guys should really do is:
Clone the git repository and then switch to the branch version of the video, this way you guys will have the same directory structure as shown in the video.

rawahamuhammad
Автор

i couldn't get the images at 15:00, please help.

kittuthegreat
Автор

For Tensorflow 2.0 use following command to upgrade generate_tfrecord.py on anaconda promt

tf_upgrade_v2 --infile generate_tfrecord.py --outfile generate_tfrecord_new.py

Also in line 23 replace


# flags = tf.app.flags


flags = tf.compat.v1.flags

prashantgautam
Автор

This is the exact explanation that I needed it about how the training process gets "stored" with the 5 minutes checkpoints by tensorflow. I'll try to replicate this in a Mac environment and then somewhere in the cloud. Thanks for this video, you rocks!

AlexAcostaB
Автор

When I run "python setup.py build" I get the following error: "[Errno 2] No such file or directory". Can anyone please help? Would be very kind

unterwasseratmendertausend
Автор

Great Tutorial! Go to 16:20 for cat-cable ultimate battle!

alexroque
Автор

To everyone having issues with tensorflow 'app' or tensorflow 'contrib' . You need to downgrade your tensorflow version to 1.14. Using tensorflow 2.0 onwards doesn't work. even if you use compat.v1, since 'contrib' was completely removed from tf 2.


EDIT: for those of you wondering how to do this, go into terminal and activate tensorflow1 environment
pip uninstall tensorflow


Wait for it to uninstall


pip install tensorflow-gpu==1.14
Wait for it to install and you should be good to go. Be aware that you will have to download the correct versions of CUDA and CUDNN

TheAndre
Автор

God dude the beginning camera footage is so cool to watch

MicahYeah
Автор

Whenever I run the python setup.py build
/install command, it says it cant find a setup.py file in the directory of

cirianar
Автор

very less start from scratch tutorials on youtube Thank you!!

amankaushik
Автор

python: can't open file [Errno 2] No such file or directory Can you help me ? I take this error.

busekoseoglu
join shbcf.ru