Dell 2407WFP Monitor Power Button Repair Part 1

preview_player
Показать описание
Update Jan. 1, 2015: Read the comments for simpler and easier solutions.

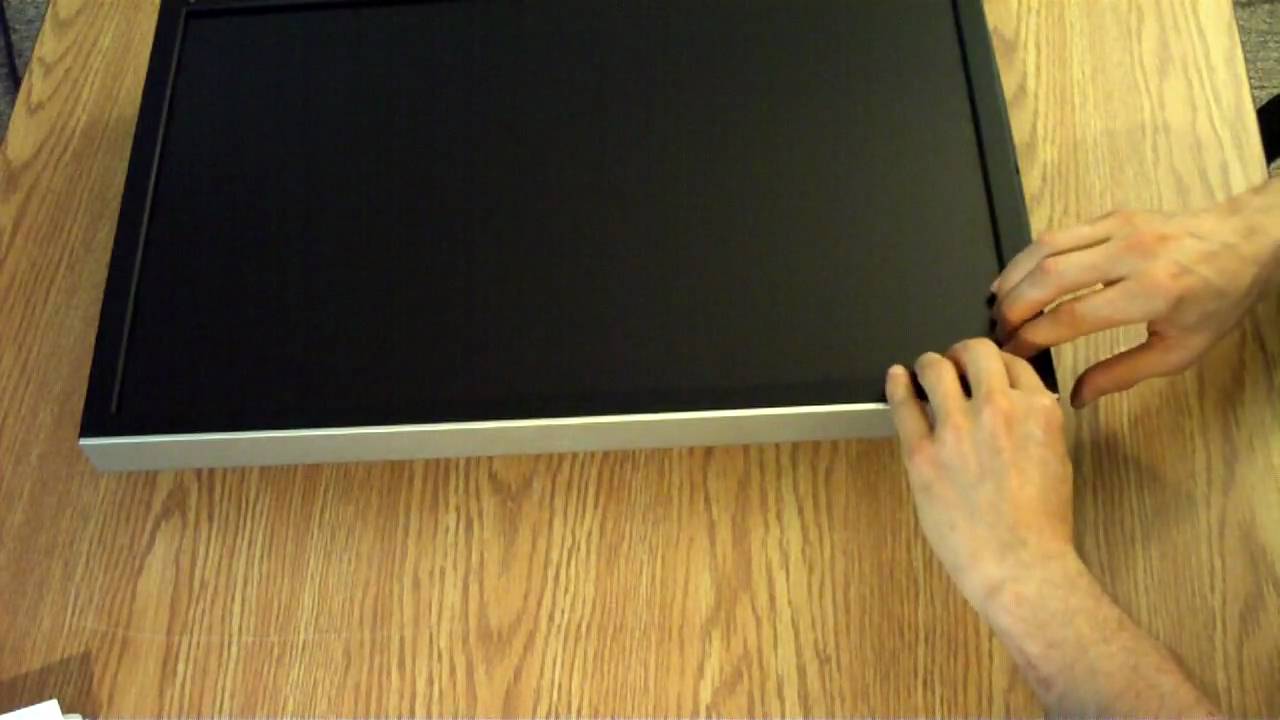
I woke up this morning and my Dell monitor was apparently dead. I noticed that the power button didn't snap in and out like the others so I figured that the snappy thing must have broke and I immediately began the tear down and repair. Also, I forgot to show and mention that there are four black screws on the back of the monitor housing where the stand connects that must be removed before the housing can be lifted off.

And please excuse my messy hair. After all, I had just awakened to a dead Dell monitor and had to immediately begin a rescue!!
Рекомендации по теме
Комментарии
Автор

Thanks for this video tutorial. My neighbor called me half an hour ago saying her monitor wouldn't turn on. Her monitor had the same issue as yours. No click feeling when pressing the power button. Followed your video closely and made the same repair using packing tape. Now I have a happy neighbor. :)

MaXGTS
Автор

Dude, I cannot thank you enough... I was about to take the monitor to a tech, who knows what they would have charged. Your video saved me money and lost time in front of my computer. My repair was exactly like yours. Amazing age we live in when we find a problem, and the solution is three clicks away.

You rock!!

Thanks a million.

lafamiliaruiz
Автор

I was also able to fix mine by just rotating the power button mark to the vertical orientation and taped it to the front of the bezel with clear strapping tape.

Thanks so much for posting the videos - they led me to all the comments. When I have to get inside a monitor, I will certainly reference your videos again.

cutrell
Автор

Excellent demo, gave me courage. However, I discovered my button was already broken from the entire plastic strap, so I pulled it out with a screwdriver and manually clicked the power button on... permanently. Lived happily ever after.

Omnilink
Автор

My old monitor came back to life, several years collecting dust waiting for the trash and just now that I'm trashing it I wanted to find out if there was a way to fix it. A very happy face came over me when it turned on the screen. Thank you very much, you are a genius.

Greetings from Mexico.

nballeza
Автор

Thanks for this video! It was easy to take button out completely, now I am using a plastic dental flosser to turn it off and on.  I was thinking of mailing the power button into Dell with a note stating "I don't need this anymore, you can have it back"

Coexist-phye
Автор

I would have never guessed how to open up my monitor to get at those buttons. Exact same problem. Fortunately I still had the small plastic "hinges" intact enough to brush a micro amount of super glue on them and basically "melt" them back onto the button for a seamless repair. Works great now that it's all back together!

inmuic
Автор

I did the fix from this video about 10 years ago. Still have the monitor, and the fix still works. I turn the monitor on and off several times a day. So a few thousand presses more than what the button could originally handle as built by dell.

hardcorestymie
Автор

I just put some tape on the button, rotated it into alignment, and pushed the rest of the tape onto to the bezel to keep it aligned. Took 10 seconds.

Thanks for the video!

kieranhuggins
Автор

My friend gave me a monitor last night with a broken power button.  I followed your instructions and was able to fix the power button by cutting a slither of CD plastic and super gluing it at a slight angle inside the button with the tip sticking out to the side.

Thanks so much for sharing your knowledge! :)

TheRationalizer
Автор

Thank you for the 4 part video series. It was very helpful and I was able to repair the power button by putting a piece of paper behind the broken power button and a duct tape.

iyalcarmel
Автор

Yesterday I went out and spent $118 on a new LCD monitor. The power button on my DELL monitor stopped wkg. after 9 years. I didn't see this 4 part video until evening.

I tried the tape trick but it still didn't work for me. So, I just removed the plastic button and used a small tool to turn it on. Instead of finagling using a tool to insert for on/off I decided to just plug in and out the cable to the power strip. Your videos gave me the confidence and know how to open up the monitor and experiment. I finally understood how those cheap plastic buttons work and exactly where to press (just left of the opening) to start the monitor.

I was glad to return the new monitor this morning for a refund. Of course, the new monitor's picture was much better than my 9 yr. old monitor. But I don't use it much except for printing bills and taking care of banking. Who needs things being vivid looking at bank stuff. I need to get something new to replace my Vista tower in that Microsoft isn't providing updates (still does w/ Mozilla). I will probably go to using a laptop... so I am very thankful to you for your

cjwgiven
Автор

Thanks so much, I was just going to scrap mine, but now it is fixed!! Mine cost me $1090.00 in 2006, and I have two of them. At first I was afraid that the procedure would require too much manual dexterity, but then I did it and it was easy. It was useful that you posted the entire sequence, because several times I had to go back and replay parts of it, just to see the orientation.  I made one simplification to the procedure which is that I didn't even bother fixing the stupid power button.I just left the hole so I can directly toggle the dimple switch with a pencil. Actually,   I don't turn the power on and off anyway.  I just configured my OS so it turns them off after 10 minutes of inactivity.

Your video could perhaps start with a description of how the power switch actually works. Eg: A plastic button on a hinge, and underneath a dimple switch that you toggle on and off.

robintivy
Автор

Thanks so much for posting this video. I followed this instructions (mostly -- I took off the back cover after the front black bezel; that worked well for me). With some tape holding my power button, I can (again) turn my monitor on and off again. Note -- the hardest part is the very first part -- starting to take off the black bezel. Others have suggested an auto trim tool, but my fingers worked fine. Again, many thanks for stepping through this process!

drewbuddy
Автор

Thanks dude worked awesome for my monitor, went to bed last night turned it off and woke up today and the button wouldn't work.

TBH didn't watch every second of your video but I did run the tape over the screw hole closest to the power button and then screwed in through the tape to secure it a little more. Not sure if that's how you did it but either way worked a treat!

Love these monitors, I was using 2x dell 248wfp I bought second hand in 2008 or so then last year slightly upgraded to these Dell 2407WFPHC for $40 bucks each

BlindGuardian
Автор

THANK YOU! This saved my monitor. My only problem was not being able to get the inside two screws back onto the circuit board. Fortunately, the other two seem to be holding it in place just fine.

RichardTallent
Автор

Hah! I had the same problem with my 2405. Couldn't believe the stupid design when I took it apart and saw how it worked. My solution was a bit more blunt. I took the button out, put it back together and then using some thin scissors drilled a small hole above where the actual switch is and now I use the end of a jostick to turn it on and off. Works a treat :D

deanimate
Автор

Thank you @thinkofwhy, that fix worked like a charm.  I had spent 30 minutes with Dell's tech help last week and I told them this must be a chronic problem, and they had absolutely no clue at all, a waste of 30 minutes.  THANK YOU so much for uploading these vids, definitely saved me, and worked perfectly.  Cheap DELL plastic parts designed to fail, what a sham, they should be ashamed of themselves.
Have a good holiday, and again, thanks for taking the time to post these : ))

broadcastmusic
Автор

OK, This guy left out an important suggestion. If you remove the four Screws in the center of the back, then everything becomes so much easier. The entire housing falls out once you remove the bezel, making it much more simple to remove the four screws holding the button panels on.

samdroidva
Автор

Tip for people still using these things (like me)...get the button back in position. Lay the bezel flat on a surface, making sure that the buttons are not being pushed up by the surface you put the bezel flat on, an easy way to do so being to hang it off the edge of a table. Slather that with some Weldwood glue...and then wipe the parts in between out with a q-tip (between the two plastic pieces that broke apart) and then to the top and bottom of that, basically trying not to glue the button to the case. Wet some paper with the glue (both sides, just to sort of soak the paper) and wait a little for the glue to dry, at most 30 seconds. Make sure that paper perfectly fits for the space. Put it in, wait for a while, maybe 30 min to an hour. Then put plastic sheeting over that, slightly bigger than the paper, cutting out places where the screw posts are. Test it. Put that back together and it works.

Amazingly, mine somehow broke even though I was supposedly the first user of this monitor from 2006...

xDylanx