filmov
tv
Quickly Replace Old Reccessed Lights with Retrofit LED Lights

Показать описание
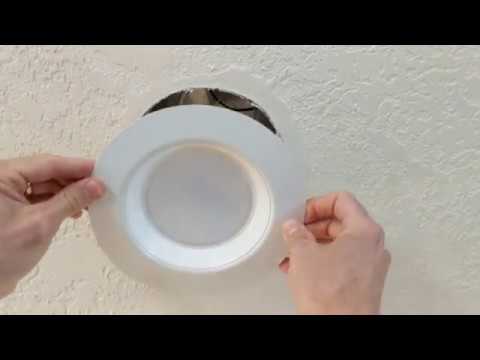
Updating old can lights has never been easier with these Sunco retrofit LED recessed lights. They are almost as easy to install as screwing in a lightbulb - you've heard the old "How many ____ does it take to screw in a lightbulb" joke right? It's simple.
My new setup is made up of Sunco lights which I've used in previous new installs. The cans were 6" so that's the size I needed here and I opted for the 3000k lumens for a nice bright light that still had a hint of yellow in it so it doesn't look like a doctors office. These are warm white.
The steps are the following:
Step 1) turn off the lights and allow the bulbs to cool off
Step 2) unscrew the bulbs and pull down the old flange
Step 3) screw in the retrofit LED lights
Step 4) push the new lights in and enjoy!
-----------------------------------------
Tools Used:
⚒️⚙️🗜️🔦📐🔧🔨
3000 Lumens Sunco Retrofit Recessed Lights:
2700 Lumens Sunco Retrofit Recessed Lights:
Regular Sunco Recessed Lights:
#RetrofitLEDLights #SuncoLights #RecessedLights
***********************************
DON'T CLICK THIS:
 0:03:48
Quickly Replace Old Reccessed Lights with Retrofit LED Lights
 0:11:58
How To Quickly Replace Recessed Can Lighting with Cheap Retrofit LED Lights
 0:02:16
HOW TO REMOVE AND REPLACE A RECESSED LED CEILING LIGHT
 0:04:39
The EASIEST Way To Replace UPGRADE Your Old Can Lights For New LED Can Lights Recessed Lights
 0:00:56
HOW TO REPLACE OLD RECESSED LIGHT WITH NEW LED LIGHT
 0:03:31
An Easy + Inexpensive Way to Replace your Old Recessed Lights with No Rewiring
 0:08:53
How To Replace Old Recessed Lighting With LED
 0:10:32
How To Install Pot Lights In Kitchen Ceiling | Easy DIY For Beginners!
 0:04:30
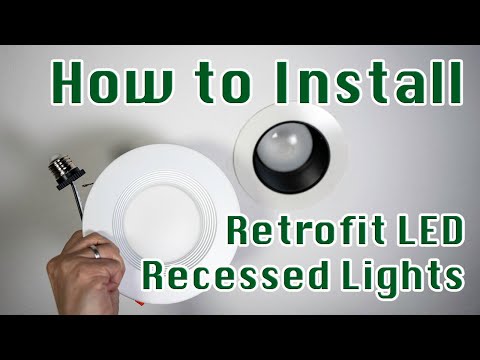
How to Choose and Install Retrofit LED Recessed Lighting | Easy DIY
 0:05:28
LED Recessed Lighting--5 THINGS TO KNOW!! (Can Lights/Downlights/Recessed Lights)
 0:00:42
How to replace mini halogen light bulb
 0:26:05
HALO Just Changed the Recess Lighting Game with THIS!
 0:05:39
Replace Ugly Old Boob Lights With Recessed LED's // Easy Upgrade
 0:01:53
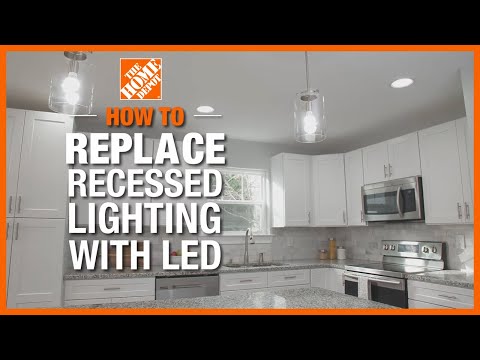
How to Replace Recessed Lighting with LED | The Home Depot
 0:05:24
Recessed Light Installation | The BEST LED Wafer Light Is...
 0:05:49
How to Replace a Recessed Light in your Home - LED
 0:15:23
How to Replace Existing Lights with Ensenior Low Profile LED Recessed Lights
 0:05:27
How to Change a Recessed Light Bulb
 0:00:50
Quick Fixes: How To Replace Recessed Lighting | Menards
 0:08:03
How To Remove And Replace Can Light From Ceiling! (Recessed Lighting) Part 1
 0:02:06
RECESSED LIGHTING LED CAN LIGHTS - This Is How To Replace Your Old Recessed Lights
 0:00:09
Change👷🏻♀️out traditional can lights in a few simple steps with our all-in-one down light kit!...
 0:12:51
LED Wafer Lights Installation - Replace OLD Recessed Can Lights 6.5' [24 PACK] Best for Home Re...
 0:01:49
Replace Recessed Pot light bulb
Комментарии