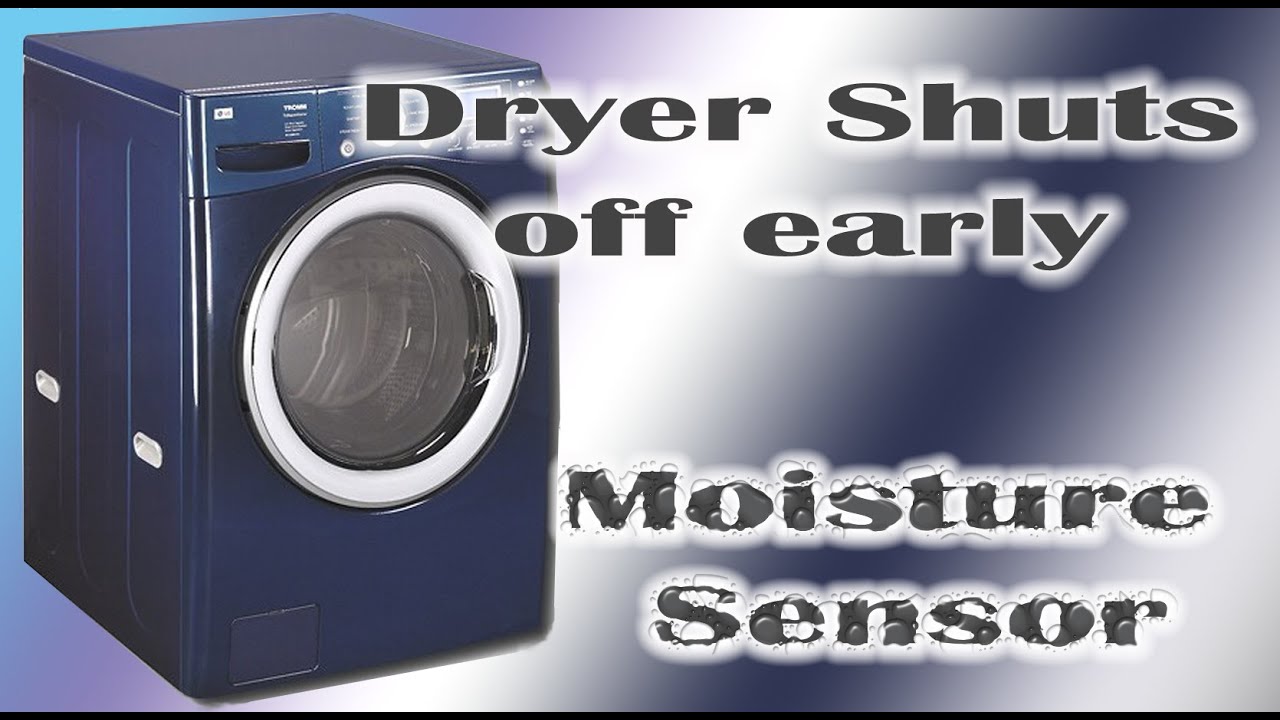
LG Dryer shuts off early. Moisture sensor fix.

preview_player
Показать описание
In this video my LG Tromm Gas Dryer is shutting down before the dry cycle has completed resulting in damp clothes.
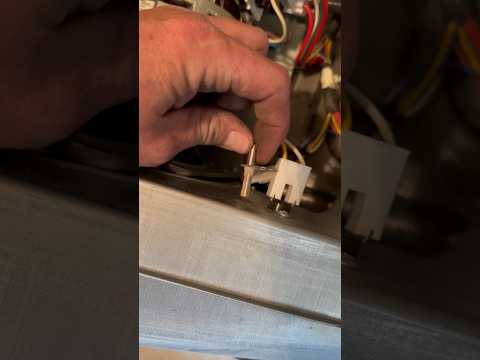
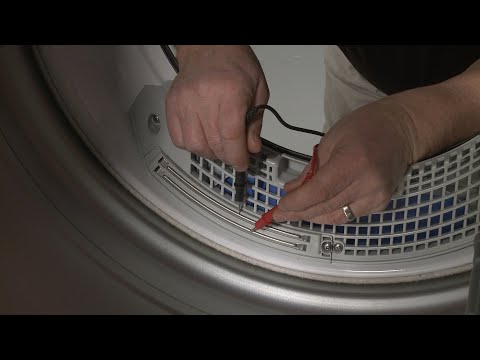
This issue is likely caused by a dirty moisture sensor. I will show you how I had to remove it and how I winded up cleaning it.
In my case this fixed the issue. However, a faulty motor can also cause this same issue. You may be able to clean the sensor without actually removing it.

#dryerrepair #appliancerepair
Рекомендации по теме
Комментарии
Автор

Good tutorial, I did not take out the lint trap, I just reached in and clean the sensor with alcohol and sand paper since it was visible. Save me from buying a new dryer.

Another_Bad_Creation
Автор

Thank you very much for this very well done video. I appreciate you showing how it all works. I was able to just clean mine while still installed and it worked. But it is interesting to know it is there and how it works. Thank you again for saving me a service call.

blindeburgh
Автор

Thank you for this video. My BRAND NEW samsung smartcare dryer, in my BRAND NEW home was not drying clothes completely, so I went through all the trouble shooting things I knew of, make sure the vent hose wasn't bent or blocking the exhaust, make sure the vent itself didn't have construction debris in it, made sure the gas line was connected correctly and the valve was open, checked and yes the dryer would run, yes it was heating quite well, yata yata, but nothing would actually be dry so I sat there and watched it go through a complete cycle (an hour and 16 minutes on max settings) but it stopped after 52 minutes, checked the clothes, still damp. Re-started the cycle, it shut off after 13 minutes. So I started looking online.
The samsung website says "clean the moisture sensor with a damp rag with a drop of liquid soap".
That didn't do squat.
THIS however (sandpaper and rubbing alcohol), worked.

Hengebobs
Автор

You sir are a scholar and a gentleman. Much appreciated

christalightauditoriumeven
Автор

So far, this is the only explanation I’ve found for the symptoms and the corrective action seems to be effective. Had very similar resistance measurements before and after cleaning, so hope this solves the problem. Testing just finished and seems to show that the problem is corrected.

StevevonC
Автор

Good video. I just had the same problem with my LG dryer and it would only run for about 15 seconds before stopping. I cleaned out the area under the filter as it was very full of lint, and this still did not solve the problem. Finally I thought as you said that the sensor was not working because it's surface was dirty. I cleaned the contacts off with some 3M Scotchbrite material and now it is working fine.

donaldstark
Автор

Brother thank you so much for your knowledge and help. This video helped me so did all the dirty work and fix my dryer. I sanded and cleaned my moister sensor along with the gas igniter sensor under the dryer. God bless you and your family 🤝

salvadorh
Автор

The issue is caused from bounce sheets, causes a wax-like build up on bars. Use a green scotchbrite pad to clean. If testing with a dmm put probes on terminals then put hand on both moisture sensor bars, if ohm reading changes its good. Then you have another issue such as plugged wall vent..

fringeminority
Автор

You, sir, are absolutely brilliant! Without your help in the video I would have spent a ton of money to replace the control board and probably a service visit which would not have even fixed the problem. Amazing when you look at the two metal strips, which I did before watching this, you wouldn't image there was a film on them thick enough to block it's function. Followed your directions and we are back in business this morning. You're awesome. Thanks for taking the time.

fheflin
Автор

I had a suspicion that this is how this sensor worked. Thank you for your in-depth explanation!

Icefreez
Автор

Wow I just hit the sensor with isopropyl alcohol, a light scuff with 220 grit, alcohol again, and boom! Works! Didn't even have to remove 🤙🏼

OneHitAway
Автор

Lots of simple repair procedures like this ..posted on YouTube help numbers of ‘do it yourself-ers’ ..which is what I am ..a simple search provides the fix ..thanks for this ..much appreciated ..and ..yes ..great explanation of the basic circuit design ..ultimately allowing for a simple cleaning of the sensor surface without removal from the drum ..and ..done! ..

freedomtrucker
Автор

Thank you! My clothes were not dry after each cycle too. I used your method, but I did not have to remove the part (I assume you did that for visual testing).
I simply lightly sanded the sensor rods using 200 sandpaper and then wiped with alcohol. I was surprised at the amount of dirt that came off on the cotton pad.
Works as expected now.

ColoradoChris-hsdj
Автор

I just bought a brand new LG dryer and this sensor keeps stopping too. So it is def not dirty or anything, it just sucks. I just don't use the sensor option, but turn the knob all the way to the right where it says Manual Dry, Speedy Dry and Choose Time Dry to select how long you want to dry it for. Thank you for your video, this is really helpful!

jddah
Автор

Thank you for posting this. My GE profile dryer has similar sensors. After following your instructions my dryer works great.

jamesleiter
Автор

THANK YOU for this video, I followed every step you mentioned and my dryer is working again!..

AntonioAyala-vs
Автор

I am so grateful for your expertise and my ability to take the steps to attempt to repair my awesome LG dryer thank you so much.
I didn't have sandpaper so I improvised with an Emory board and alcohol wipes. Happiest holidays 🎉

liliannstudsrud
Автор

Thank you so much, I have a Miele and checked all the usual components the other night after work but with no success. So the thought of stripping it down again this evening was not very exciting!
With your inspiration I just scrubbed with a coarse scotch brite and is working! No tools needed thank you thank you thank you😊

mickyjay
Автор

Very good explanation and demonstration. I suspected there was a film on mine because i had the same reading with my ohm meter. This video confirmed my suspicion. Thanks!

victoryvisiontour
Автор

Great demonstration, troubleshooting, and resolution. Thank you for sharing.

wickedneurons