filmov
tv
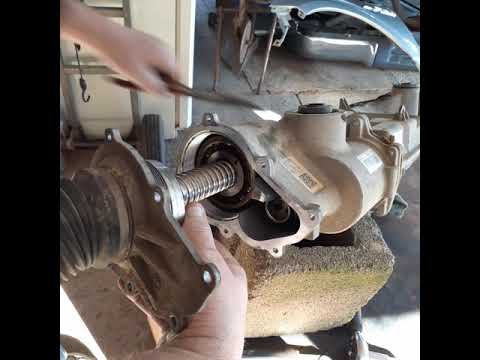
How to Replace Power Steering Rack 05-15 Toyota Tacoma

Показать описание
Buy Now!
In many cases the steering rack will last the lifetime of the vehicle, but there are occasions where it won’t. If the steering rack in your vehicle is leaking fluid, was damaged, or otherwise needs replacement, it is often a more complicated job, but possible to DIY. This video shows you how to install a new steering rack in your 2005-15 Toyota Tacoma.
This repair was done on a 2009 Toyota Tacoma Pre Runner 4.0L Crew Cab Pickup 4-Door RWD Automatic and the process should be similar on the following vehicles:
2005 Toyota Tacoma
2006 Toyota Tacoma
2007 Toyota Tacoma
2008 Toyota Tacoma
2009 Toyota Tacoma
2010 Toyota Tacoma
2011 Toyota Tacoma
2012 Toyota Tacoma
2013 Toyota Tacoma
2014 Toyota Tacoma
2015 Toyota Tacoma
Tools you will need:
• Side Cutters
• Air Chisel
• Brake Parts Cleaner
• Bungee Cord
• Copper Anti-Seize
• Rust Penetrant
• Safety Glasses
• Drain Pan
• Hammer
• Wheel Chocks
Check out our playlist:
⚠ DISCLAIMER:
While TRQ strives to make the information provided in this video as accurate as possible, it makes no claims, promises, or guarantees about the accuracy, completeness or applicability of the content. No information contained in this video shall create any expressed or implied warranty or guarantee of any particular result. All do-it-yourself projects entail some risk. It is the sole responsibility of the viewer to assume this risk. TRQ is not responsible or liable for any loss damage (including, but not limited to, actual, consequential, or punitive), liability, claim, or any other injury or cause related to or resulting from any information posted in this video.
 0:24:39
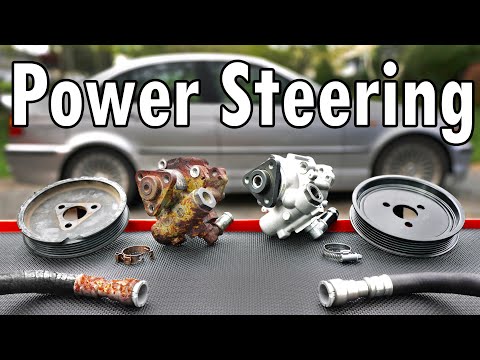
How to Replace a Power Steering Pump
 0:06:11
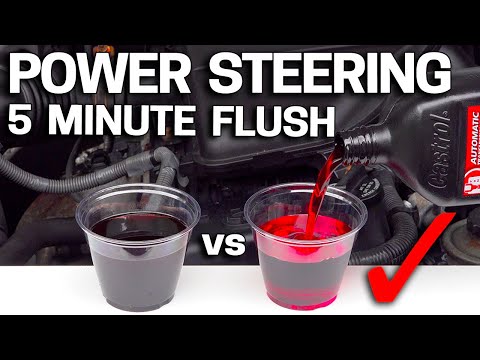
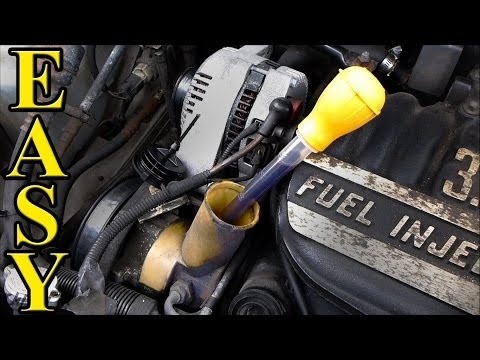
How to Change Power Steering Fluid in 5 Minutes - DIY Easy
 0:07:59
Power Steering Fluid Change QUICK and EASY
 0:02:47
How to Fix Power Steering in Your Car (Quick)
 0:03:14
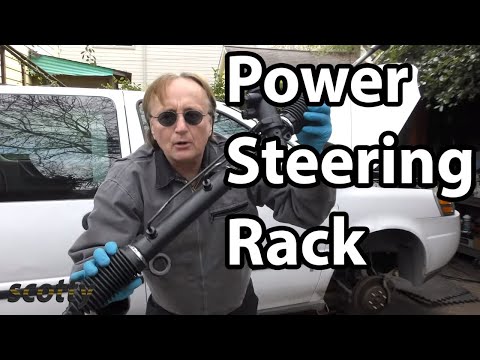
How to Replace a Power Steering Rack in Your Car
 0:03:31
How to Replace Power Steering Pump in Your Car
 0:00:28
Replace Power Steering Hose/Line/Fluid DIY Truck Pickup #Chevy #GMC #shadetreemechanic #gmcsierra
 0:03:13
Repair Steering Rack
 0:01:00
How to remove a Power Steering Pulley.. #bigbeebaby #puller #pulleyremoval #powersteering
 0:03:42
How to Replace Power Steering Pump Pressure Hose
 0:00:59
How To Center a Steering Rack
 0:06:51
How to Flush Your Power Steering Fluid
 0:05:53
How to Replace Power Steering Pump 2008-2012 Honda Accord 2.4L
 0:00:59
How To Change A Power Steering Reservoir And Bleed The Air Out #semperfimechanic #mobilemechanic #oh
 0:07:09
How To Replace The Power Steering Pump On A Honda Odyssey: A Step-by-step Guide
 0:00:54
IF YOU HEAR THIS THEN YOUR POWER STEERING PUMP NEEDS REPLACING. #shorts #youtubeshorts
 0:24:08
How to Replace Power Steering Pump 06-11 Toyota Camry
 0:08:30
DIY Power Steering Gear Box Replacement: Step-by-Step Guide
 0:13:18
Add Power Steering To Any Car
 0:04:21
How To Replace Power Steering Pump for 2007 Chevy Impala
 0:00:16
Steering Rack Bush Repair. #shorts
 0:05:02
Replacing a Power Steering Pump on a Chevy Impala
 0:00:53
Quick 350Z power steering hose replacement✔️
 0:00:28
2010-2014 F-150 electric power steering rack fix save $$$$$$
Комментарии