filmov
tv
DANCO Universal Tub Spout - Easy How to Install

Показать описание
In this video I show how to remove the old tube spout and replace it with this universal spout sold at home depot. This is a DIY how to video
Moen Delta
 0:04:21
DANCO Universal Tub Spout - Easy How to Install
 0:00:30
5 in. Bathroom Tub Spout w/ Front Diverter in Chrome
 0:02:40
How to Install a Tub Spout
 0:08:33
Easy Way to Install Universal Danco Tub Spout👍
 0:05:11
DANCO Universal Tub Spout-How to Install Easy
 0:07:38
Installation Review of Danco Chrome Universal Fit Bathtub Spout. Taking Care of Tenants Properly.
 0:11:19
Danco Tub Spout Replacement Step by Step
 0:01:54
Easiest Tub Spout Install Ever!
 0:01:57
DANCO 10319 Decorative 8-Inch Tub Spout!
 0:01:58
Moen Slip-fit tub spout install review - DIY
 0:03:44
Replace tub spout diverter pull kit - DIY fix
 0:04:02
How to Replace a Slip-on Tub Spout - DIY
 0:08:26
DANCO TUB/SHOWER TRIM KIT - MOEN | how to install
 0:05:09
Complete Steps to Replace an Old Leaky Tub Spout
 0:04:34
How to Replace a bathtub spout
 0:03:25
How to Install a Tub Spout | The Home Depot with @thisoldhouse
 0:04:34
Universal tub diverter spout installation
 0:10:10
DANCO SLIP-ON TUB SPOUT COMPLETELY FIXED DIY !!! NO MORE LEAKING !!!
 0:06:24
Water Not Coming Out Of Shower Head? Tub Spout Diverter Repair
 0:00:53
Universal Large Canopy Handles in Chrome
 0:03:36
how to replace tub spout, change tub diverter. Easy!
 0:00:45
Seats and Springs for Delta Single Handle Faucets
 0:00:49
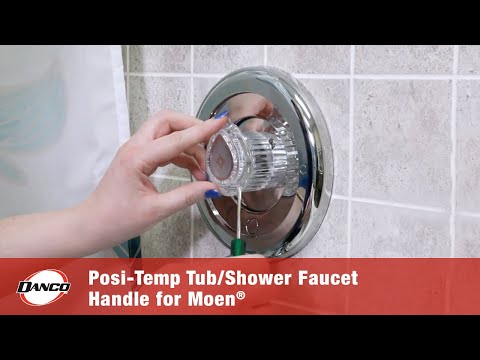
Posi-Temp Faucet Handle for Moen Tub/Shower in Clear Acrylic
 0:01:40
Tub/Shower 3-Handle Remodeling Kit for Price Pfister Verve in Chrome
Комментарии