filmov
tv
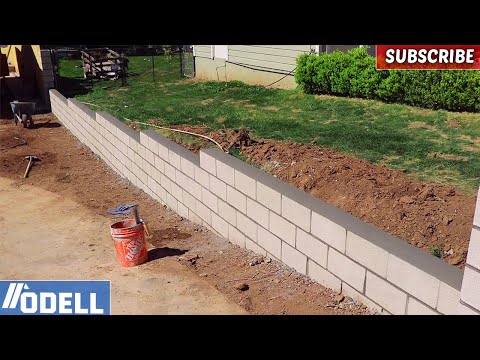
We Built a Block Retaining Wall (How to do it right!)

Показать описание
When it comes to retaining walls, concrete blocks are fairly straight forward to install and will last a lifetime. But, it's not as easy as just stacking the blocks. If not done properly your concrete block retaining wall can have issues resulting in leaning and possibly falling over. The steps below will show you how to properly build a concrete block retaining wall and avoid these potential downfalls.
Materials
-------------------------------------------------
SUPPORT ROGUE ENGINEER
-------------------------------------------------
BE SOCIAL
Materials
-------------------------------------------------
SUPPORT ROGUE ENGINEER
-------------------------------------------------
BE SOCIAL
 0:09:52
We Built a Block Retaining Wall (How to do it right!)
 0:00:16
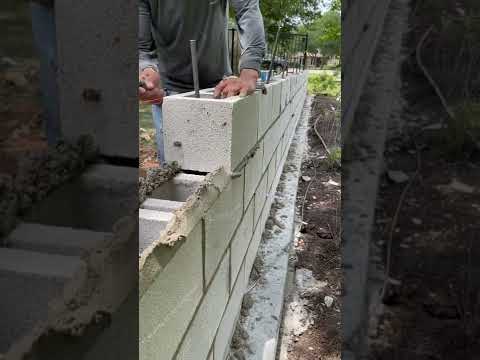
Installing some 8x8x16 CMU blocks for a decretive fence wall
 0:01:01
DIY Retaining Wall #diyprojects #retainingwall #diy
 0:01:00
How To Build A Block Retaining Wall | Block Building Tips| Block Building Tutorial | #blockwall 💯🧱...
 0:00:08
Building a Block Wall #shorts
 0:16:01
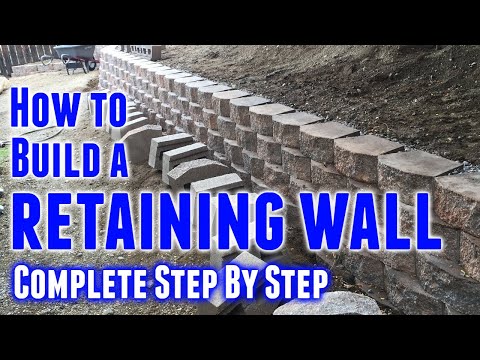
How to Build a Retaining Wall (Step-by-Step)
 0:00:10
Sloped Yard Leveling w/ Retaining Wall
 0:06:49
We Built a Retaining Wall out of Wood (Steps to make it last)
 0:30:10
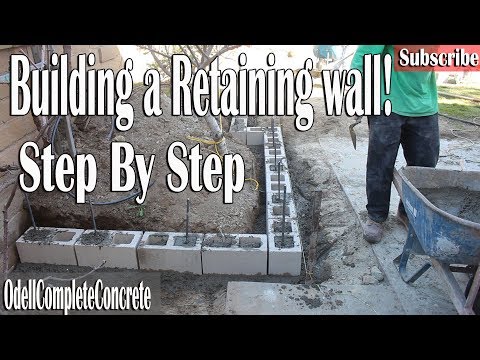
How to build a block retaining wall 🧱 🧱
 0:11:35
How to Build a Retaining wall Easy Guide DIY
 0:00:15
How To Build An Allen Block Retaining Wall | Block Wall Building Tips | Clean Blocks Is The Key 🔑
 0:00:15
Epic Concrete Block Retaining Wall #shorts
 0:00:16
Easy DIY Concrete Wall!
 0:00:22
DRY-BAG 🤯 Retaining Wall #diy #concrete #shorts
 0:03:00
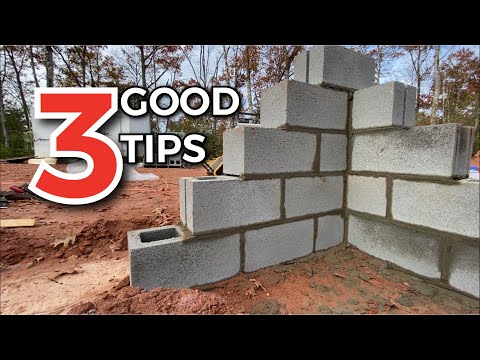
3 Great Tips for Block-work | Build A Foundation
 0:00:15
Retaining wall and drain system #construction #retainingwall #retainingwalls #concrete
 0:01:00
DIY Small Retaining Wall
 0:22:15
How to build a retaining wall - Easy DIY
 0:00:17
Retaining Wall Install on Slope
 0:00:29
⚒️ How To Build A Concrete Retaining Wall On Hillside.. ✅ Out Full Version ⏬⏬
 0:00:29
🔥How To Build A Concrete Retaining Wall.. #short version.. ✅ Below For Full Video ⏬
 0:20:44
How to Build a Retaining Block Wall
 0:00:16
Leveling big retaining wall blocks #retainingwall #shorts #howto #construction
 0:00:17
How to install cement block. Rookie installer. #diy #youtubeshorts #construction
Комментарии