filmov
tv
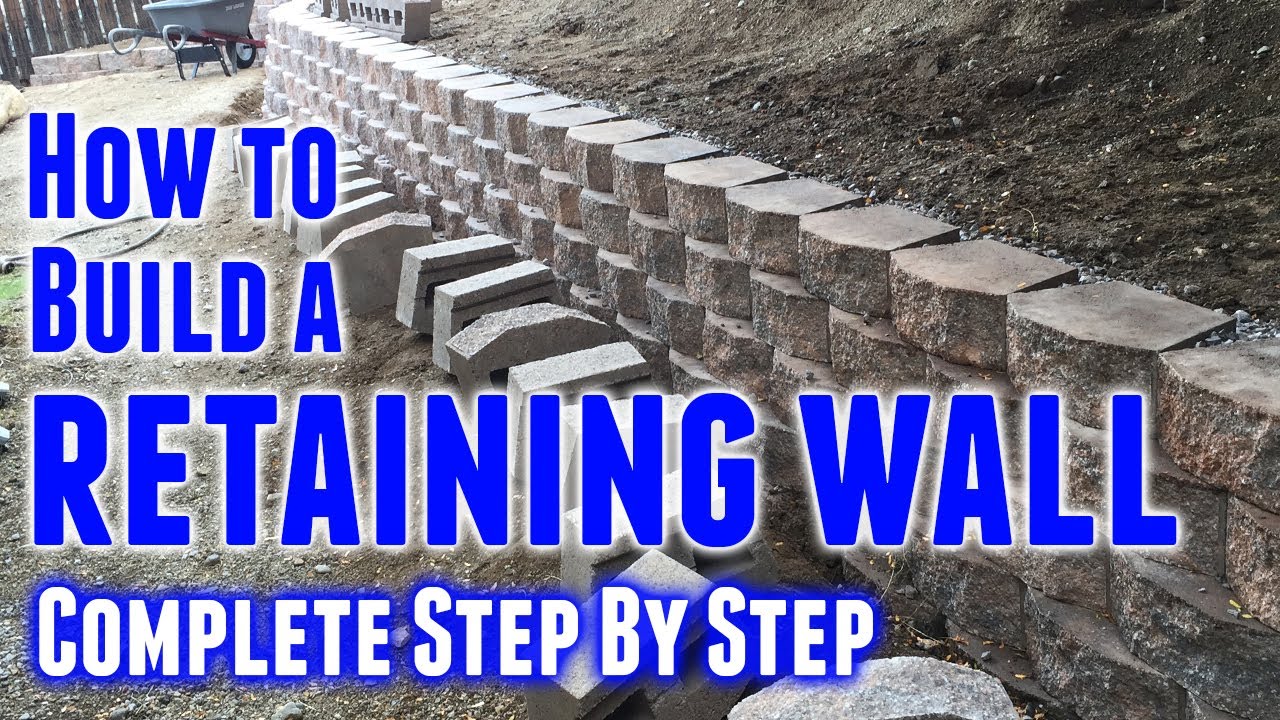
How to Build a Retaining Wall (Step-by-Step)
Показать описание
In this video, I show you exactly how to build a retaining wall with landscape blocks.
You'll learn how to design your retaining wall, the tools you need, how to build it step by step, and even some retaining wall design ideas.
First, I'll walk you through how to design your retaining wall, and the critical components you need to include so your retaining wall doesn't fail. Things like proper drainage, a solid base material, and making sure you dig deep enough so the retaining wall doesn't fall over.
Most people skip critical steps, like digging deep enough for a 6" packed gravel base - which is critical for the structural integrity of your wall. Or, even worse, they don't install a gravel base at all.
You'll also learn the importance of using 3/4" gravel behind your retaining wall blocks so excess moisture doesn't build up behind the wall and potentially cause it to fall over.
Then, I'll demonstrate how wide to dig the trench before building your wall, and what to consider when planning that out. In this video, I built a curved wall with a cool step feature.
Then, we'll go right into building it, starting with the first row of blocks., which you'll need to make sure are perfectly level. I'll share some tips (use sand) for making this much easier so you can save time.
This home improvement project will have a dramatic impact on your landscape, and it doesn't cost that much. In fact, this 50' long wall, which is 3' tall, only cost me about $1,000 in materials total. That's pretty amazing considering the transformation it made to my backyard.
I think you'll like this video because it includes a time-lapse of building the wall as well - so you can get an idea of exactly how much work goes into installing a retaining wall - which is a lot!
---About Handyman Startup ---------------------------
Handyman Startup is a website designed to help you turn your DIY skills into a profitable handyman business. Learn things like how to start your business from scratch, how to get customers, and how to price your services - even if you only have limited handyman skills.
Very few people know you can generate a six-figure income as a handyman while only offering basic services like hanging pictures and TVs, patching drywall, fixing fences, and other small, but simple repairs.
---Related Videos ------------------------------
---Related Links ---------------------------------
 0:16:01
How to Build a Retaining Wall (Step-by-Step)
 0:09:52
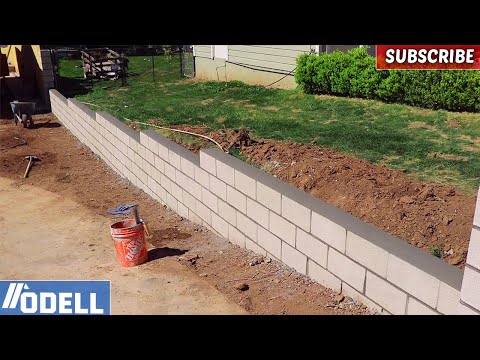
How to Build a Block Retaining Wall [DIY Guide]
 0:02:59
How To Build a Retaining Wall
 0:11:35
How to Build a Retaining wall Easy Guide DIY
 0:05:33
How to Build a Retaining Wall (step-by-step)
 0:06:51
How to Build a Small Retaining Wall in One Day by Yourself | Cheap Basic Retaining Wall
 0:17:37
How to Build a Retaining Wall Start to Finish
 0:10:24
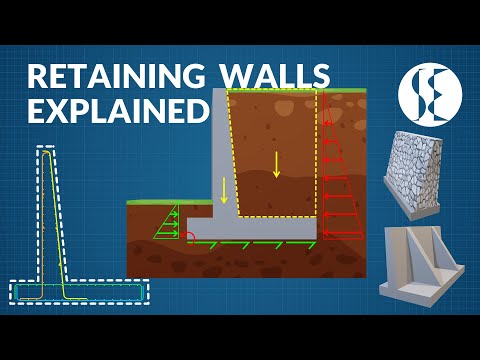
Retaining Walls Explained | Types, Forces, Failure and Reinforcement
 0:01:00
Retaining wall construction types design । how to build retaining wall । building boundary wall
 0:02:19
How To Build Retaining Wall - Bunnings Warehouse
 0:12:24
How To Build A MASSIVE Retaining Wall Driveway In 10 Minutes! Price, Time & Legality Breakdown!
 0:15:59
How to build a Retaining wall STEP BY STEP!
 0:22:42
How to build a RETAINING WALL that WON'T fall over!
 0:20:44
How to Build a Retaining Block Wall
 0:04:37
How to Build a Retaining Wall in 10 Days: A Timelapse Guide
 0:11:45
DIY Gravity Retaining Wall - How I built this retaining wall myself
 0:23:58
HOW TO BUILD A RETAINING WALL
 0:11:16
How to Build a Retaining Wall | Mitre 10 Easy As DIY
 0:16:03
HOW TO BUILD A RETAINING WALL
 0:07:23
Build a Retaining Wall: FINISHED! [Part 3]
 0:16:08
How to build a retaining wall up hill
 0:04:29
Concrete Bag Retaining Wall | How I Built | Steve Addis
 0:11:24
How to Build a Short Retaining Wall
 0:22:15
How to build a retaining wall - Easy DIY
Комментарии