filmov
tv
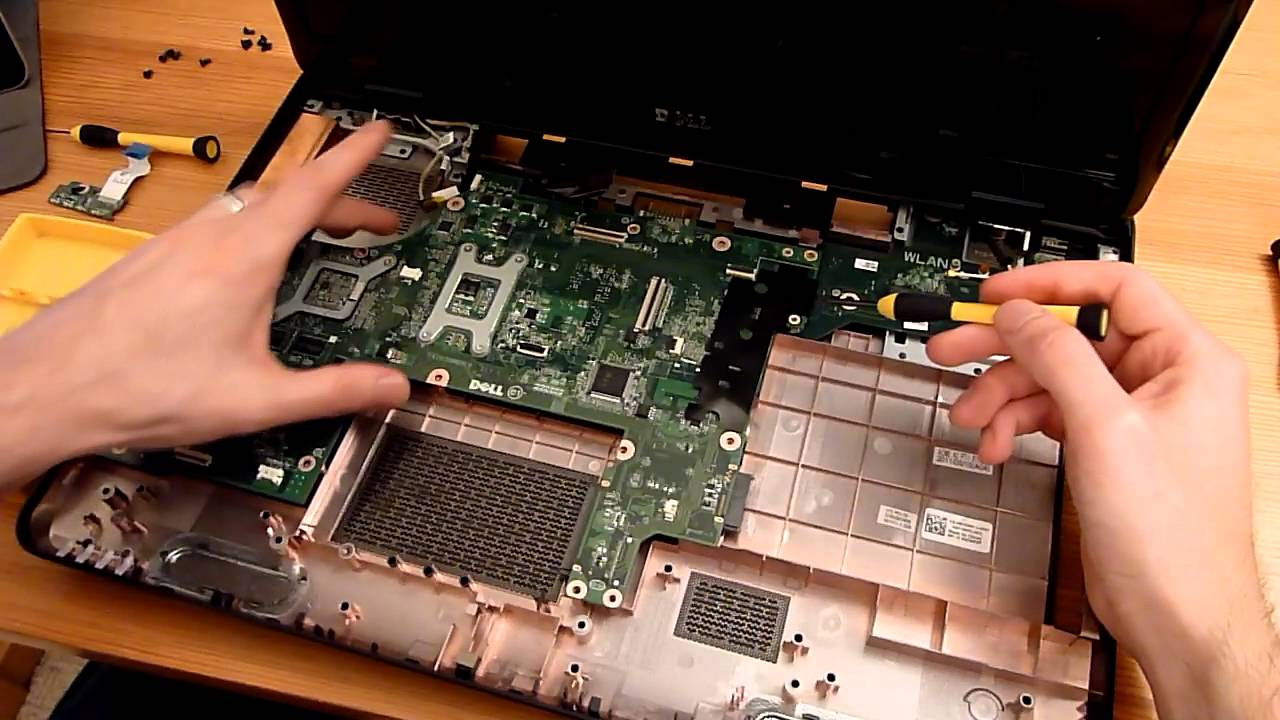
How to upgrade and dismantle a Dell 17R N7110
Показать описание
 0:02:33
How To Dismantle & Upgrade In Ghost Recon Breakpoint
 0:01:40
Assassin's Creed Shadows | How to Upgrade & Dismantle a Weapon Gears
 0:13:33
How to upgrade and dismantle a Dell 17R N7110
 0:18:39
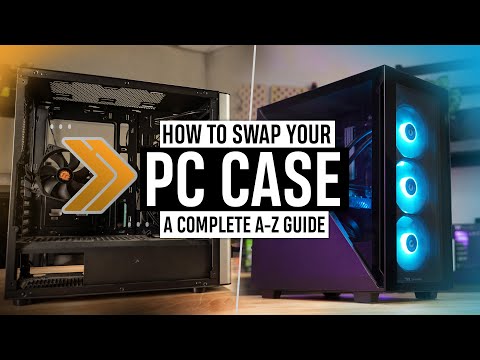
How to SWAP your PC Case - A Complete WALKTHROUGH
 0:03:06
Assassin's Creed Shadows ● How To Dismantle & Upgrade Your Gear
 0:01:41
How to Upgrade and Dismantle Gear Assassins Creed Shadows
 0:10:00
How to upgrade and dismantle Dell Mini 1012
 0:01:53
How To Upgrade Modification 3 Of Dismantle Machine Or Saprating Table, Dark Days: Zombie Survival
 0:06:29
How to Dismantle Defenses like Prime Messi (2011-12)
 0:09:17
How to upgrade & dismantle Dell Mini 10v 1018
 0:14:20
How To Dismantle / Disassemble any HP Pavilion 15 series laptop - Upgrade HD, RAM, Screen etc
 0:04:50
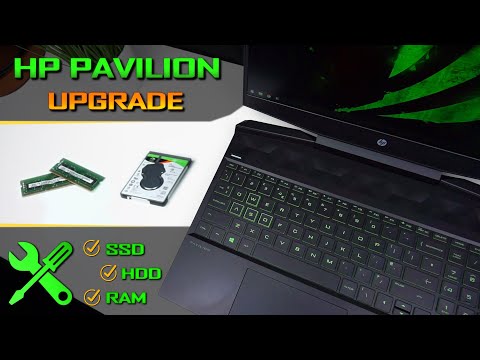
HP Pavilion 15 Gaming Upgrade RAM / SSD / HDD - Disassembly Guide
 0:23:17
How to Rebuild the Entire Front Suspension in your Car or Truck
 0:10:15
Lenovo A340 All in one PC NVME Upgrade | SSD Upgrade | full dismantle
 0:04:07
How to Open a Laptop Battery Without Damage – Safe 18650 Cell Replacement Guide
 0:03:02
🛠️ Lenovo Ideapad 3 (15) - disassembly and upgrade options
 0:03:18
HOW TO INFUSE & DISMANTLE GEAR - DESTINY 2 (BEGINNER'S GUIDE)
 0:17:17
Transform a Damaged Laptop into an ALL-IN-ONE desktop PC
 0:03:54
New CBT Update! Runes Dismantle & Upgrade Feature in Ragnarok M Eternal Love
 0:03:09
🛠️ ASUS ROG Strix G15 G513 - disassembly and upgrade options
 0:15:22
How to Disassemble a Laptop Acer Aspire E15 Series E5 Upgrade RAM HDD Cleaning Cooling Fan
 0:01:18
How to dismantle fairy after update 🍷✨ | Neverland 🖼️✨
 0:07:04
How to Clean a PS4 Slim
 0:10:49
MSI GF62 8RC Gaming Laptop How to Dismantle Upgrade HD
Комментарии