filmov
tv
You Need This Hack To Get Consistent AI Video Using Stable Diffusion Controlnet and EBsynth | Part 1

Показать описание
Video consistency in stable diffusion can be optimized when using control net and EBsynth. In this tutorial, I'll share two awesome tricks Tokyojap taught me and introduce a free generator for creating a grid from your images.
It's a crucial step to achieve flicker free and consistent AI animation. Tokyojap uses the text2img tab instead of the img2img tab in stable diffusion, which allows for incredible style transfer in high resolution quality.
He calls it the temporal consistency method. It's the best flickerfree AI video technique I've come across in 2023, made possible with stablediffusion, controlnet, and EBsynth. Get ready to take your videos to the next level with these powerful tools!
0:00 Introducing Tokyojab's 2 hacks
0:38 Showcasing Tokyojab's videos
2:30 Start Tutorial
3:36 Export video into img sequence
5:25 Making the grid from 4 images on Sprite sheet packer website
6:17 Settings in Stable diffusion and Control net
7:48 The VAE (variational auto encoder) + the installation
8:39 Prompting in Stable Diffusion
10:17 Cutting the grid into 4 images with ezgif sprite sheet cutter
11:01 Create the images in EBsynth
11:57 Stitching the images together in davinci resolve 18
13:03 What is in the 2nd Tutorial
Links:
-Tokyojab Reddit post:
The 3 civit ai models:
-Art & Eros
-Realistic-vision-v12
-Cine Diffusion
-Pexels girl
Installing the vae model, on the hugging face website
Sebastian Kamph's Installation of Stable diffusion automatic 1111 webui
Creating the grid and cutting it:
Rundiffusion
EBsynth Free Software
DISCLAIMER: No copyright is claimed in this video and to the extent that material may appear to be infringed, I assert that such alleged infringement is permissible under fair use principles. If you believe material has been used in an unauthorized manner, please contact the poster.
 0:19:40
you need to HACK faster!! (Linux Terminal hacks YOU NEED!!)
 0:05:03
Learning to Hack as a Kid
 0:13:24
Secret Hack to Make you Top/Pro Player from a NOOB | Catizen Bombie | Crypto1O1
 0:01:00
Kitchen hack is easy and clean! 🍅
 0:03:45
HACKERMAN'S HACKING TUTORIALS - How To Hack Time
 0:02:57
EASY UPDO HACK YOU NEED TO TRY! MEDIUM & LONG HAIRSTYLES
 0:00:26
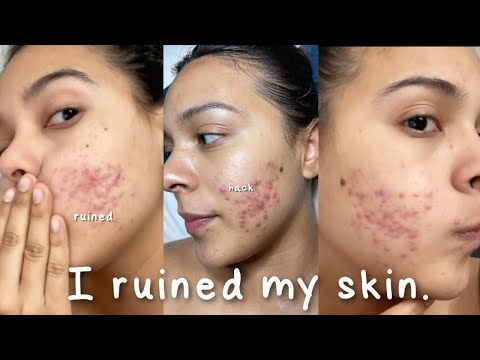
I Ruined My Skin with this Beauty Hack... #shorts #skincare
 0:04:48
Can Someone Hack Your Phone With Just Your Number?
 0:02:55
Simple HACK To Improve Your Credit Score | Financial Freedom Challenge - Task 4
 0:00:25
HOW TO UNCLOG YOUR SINK #hack #kitchenhacks #plumbingtips #shorts
 0:00:53
One Easy Ponytail Hack You Need To Know
 0:01:00
HACK to get free backbling 🤑
 0:10:35
Warning! Android phone remote control // Hackers can hack your phone
 0:00:40
Rice Popcorn Hack – Can You Really Make Popcorn from Rice? 🍚🍿
 0:16:40
You Should Learn How to Hack | Ymir Vigfusson | TEDxReykjavik
 0:00:35
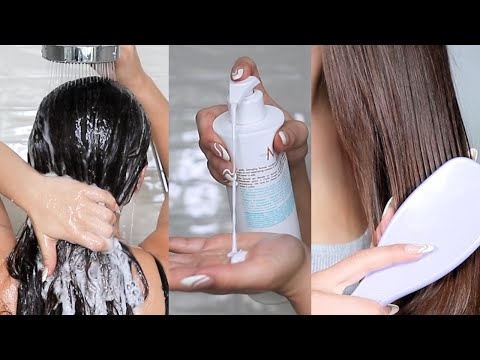
HAIR WASHING HACK THAT WILL SAVE YOUR HAIR #shorts #YouTubePartner #haircareroutine
 0:10:51
Use This One EASY Hack To Jailbreak A Nintendo DSi
 0:00:30
Here’s a Percent Hack That You NEED To Know #Shorts #math #maths #mathematics #hack #trick
 0:00:32
Classroom Cosmetics 🎨 The Sneaky Artist Hack You Need! #funny #art
 0:00:10
Phone Hacks and Cats! #ytshorts #funny #youtubeshorts #shortsvideo #shorts #humor #yt #cat #hack
 0:01:21
How To Hack Into a Computer
 0:00:31
Testing an Avocado Pitting Hack from TikTok!
 0:00:29
YouTube HACK for more Views
 0:00:26
A Useful WhatsApp Hack!
Комментарии