filmov
tv
Electric Bike Conversion (Part 3) || Final Assembly & Test Ride

Показать описание
You can order an Electric Bike Conversion kit here: (affiliate links)
In this final chapter of the Electric Bike Conversion project I will be showing you how I created an enclosure for my DIY battery pack and how I mounted all the components onto my bike. At the end I will then go for a test ride in order to present my verdict about such conversion kits.
Thanks to JLCPCB for sponsoring this video
Music:
In the Hall of the Mountain King, Kevin MacLeod
2011 Lookalike by Bartlebeats
Killing Time, Kevin MacLeod
 0:07:55
Electric Bike Conversion (Part 3) || Final Assembly & Test Ride
 0:22:56
DIY E-BIKE PT 3/3 | HOW TO BUILD A CHEAP FAST ELECTRIC MOUNTAIN BIKE | BATTERY, SENSORS, & SCREE...
 0:30:50
Pt. 3 Convert ANY bike into an EBIKE! **BATTERY & CONTROLLER FITTING GUIDE**
 0:11:02
EBike Battery Pack || DIY or Buy || Electric Bike Conversion (Part 2)
 0:13:24
Electric Bike Conversion Kit Options | DIY E Bikes With EMBN
 0:16:30
LOW-COST BIG BRAKE UPGRADE, FOR ANY BIKE! (WORLD'S FASTEST MTB PT.3)
 0:04:27
Revolutionary E-Bike Conversion Kit | ZIPFORCE SLIM REVIEW
 0:10:04
Super73 72V Build // 5000w 25LB Hub Motor Swap Pt.3
 0:02:27
Surly Bridgeclub with Bafang BBS02 conversion
 0:10:27
Giant Revive LX I ebike conversion - part 3 - Testdrive
 0:07:03
Top 7 Best ebike Conversion Kit
 0:11:20
Powerful Electric Bike Conversion Part I (E-Bike Conversion Kit Installation)
 0:03:12
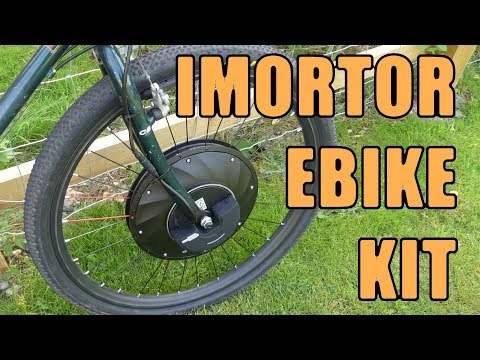
Imortor 3: The Best Electric Bike Conversion Wheel?
 0:11:13
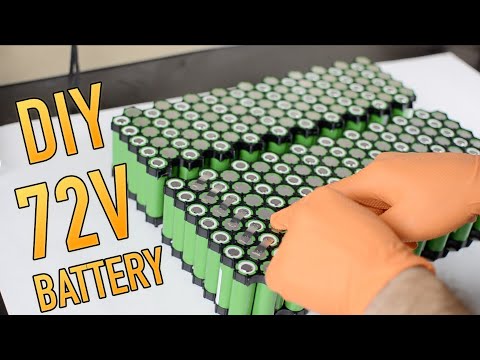
DIY electric motorcycle 72V battery build (DIY E-moto Part 3)
 0:08:01
The Easiest DIY Electric Bike Kit I've Ever Used! (Rubbee X)
 0:10:12
Rad Factory Ebike Hack, Part 3. Adding Regenerative Braking with a Welded Clutch
 0:03:21
Most popular bike styles to avoid when converting into an Electric Bike
 0:19:04
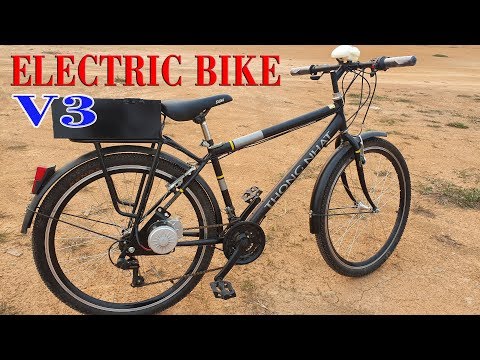
Build a Electric Bike Using DIY KIT 250W Reducer Motor - V3
 0:08:46
Top 10 Best E-Bike Conversion Kits in 2024
 0:00:27
Earl's Custom Built Imortor 3.0 36v 800w E-Bike 3-30-21
 0:04:35
Turn an old bike into an ebike - cheap & easy IMortor conversion kit
 0:03:36
Installing an Electric Bike (eBike) Conversion Kit
 0:16:11
Enduro E-Bike Build. Final Part 3 - All The Components Installation.
 0:12:04
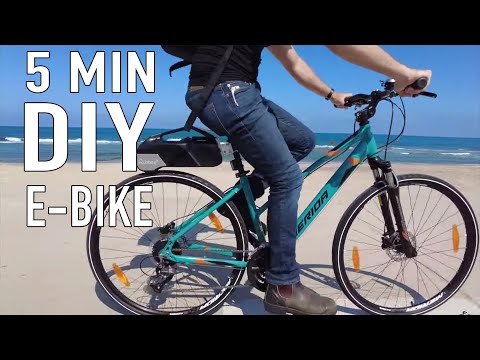
Making a super cheap electric bike (for $182)
Комментарии