filmov
tv
How to Use a Wood Chisel | Woodworking

Показать описание
-
-
Now, once you've got the back flat, and the front sharp, you're pretty much ready to go. Using these chisels is very simple. There's basically two operations you're going to do with chisels. One is called paring, which is a horizontal, slicing motion. The other is a chopping, or mallet work, where you've got the chisel in a vertical position and you're chopping down into an opening, trying to square something. Paring is often used when you're just cleaning up the face of the joint that might be rough from saw marks.
Now, holding the chisel, you're going to want to take your primary hand, if you're right-handed that's your right hand, on the handle and use your left hand to support and control the blade. It's also providing a level surface for the chisel, to guide it along the work. Here, we're going to cross the end-grain, which is one of the most difficult grains to get across because all of the little wood fibers are sticking up. If you can see what I'm doing, I'm just taking off little bits, little shavings at a time. That's the goal, with paring. Don't go for big chunks, you really want to take little shavings off of your work. One thing that happens to most beginners when you chisel, is that you end up taking more wood off the back of the cut than at the front. Just be aware of this. Check your work every now and then, and see if you're lower in the back. It's because when you're in depth over here, you're pushing down harder. So, that's horizontal paring.
There's also vertical paring. Vertical paring is pretty similar to horizontal paring, you're just working in the vertical plane. For instance, I have these sample mortises, we were testing out a jig for, and one of the jobs you always have to do, when using a router to cut mortises, is square them out. You can see, the rounded ends have to be squared, like this one is. So, that's a job for the chisel as well.
In a joint like this, we're going to have to use the chisel to set some guide-lines as well. The technique for doing that is to take a big chisel, one with a lot of surface area, place it on the inside wall of the mortise and just tip it up. It will carry that line of your mortise wall to the top of the wood. So, basically what I'm doing is trying to create an extension of the wall of my mortise, past this curve, so that I can have a place to cut into it. You also have to do the same on the back, to create a straight edge along the back wall. Here, I'm just using hand pressure. I don't need to use the mallet for this, so I'm just going to create my lines. Now, why am I doing this? I could have done this in pencil. One of the reasons, is now I can just drag my chisel across, and it will drop right into that line that I've drawn. I don't really need to pay too much attention. Now that I've carefully placed that, so now I can just begin my chopping.
With something like this, with a mortise, you want to chop this out. There's no way you can pare-down, into this much wood, by pushing, so you're going to want to use a mallet. There's two kinds of mallets you'll see, and this is called a carpenter's mallet. It's perfect for this kind of work. The other kind is called a carver's mallet. They both do the same thing, just different styles. We'll use the carpenter's mallet for this, it's a little better. You need to pay attention to the beveled side, versus the backside when doing this kind of work. The backside should always be facing the wood that you're keeping.
Another way to look at it is, the beveled side goes with the waste. So, if I had placed the beveled side facing the good wood, it would cut into the wood. I wouldn't be creating a straight line. So, let's start here. You can start by chopping the ends. One tip about this is you want to, of course, make sure your chisel is straight up and down. Just give it a good, firm tap to get it started. The fewer taps you do, the better in my opinion. If you do a lot of little taps like this, that's more chances for the chisel to move around in between blows. I've got my chisel almost all the way down to the surface of this mortise, I'm just going to pry it out. Now, we'll go to work on the sides. So, I do the same thing. I've got my little guideline, that I can just drop this into and chop that mortise out.
Now, we'll move to the other side and do the same thing. So, with most of the wood removed, I've got my square roughed out. If you're a beginning woodworker, it might be a good idea to get a starter set of these chisels. They're not too expensive. Then, you can practice sharpening on them, you can get used to how they work, a
 0:07:30
Before Hitting Your Woods Do This For 5 Seconds
 0:05:47
CRUSH YOUR 3 WOOD FROM THE FAIRWAY EVERY TIME!
 0:08:33
HOW TO HIT YOUR 3 WOOD CONSISTENTLY
 0:00:52
Butch Harmon on When to Use Your 3-Wood vs Your 5-Wood | Golf Tips | Golf Digest
 0:15:02
What can you do with a chisel?
 0:03:30
How to Finish Wood in 3 Easy Steps | Just Ask Bruce
 0:04:03
Basic Wood Joinery
 0:12:58
Should You Choose Hybrid vs Fairway Wood vs Driving Iron? (Build My Bag)
 0:04:01
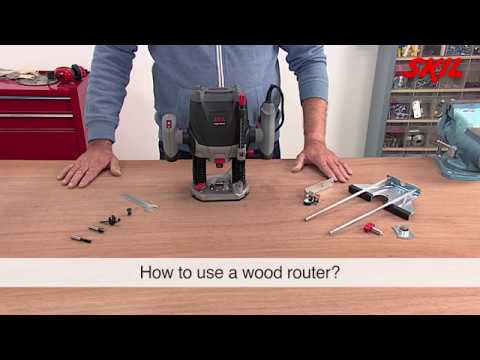
How to use a wood router?
 0:16:27
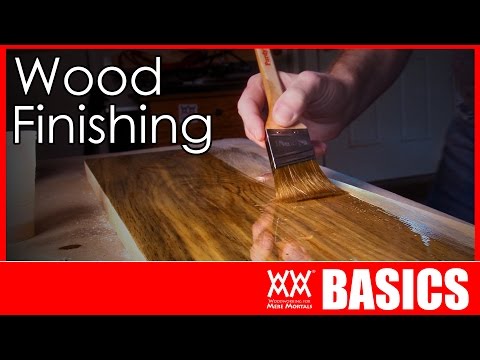
What Kind of Finish Should You Use? | WOOD FINISHING BASICS
 0:06:49
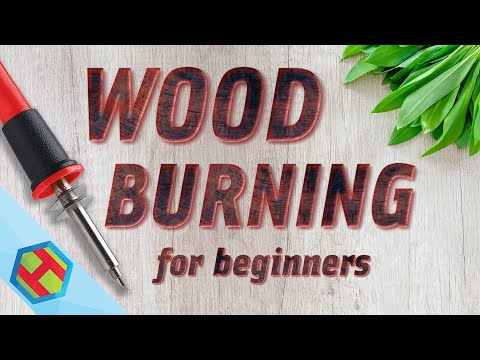
Wood burning for beginners (pyrography) - how to get started
 0:10:07
STOP TOPPING YOUR WOODS - Learn to hit a wood off the ground
 0:06:52
Learn How To Cut Grooves In The Middle Of Wood
 0:08:53
Wood Burning Tutorial for Beginners- Pyrography Tutorial & Basics Tips (2021)
 0:05:30
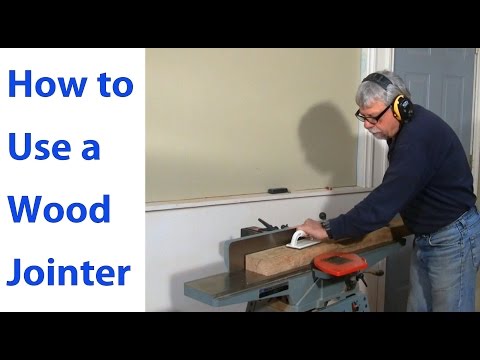
How to Use a Wood Jointer: Woodworking for Beginners #3 - Woodworkweb
 0:07:24
3 Wood vs 5 Wood - What should you have in the bag, GREAT INSIGHT!
 0:07:54
How to Apply Polyurethane to Wood | Easy Guide to Finishing Wood with Polyurethane
 0:06:05
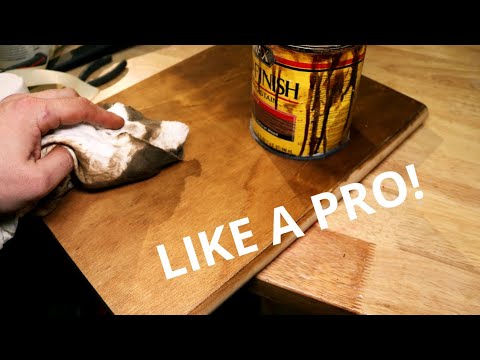
How to stain wood LIKE A PRO! Pine wood staining tips and tricks
 0:18:23
How to Use a Wood Burning Stove
 0:05:56
Learn How to Wood Burn in 5 Minutes
 0:07:38
How To Tee Off With A 3 Wood | Easily
 0:05:10
How to Use a Wood Chisel | Woodworking
 0:11:22
How to use Your Angle Grinder on Wood
 0:01:36
Wood Cutting Board Care for Normal Lazy Humans
Комментарии