filmov
tv
Quilt Binding 101: How to Machine Bind Your Quilts: SO EASY!

Показать описание
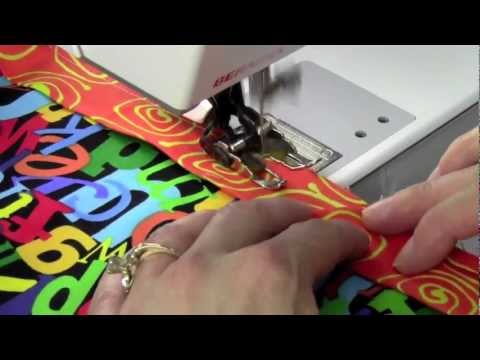
Learn the easiest way to bind a quilt with this Quilting 101 tutorial! In this video, I will guide you through the step-by-step process of binding a quilt with your sewing machine, making it a simple and enjoyable task for quilters of all skill levels. Whether you're a beginner or a seasoned quilter, this technique will help you achieve clean and professional-looking edges on your quilt projects. Watch now to master the art of quilt binding! It's REALLY that simple! This is the last video in my Quilting Basic Series! Yay!!!
LET'S HANG OUT!
FREE RESOURCES:
CHAPTERS:
00:00 Intro
02:50 Introducing Paper Version of "Cozy Picnic"!!
05:55 Quilt Binding Is Fun!
07:22 Quilt Binding Math
10:47 Cutting the Strips
12:41 Sew the Strips Together
16:46 Pressing the Strips To Create the Binding
25:05 How to Attach the Binding to the Front
37:16 How to Attach the Binding to the Back
42:38 Wrapping Up the Video!
 0:45:40
Quilt Binding 101: How to Machine Bind Your Quilts: SO EASY!
 1:09:57
Quilt Binding 101: How to Bind a Quilt
 0:02:31
Quilting 101: Calculating Quilt Binding Needs
 0:12:45
Quilt Binding 101 - Binding Quilt by Machine
 0:04:26
Quilting 101: How to connect binding
 0:21:20
Binding by Machine 101 - Quilting tutorial from Gudrun Erla of GE Designs
 0:02:54
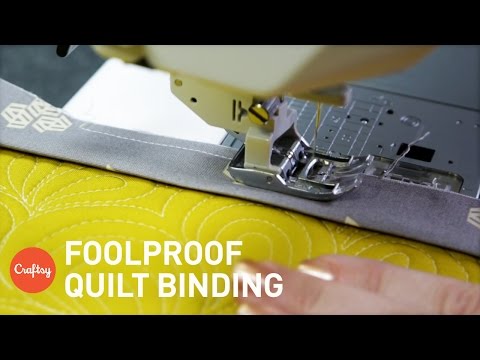
How to Bind a Quilt: Foolproof Tips for Great Results | Quilting Tutorial
 0:10:03
Binding 101-how to bind a quilt-learn to sew-make a quilt-finish your quilt
 0:02:32
Quilt Binding 101
 0:13:09
The Simple Quilt Binding Hack That Will Change Your Life 😲
 0:22:24
Quilt Binding Tutorial
 0:05:09
Binding for Beginners- Easy Way to Finish Your Quilt Projects
 0:13:11
HOW TO BIND A QUILT - BINDING HACK TO YOU NEED TO HAVE
 0:12:58
How to Machine Bind a Quilt
 0:06:57
How to Bind a Quilt - 6 Simple Steps
 0:34:02
Quilts Plus Binding 101
 0:00:58
How to bind corners! #quilting #quiltingforbeginners #quiltingtutorial
 0:34:19
Machine Binding 101 With Miriam Coffey
 0:00:49
🍓 Simply The Best Quilt Binding Technique #quilttube #thesewingchannel #scrapberryginghamquilt
 0:09:26
💥 HOW TO BIND YOUR QUILT ON A SEWING MACHINE BINDING 3 METHODS
 0:06:19
Quilt Binding Basics 101: Part 2
 0:18:11
Quilting 101 #9 Binding - Michael Miller Fabrics' Making it Fun
 0:15:01
2023 Quilts - Binding 101 with Emily
 0:12:11
QITV with Quilting 101: Binding Your Quilt
Комментарии