filmov
tv
Simplify Your Digital Painting Process

Показать описание
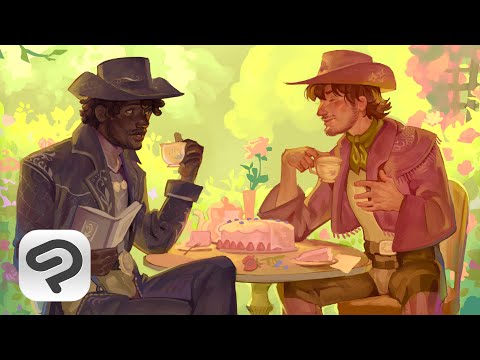
Start your digital painting by choosing an easy reference and focus on color and process. Begin with compositional thumbnails to arrange shapes pleasingly, adjusting the ratio of ground to sky. Refine your sketch, establish perspective with tools, and block in flat shapes on separate layers. Use temperature contrasts for interest, and add form to elements like clouds and trees. Experiment with colors, refine details, and harmonize the final piece with post-processing effects.
CHAPTERS:
00:00 - Intro
00:13 - Compositional Thumbnails
02:36 - Refining the Thumbnail
04:12 - Starting the Painting
08:31 - Adjustment Layers
09:12 - The Final Painting
17:40 - Final Touches
18:34 - Assignment
19:06 - Outro
#digitalpainting #digitalart #composition
Don't miss new tutorials - Hit the BELL!
FOLLOW PROKO:
WATCH MORE PROKO:
ABOUT PROKO:
Instructional How to Draw videos for artists. My drawing lessons are approachable enough for beginners and detailed enough for advanced artists. My philosophy is to teach timeless concepts in an entertaining way. I believe that when you are having fun, you learn better. I take pride in producing high-quality videos that you will enjoy watching and re-watching.
CREDITS:
Script - Jon Neimeister
Production Assistance - Sean Ramsey
Publishing - John Birchall, Alex Otis
Music Used with Permission
Intro - The Freak Fandango Orchestra
Additional music by Epidemic Sound
 0:19:23
Simplify Your Digital Painting Process
 0:25:42
my full digital painting process✨ brushes, gradient maps, and more~
 0:13:12
How to Learn Digital Painting (Beginners)
 0:12:07
How To Render Like An ART GOD
 0:06:42
How to IMPROVE your art fast // kinda
 0:01:58
This 1 Minute Digital Painting Tutorial will Teach you More Than You Expect
 0:07:47
How to find your art style FAST in 3 easy steps (yeah, really)
 0:04:59
How to SIMPLIFY your painting process for better results!
 0:08:56
My (digital) oil painting process!
 0:15:43
HOW I DRAW CLOTHES + PAINTING GUIDE
 0:09:06
How I Color Characters In 4 Steps
 0:00:14
SIMPLIFY YOUR (artistic) PROCESS #abstractpainting #arttutorial
 0:04:17
Landscape Digital Painting for Beginners | Paintable Digital Art Tutorial
 0:20:24
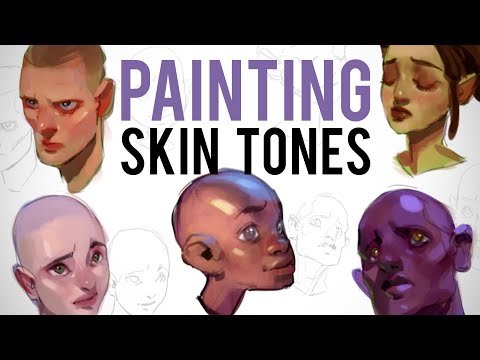
Painting Skin Tones
 0:08:15
Sam Does Arts Process Breakdown!
 0:12:50
How to Simplify - Or, what do I do with all those details?
 0:20:13
Secret Ruins - Digital Painting Process and Commentary
 0:13:48
Color Theory for BEGINNERS + How to ACTUALLY use it in Digital Painting
 0:00:36
The Best way to Paint Values
 0:28:36
Digital Painting for Beginners - Brushwork and Color
 0:05:58
How to Simplify Your Paintings
 0:10:21
3 Techniques for Incredibly Realistic Portraits
 0:22:08
How to do digital painting
 0:01:00
4 Tips For Painting Complicated Scenes & Landscapes In Procreate #shorts
Комментарии