filmov
tv
[FIXED] No WiFi Networks Found or WiFi Not Available Windows 11

Показать описание
In today’s quick video I will show you how to fix the no WiFi network found issue or wifi not available in Windows 11.
1. Firstly, open control panel, then network and sharing and change adapter settings, Now right click on wifi adapter and select disable and then again select enable.
2. Go to start- settings- system settings- troubleshoot- Run troubleshoot for Network and Internet.
3. Go to search and Type services, scroll down to WLAN AutoConfig, right click and select properties and select automatic start type next click start and then apply and ok. Do the same for WWAN AutoConfig.
4. Open the Control panel and go to the Network and Internet option. Click the Internet option. Now go to the advanced tab and click restore advanced settings and click apply and ok. Now go to connections tab and choose LAN settings and make sure automatically detect settings is checked, if not check it and click ok.
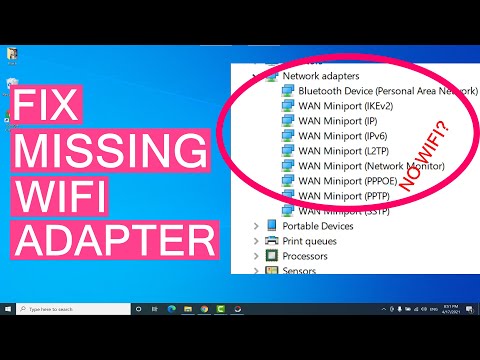
5. Try reinstalling or updating wifi driver from settings in wifi adapter from the device manager settings.
6. Open cmd from search, right click and run as administrator and type netsh winsock reset and type enter now again type netsh int ip reset and click enter. Now most of the wifi related settings will be reset. Next type ipconfig /flushdns and press enter.
7. Go to settings and Network and Internet settings and Advanced Network Settings, scroll down and choose Network reset and click reset now. But before that make sure you have all the passwords written somewhere.
8. Press Windows + R to open Windows Run dialog.
Click Next to run Hardware and Devices troubleshooter. It will automatically detect problems and fix if any.
Bonus: Check if your wifi adapter is connected and wifi button is on on Laptop.
Follow us on :
1. Firstly, open control panel, then network and sharing and change adapter settings, Now right click on wifi adapter and select disable and then again select enable.
2. Go to start- settings- system settings- troubleshoot- Run troubleshoot for Network and Internet.
3. Go to search and Type services, scroll down to WLAN AutoConfig, right click and select properties and select automatic start type next click start and then apply and ok. Do the same for WWAN AutoConfig.
4. Open the Control panel and go to the Network and Internet option. Click the Internet option. Now go to the advanced tab and click restore advanced settings and click apply and ok. Now go to connections tab and choose LAN settings and make sure automatically detect settings is checked, if not check it and click ok.
5. Try reinstalling or updating wifi driver from settings in wifi adapter from the device manager settings.
6. Open cmd from search, right click and run as administrator and type netsh winsock reset and type enter now again type netsh int ip reset and click enter. Now most of the wifi related settings will be reset. Next type ipconfig /flushdns and press enter.
7. Go to settings and Network and Internet settings and Advanced Network Settings, scroll down and choose Network reset and click reset now. But before that make sure you have all the passwords written somewhere.
8. Press Windows + R to open Windows Run dialog.
Click Next to run Hardware and Devices troubleshooter. It will automatically detect problems and fix if any.
Bonus: Check if your wifi adapter is connected and wifi button is on on Laptop.
Follow us on :
![[FIXED] No WiFi](https://i.ytimg.com/vi/10o4CGb8nHc/hqdefault.jpg) 0:01:04
0:01:04
![[FIXED] No WiFi](https://i.ytimg.com/vi/I1z2UlHenz4/hqdefault.jpg) 0:01:21
0:01:21
 0:02:11
 0:04:47
 0:03:49
 0:12:30
 0:04:49
 0:07:49
![[FIXED] No WiFi](https://i.ytimg.com/vi/Kmi4BVj1fwo/hqdefault.jpg) 0:04:47
0:04:47
 0:01:41
 0:00:44
 0:04:53
 0:08:35
 0:03:54
 0:02:14
 0:05:11
 0:06:04
 0:11:39
 0:00:54
 0:06:58
 0:05:55
 0:02:27
 0:08:12
 0:00:20