filmov
tv
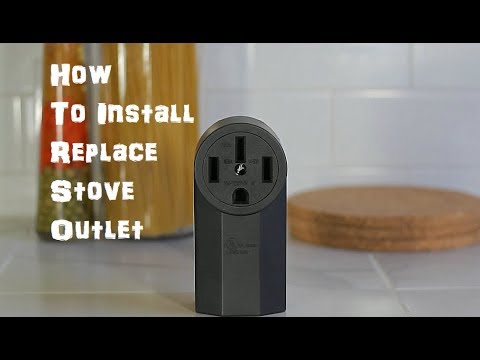
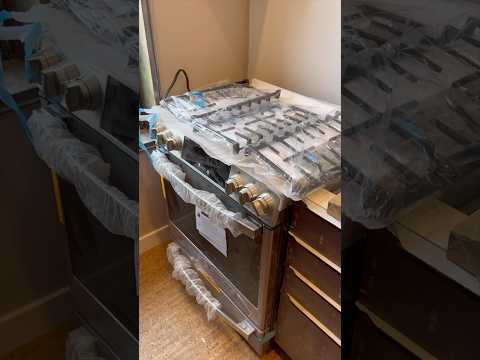
How To Install Stove Range Cord 3 or 4 Prong

Показать описание
In today's video we are taking a look at How To Install a 3 or 4 Prong or Hard Wire Stove Cord easy and simple.
video:
Any Question Dont Hesitate To Ask!
Support our Work on patreon! Thank You!
My Gear
My Complete Gear List (always Updated)
StatUpBox
PO BOX 48450
Cumberland, NC 28331
As an Amazon Associate I earn from qualifying purchases
This Video is created for educational and entertainment purposes only. This video is only created to entertain for its comedic value .You should always contact a license professional when installing, repairing, creating, replacing, making a recipe, cooking, working in any project or replicating anything done on the video. This video is not intended to replace a professional advice, diagnosis or treatment. we hereby disclaim any and all liability to any party for any direct, indirect, implied, punitive, special, incidental or other consequential damages arising directly or indirectly from any use of the Video Content, which is provided as is, and without warranties. Any reliance you place on such information on this content is therefore strictly at your own risk. This video should only be taken as comedic entertainment.
 0:02:41
How to Install a 3 Prong Range Cord - 3 Prong Stove Cord
 0:00:57
GE Appliances Fit Guarantee -- Slide-in Range Install
 0:04:06
How to Install a Range Vent Hood | This Old House
 0:07:09
How To Install Stove Range Cord 3 or 4 Prong
 0:10:09
How to Install a Propane-Fueled Stove | This Old House
 0:02:05
How To Install a Rangehood | Menards
 0:00:56
Installing built-in kitchen electronics. Induction stove (hob(cooktop)) :)
 0:07:40
How-To Install a New Gas Stove/Range - Gas Line Hook-up
 0:01:00
How to make multiple Clay Stove । Primitive Technology of Outdoor Chulha ।Village stove makingpart2...
 0:09:01
How to Install a Gas Stove: Whirlpool Stainless Front Control Gas Range
 0:08:52
How to Install a 3 Prong Power Cord on an Electric Stove/Range
 0:07:20
How To Install Replace Stove Range Outlet
 0:02:19
How to instal electric power cord on range or stove hood fan.
 0:10:05
INSTALLING ELECTRIC COOKTOP. DIY Range or Stove Top Installation Instructions.
 0:04:42
How to Install a Range Hood | The Home Depot with @thisoldhouse
 0:00:24
How to install reusable gas stove protector
 0:06:55
How to Install a Range Hood | Vent Hood Installation Tips
 0:01:01
How to install a gas stove #howto #client #shorts
 0:01:52
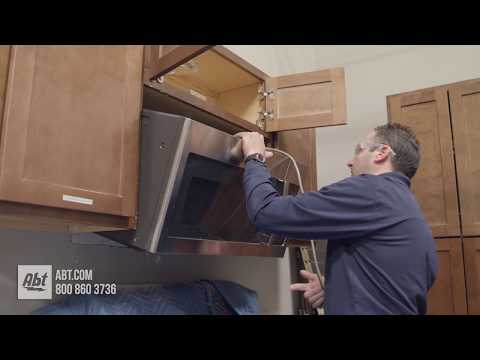
How To: Install An Over the Range Microwave
 0:04:59
How to Install an Electric Stove Cord
 0:01:26
How to Install an Anti-Tipping Device on a Stove | HD Supply
 0:05:49
How To: Range Oven Top Burner Receptacle Kit 330031
 0:13:08
Install built in range(stove) top.
 0:00:31
ItsNio Stove Gap Covers Installation Video
Комментарии