filmov
tv
How to change rear wheel bearing / rear hub bearing on TOYOTA AURIS 1 (E150) [TUTORIAL AUTODOC]

Показать описание
How to change rear wheel bearing / rear hub bearing / rear wheel bearing kit on TOYOTA AURIS 1 (E150) 1.8 Hatchback 2006–2012 [TUTORIAL AUTODOC]
Wheel bearing on TOYOTA Prius Plus (XW40) ( 05.2011–...) / TOYOTA Verso (AR20) (04.2009–...) / TOYOTA Corolla XI Saloon (E180) (06.2013–...) / TOYOTA Avensis III Saloon (T27) (11.2008–...) / TOYOTA Auris Van (E18) (03.2013–...) cars should be replaced, as a rule, according to one and the same procedure.
However, there can be slight differences due to specific features of the vehicle design.
🔝 Top brands that produce wheel bearing: SKF, MAPCO, STARK, FAG, KAMOKA
📲 Buying via app is always cheaper than on the website!
0:00 — TOYOTA AURIS 1 (E150) – wheel bearing / hub bearing / wheel bearing kit: step-by-step changement tutorial
0:42 — Loosen the wheel mounting bolts.
2:05 — Remove the wheel hub nut cap.
6:36 — Install the new wheel hub with a bearing.
8:26 — Install a brake drum.
11:07 — Lower the car and working in a cross order, tighten the wheel bolts.
🛠️The tools you need to replace front wheel bearing:
- wire brush
- WD-40 spray
- all-purpose cleaning spray
- brake cleaner
- copper grease
- drive socket No.14
- combination spanner No.14
- combination spanner No.17
- wheel impact socket №21
- ratchet wrench
- torque wrench
- tap wrench
- rubber mallet
- water pump pliers
- flat screwdriver
- crow bar
- hub slide hammer puller
- wheel chock
Was this video helpful? Give it a thumbs-up and share it with your friends!
Have a look at other videos on our channel:
📢 AUTODOC on social media:
#autodoc #autodoctutorial #autodoctips
Disclaimer:
This video is intended for informational purposes only and does not guarantee achievement of a specific result.
It is recommended that you entrust the installation to highly skilled technicians to ensure the best result.
This video is intended for informational purposes only and does not guarantee achievement of a specific result. It is recommended that you entrust the installation to highly skilled technicians to ensure the best result. This video only contains tips and recommendations that could be helpful when carrying out car repairs or replacing parts. AUTODOC is not liable for any harm, injury or property damage incurred while carrying out repairs or replacements that are a result of incorrect use or misinterpretation of the provided information. The user is personally liable for incorrect use of repair equipment, tools, or car parts, in particular when this use poses the risk of injury. AUTODOC strongly recommends taking appropriate safety precautions when carrying out any repair or replacement. Keep in mind that low-quality auto parts may not provide the appropriate level of road safety.
© 2019 AUTODOC GmbH All rights reserved
 0:03:23
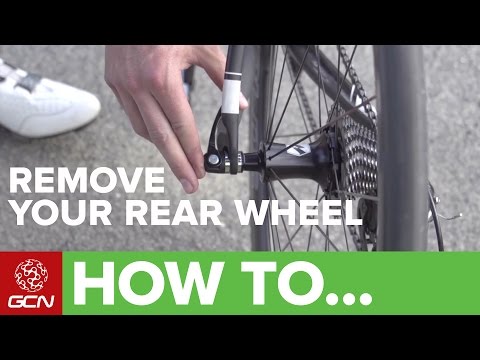
How To Remove And Replace Your Rear Wheel
 0:03:57
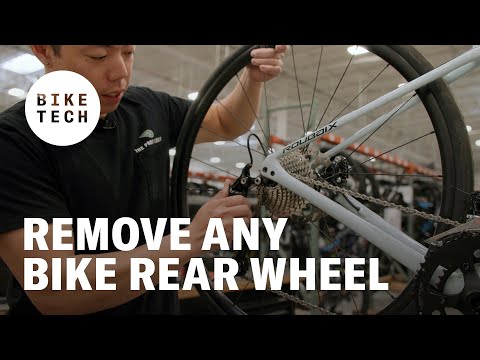
How To Remove the Rear Wheel on a Bike | Bike Tech | The Pro's Closet
 0:06:03
How to Remove and Install a Wheel on a Bicycle
 0:02:24
Bicycle Tire - How to Put Rear Wheel Back On My Bicycle
 0:05:06
How To Remove The Rear Wheel On Your Mountain Bike | Basic MTB Maintenance
 0:04:09
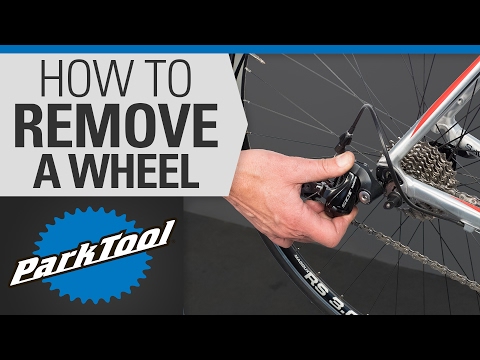
Rear wheel : fitting and removal
 0:02:29
Change Your Rear Bike Wheel Like a Pro - Bicycle Tips
 0:08:26
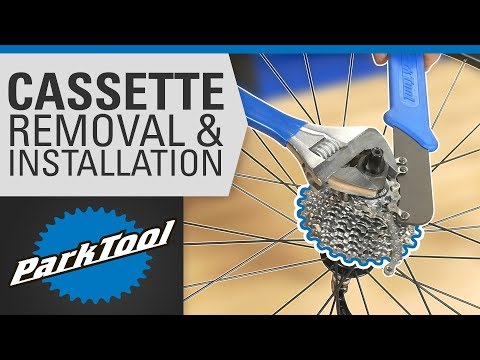
Cassette Removal & Installation
 0:00:35
Popping a Kart Tyre onto the bead | #Kart #Tyre #Tips
 0:10:29
Tips and Tricks for Thru Axle Rear Wheel Removal (Step by Step in 4K)
 0:00:24
How to properly put the rear wheel back on your bike #Shorts
 0:09:41
How To Remove And Replace Your Mountain Bike Wheels | MTB Maintenance
 0:02:27
Cycling Tips: Removing the Rear Wheel || REI
 0:01:59
How To Remove & Install The Rear Wheel On Your Dirt Bike | FYDB
 0:01:51
Use This Tip to Make Changing Harley Davidson Rear Wheels Effortless
 0:18:42
HOW TO remove & change an inner tube the right way: Tips from a Professional Bike Mechanic #2
 0:12:37
How to Remove and Replace the Rear Wheel on a VTX
 0:05:07
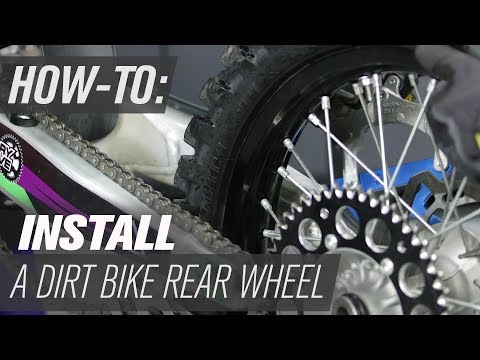
How To Install a Dirt Bike Rear Wheel
 0:03:16
Replacing A Flat Rear Tire On A Geared Bike
 0:01:34
Removing and Replacing A wheel With Disc Brakes And Quick Release Axles
 0:02:03
Tech Tip Tuesday - Mountain Bike Rear Wheel Removal and Installation
 0:05:53
Rear Hub Drive eBike Wheel Removal and Install
 0:01:43
Honda Lawn Mower Rear Wheel Replacement Part # 42710-VE2-M01ZE
 0:02:05
How to replace the REAR wheel bearings Toyota Yaris Step by Step with Torque Specs for the bolts
Комментарии