filmov
tv
How to Install a Bathroom Sink Drain | Repair and Replace

Показать описание
In this episode of Repair and Replace, Stephany shows how to replace a drain in a bathroom sink.
___________________________
00:00 Intro
00:20 What You'll Need
00:44 Step 1: Disconnect the Drain
01:11 Step 2: Remove the Drain
01:36 Step 3: Install the Drain
02:13 Step 4: Reconnect the Drain
___________________________
AMRE Supply provides homeowners, service contractors, and property management with the parts and knowledge needed to get the best performance out of any property. Stocking the largest selection of appliance parts, heating, plumbing, lighting, and janitorial supplies, AMRE ships almost anywhere in Canada within 24 - 48 hours. Expert help is available online, over the phone or in person at one of the many locations across Canada.
Connect with AMRE Supply
___________________________
00:00 Intro
00:20 What You'll Need
00:44 Step 1: Disconnect the Drain
01:11 Step 2: Remove the Drain
01:36 Step 3: Install the Drain
02:13 Step 4: Reconnect the Drain
___________________________
AMRE Supply provides homeowners, service contractors, and property management with the parts and knowledge needed to get the best performance out of any property. Stocking the largest selection of appliance parts, heating, plumbing, lighting, and janitorial supplies, AMRE ships almost anywhere in Canada within 24 - 48 hours. Expert help is available online, over the phone or in person at one of the many locations across Canada.
Connect with AMRE Supply
 0:57:59
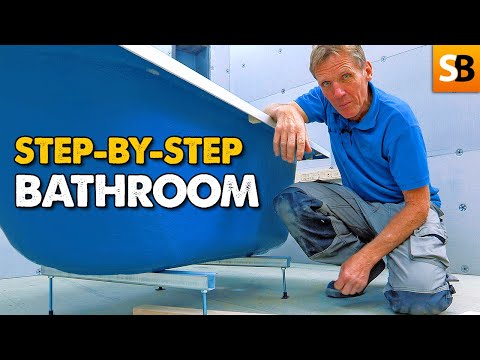
Step-by-Step Guide For Installing a Bathroom
 0:15:07
HOW TO INSTALL A BATH - Plumbing Tips
 0:15:20
How to Install a Bath the Easy Way - Complete Beginners Guide!
 0:02:57
How to install a standard acrylic bath
 0:20:55
How To Plumb A Bathroom In 20 Minutes! - Beginners Guide
 0:08:08
Complete Bathroom Renovation with Demolition
 0:06:18
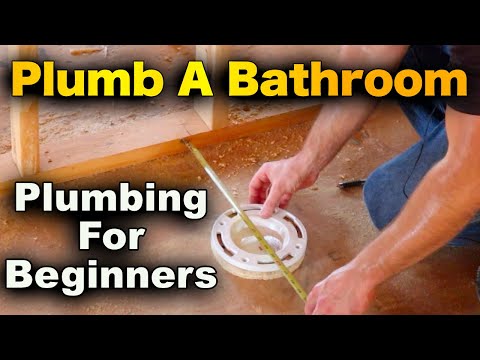
How To Plumb a Bathroom (with free plumbing diagrams)
 0:06:44
Wickes How to Fit a Bath
 0:21:01
Installing All Plumbing for a Full Bath
 0:27:41
How to Renovate a Bathroom - The Complete Process Part 1
 0:09:42
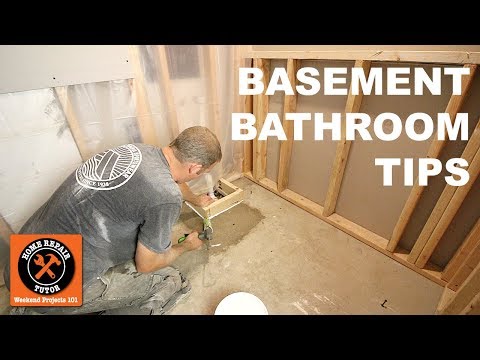
How to Install a Basement Bathroom (Awesome Quick Tips) -- by Home Repair Tutor
 0:02:44
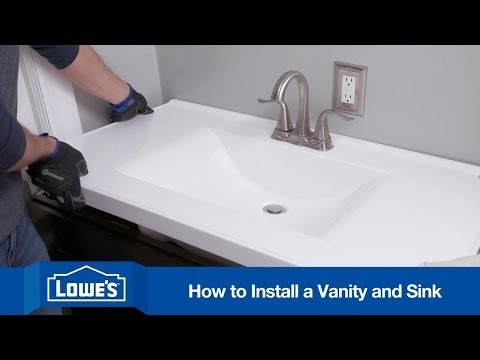
How To Install A Bathroom Vanity
 0:03:21
How To Install a Bathroom Vanity
 0:15:09
HOW TO FIX A BATH TO A WALL AND SCREW THE FEET DOWN.
 0:25:33
How to Install a Bath
 0:14:44
How To Install A Toilet - Beginner's Guide With STEP-BY-STEP INSTRUCTIONS
 0:01:28
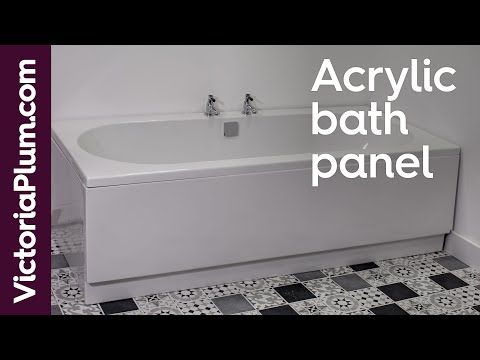
How to fit an acrylic bath panel | Bathroom installation guides from Victoria Plum
 2:35:00
Complete Bathroom Renovation ✔ Step-by-Step Tutorial
 0:29:48
Building a WETROOM - Bathroom Renovation
 0:08:01
How to Install a Basement Bathroom | Ask This Old House
 0:04:51
How to install a Bath Waste and Overflow
 0:00:37
Install a bathroom vanity
 0:07:56
Bath mixer installation
 0:17:04
Installing a Shower Pan Base | Tub to Shower
Комментарии