filmov
tv
Out of Focus Video Fix — Repair blurry camera footage | Fixing focus in post tutorial (free soft)
Показать описание
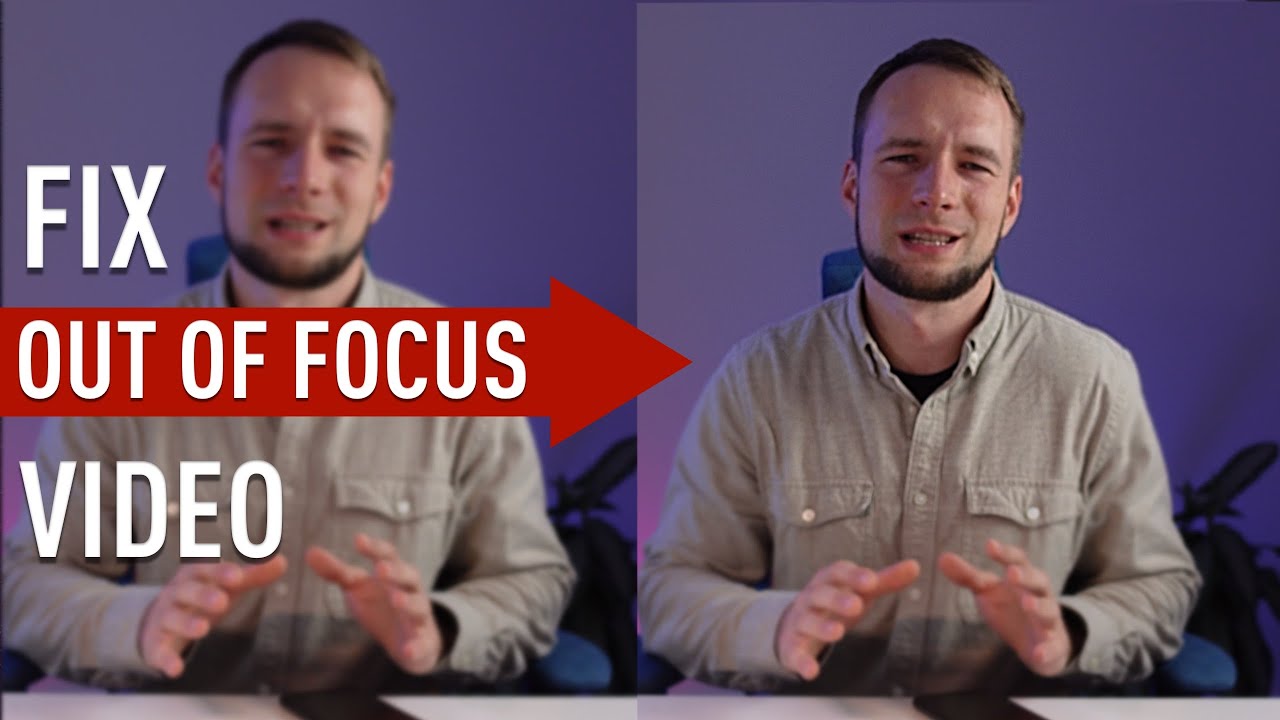
In this video we'll be fixing a missed focus using free and powerful video editing software.
CHAPTERS
---------------------------------------------------
00:00 - Intro
01:18 - Step 1 Initial sharpening
01:48 - Enlarge preview
02:22 - Step 2 Switch color space
03:49 - Step 3 Add mask
04:36 - Step 4 Blur originally in-focus objects
05:28 - Before and After (final result)
06:13 - Conclusion
---------------------------------------------------
Text version:
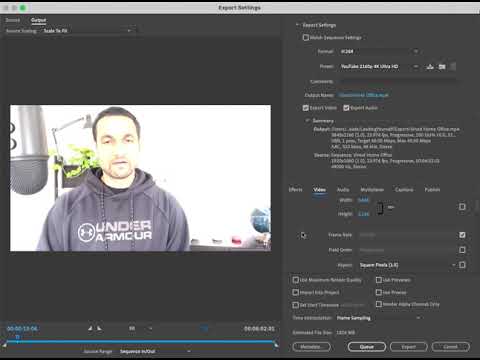
Once You've installed Davinci open new project and drop Your video onto the timeline. Now head to Color page.
Here switch to Blur tab. We have three controls here: Radius, H/V Ratio and Scaling.
We need to play around with Radius and Scaling. Lower the Radius until out-of-focus object looks sharp enough, but not too oversharpened. And then adjust the effect sliding the scaling.
By the way, You can disable gallery and clip windows, so You have more space for Your video. And use ctrl + or command + for macs to scale viewer. It can also be done by using percentage controls at the top on the left.
Great. Now we have turned our video into old style VHS. A lot of noise and color noise and the parts of image that were in focus are now oversharpened. Let's solve this.
Remember that blur controls had three channels each? Red, green and blue? Thing is, when using sharpening, we're applying it to all three color channels, that brings in the color noise.
What we can do, is to switch the node we're working with to LAB color space and turn off AB channels, so now our manipulations only affect L channel — lightness.
There's still some noise and sharpening artifacts, that make our video look way too artificial. Let's move to Color wheels tab and lower Midtone detail parameter.
What it does — is softening those parts of image with low details, staying away from high detailed parts. Unlike using traditional blur, we're keeping our edges in tact, while dealing with noise and adding more natural look.
Don't set midtone detail too low, as it would make an object look flat and plastic.
Let's deal with oversharpened objects. Solution is simple — adding mask in window tab. In Davinci You can easily create masks for moving objects, using tracker feature, but to keep this tutorial short I'll use a simple circle static mask. The only thing I'll do is adjusting it's shape and feather to make it look a bit more like a real focus.
Now the only thing left is blurring the objects that were originally in focus, thus adding more depth of field. Of course, it's nowhere near as optical depth straight from a camera, but to my mind, looks better than a completely flat picture.
To do this add new node by pressing alt+S (option+S for mac). Select previous node, return to window tab, select mask and copy it by using copy window in three dots menu. Get back to new node and use the paste option in the same menu. Now invert the mask by pressing this button. And finally add some blur by increasing radius in the blur tab.
And that's it.
This method will make Your footage usable in most cases.
If there's an extreme bokeh, for example, when Your main object is really close to the camera or when Your camera has a shallow depth of field — then Your only option may be filming a new video. But I hope it's not Your case :)
If this tutorial was helpful — please, give this video thumb's up.
---------------------------------------------------
Music used in video:
 0:06:56
Out of Focus Video Fix — Repair blurry camera footage | Fixing focus in post tutorial (free soft)
 0:01:53
CapCut Tutorial - Fix out of focus VIDEO
 0:00:34
How To SHARPEN VIDEO In Premiere Pro
 0:01:57
FIX Out Of Focus Video INSTANTLY! - Easy Blur Removal With AVCLabs Video Enhancer AI
 0:01:38
How to Fix Blurry Video in Premiere Pro
 0:00:32
How to SHARPEN Blurry Footage in 30 seconds - Premiere Pro 2022
 0:07:44
Can you fix a blurry video? Testing the HitPaw AI Video Enhancer
 0:02:02
How to Fix Blurry Video in DaVinci Resolve
 0:15:56
Ford Focus Owners! Fix Your Front Wheel Bearing in 30 Minutes or Less!
 0:01:36
How to Fix Blurry Video in After Effects
 0:00:31
How To SHARPEN VIDEO In Davinci Resolve
 0:04:48
How to FIX BAD SHOTS in 5 Minutes! [Videography for Beginners]
 0:03:33
Fix A Shot With Soft Focus With This Simple Post-Production Tip
 0:08:10
IF YOU messed up focus. WATCH THIS!
 0:06:35
How To Fix Low Quality Footage With Sharpen AI | NO Premiere Pro or Plugins
 0:07:12
5 HACKS to NAIL YOUR FOCUS When Shooting Video
 0:02:50
Is it possible to FIX OUT-OF-FOCUS or BLURRY IMAGES in Lightroom?
 0:02:35
How to Fix iPhone Camera Blurry, Not Focusing or Keeps Refocusing
 0:13:38
Why You Can't FOCUS - And How To Fix That
 0:09:36
Bad GoPro Footage? How to FIX your Problems! Hero 11, Hero 12 & older
 0:04:53
Sony A7iii Face Detection Not Available - Auto Focus Fix
 0:00:24
How to fix saturated and How to Fix overexposed clips When Exporting Video in Adobe Premiere Pro 20
 0:10:35
SONY ACTION CAM, out of focus, easy fix
 0:05:49
how to FIX G7/G85 auto-focus! June 2018
Комментарии