filmov
tv
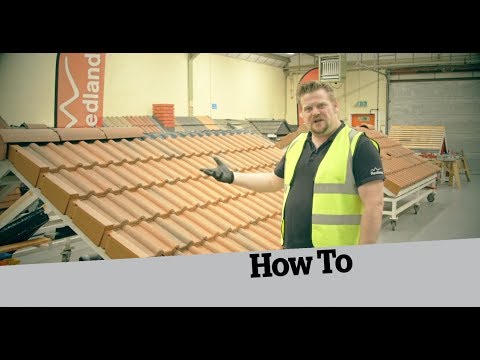
How to Build a Roof

Показать описание
HOMEBUILDING & RENOVATING
In this video, Mat Woodyatt, Training Manager at Redland Roofing demonstrates how to put together a full metric roofing system.
Follow onscreen instructions to skip to selected chapters
In this video, Mat Woodyatt, Training Manager at Redland Roofing demonstrates how to put together a full metric roofing system.
Follow onscreen instructions to skip to selected chapters
 0:06:15
Beginner Rafter Layout | Speed Square | Common Rafter
 0:03:14
How to Build a Roof? Construction Time Lapse
 0:26:37
How to Build a Roof
 0:20:31
Complete Gable Roof Build! Full instructions for beginners!
 0:11:57
How To Pitch A Roof ~ Comprehensive Guide
 0:07:08
How To Build A Shed - Part 4 - Building Roof Rafters
 0:08:32
This is how to Build a Roof! - Hertfordshire UK HD TIMELAPSE VIDEO
 0:13:28
How To Frame A Hip Roof - Including A Common Rafter Review
 0:12:24
10 Roof Designs YOU HAVE TO USE in Minecraft: How to build Roofs in Minecraft
 0:06:39
Demo - Does a vaulted roof push out at the wall-plate?
 0:24:46
How to build a Gable Roof! Easiest Tutorial Ever
 0:08:34
How To Frame A Lean To Roof
 0:31:17
Cutting Common AND Hip Rafters: Simple Solutions for Roof Framing
 0:24:41
DIY Shed Roof Framing (How to Build a Shed Roof, Make Birdsmouth Cuts, and Install Plywood Decking)
 0:00:28
Framing the ceiling and roof! 2x6 pine boards. DIY Patio Build.
 0:13:04
How to build a roof gable dormer window
 0:09:56
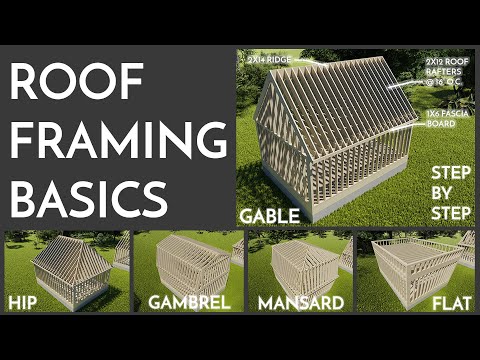
Roof Types & How They Are Constructed - Carpentry 101
 0:00:16
How Roof Framing Works | Rafter Ties
 0:26:16
Minecraft | 15 Must Know Tips For Building Roofs
 0:28:15
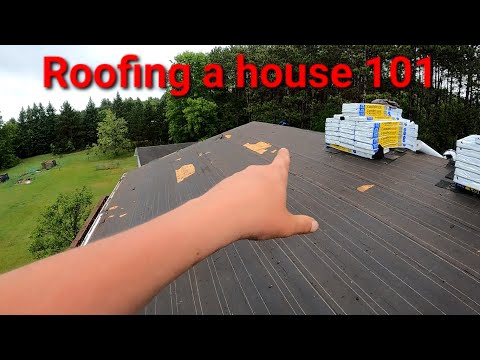
HOW TO ROOF A HOUSE! [DIY]
 0:11:19
Build A SHED ROOF Step by Step Easy Tutorial
 0:04:44
Common Rafter Layout: How to Measure, Mark, and Cut Rafters for a Gable Roof
 0:33:55
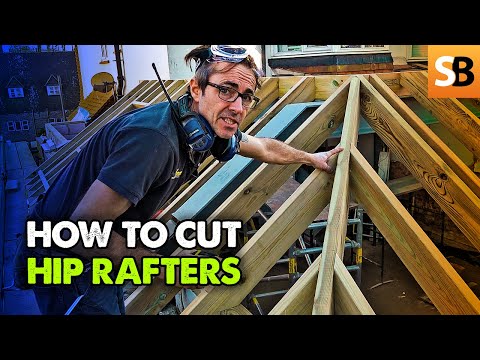
How to Cut Hip Rafters
 0:10:44
Step-Off Method | Beginner Rafter Layout
Комментарии