filmov
tv
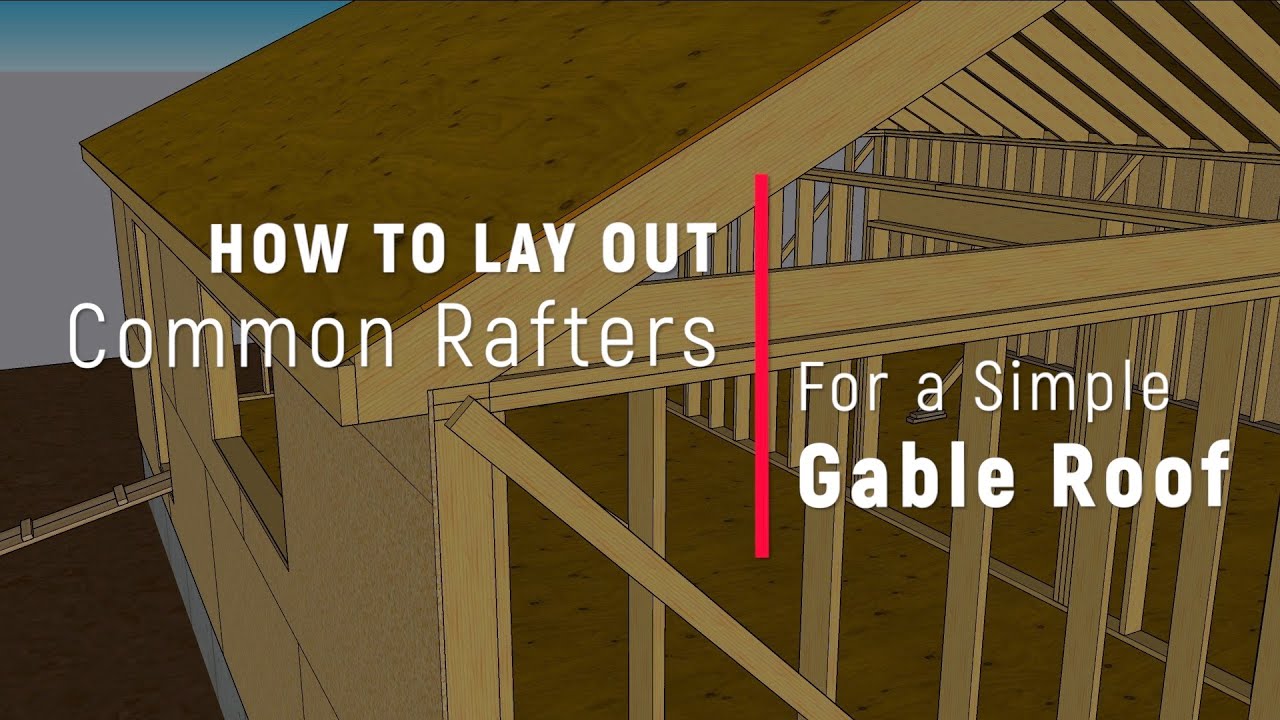
Common Rafter Layout: How to Measure, Mark, and Cut Rafters for a Gable Roof
Показать описание
Reducing roof framing geometry to framing lumber with a calculator, a speed square, and a circular saw
A gable roof is almost the simplest roof you can frame aside from a shed roof, which is basically half of a gable roof. The gable roof frame is a series of identical rafters spaced equally for the length of the house held together with sheathing.
For a simple regular gable roof, the rafters on the left side are identical to the rafters on the right. So it all boils down to laying out one rafter.
The rafter is the hypotenuse of a right triangle. We can measure the run, and the roof pitch is noted in the plans, but we need to figure out the rise and the rafter length.
The Pythagorean theorem (a2 + b2 = c2) describes the relative lengths of a right triangle. You can calculate that with a pencil and some OSB, but because we’re paying you by the hour, you’d better use a construction calculator, which you can download on your phone.
How to calculate the length of a common rafter
To lay out the common rafters, we will need to know
The building width (30 feet exactly)
The width of the ridge (1-1/2 inches)
The overhang (8-inchers, including the subfascia)
The roof pitch (6/12)
If there were no ridge, the run would be half the width from the center to the outside of the wall. In reality, you’ll need to subtract half the ridge from the measurement.
So, after marking the center line, also mark each edge of the ridge. And don't forget to include the exterior plywood wall sheathing in the dimensions. It doesn't always make it up to the top of the wall plates when someone is pulling numbers for rafter measurements.
Hook the outside of the building with your tape and measure to the inside of the ridge. That’s the run, 14 feet, 11-3/16 inches in this case.
Pitch is shown on the plans and is indicated as a fraction, usually with 12 being the denominator. The first number is the rise; the second is the run. A 6/12 roof rises 6 inches for every 12 inches of run.
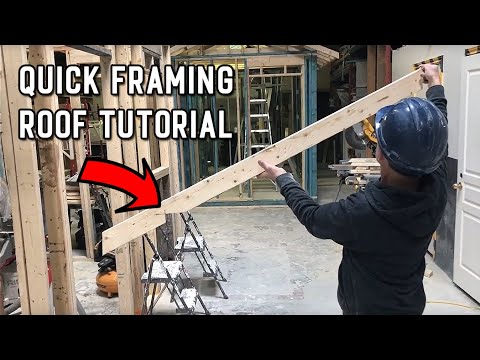
So how do you get from expensive new lumber on the saw horses to a perfect fit on top of the walls?
With a calculator and then a saw. Punch this into your calculator.
14 [feet]
11 [inch] 1/4 [run]
6 [inch] [pitch]
[diagonal] gives us the rafter length (excluding tail): 16’ 8-7/16”
Marking and Cutting a common gable roof rafter
That’s the calculator part, now comes the saw part.
In order to measure the rafter accurately, you’ll need to make the plumb cut on the upper end so that you can hook your tape on it.
Use a speed square to draw the correct angle. You can use the degree scale along the outer edge, but the common rafter scale is much faster and easier. Rotate the square until the edge of the rafter lines up with the 6 on the common rafter scale and scribe the edge.
The speed square in the video is one of the small ones that fit in your nail bags, but you can buy bigger ones for laying out wide rafters.
After making the plumb cut, hook the long point and measure along the top of the rafter to 16’ 8-7/16” and mark that plumb line. The rafter should sit on the full width of the wall, so square a line off the plumb line that is six inches long; this is the seat cut. Collectively, this triangle notch is called a bird’s mouth.
The overhang is 6.5 inches past the plumb cut (8 inches minus 1-1/2 inch subfascia), so mark that plumb cut. Square the soffit cut by squaring over from the bottom of the subfascia.
After making those cuts, you’ll have a perfect full-size pattern for laying out the rest of the rafters.
A rafter jig is lightweight and easier to handle
To make the process of cutting a roof full of rafters a little easier, make a rafter jig with a leftover piece of subflooring, and a 1x fence nailed into the edge. It is a miniature rafter you can use to scribe the plumb cut and the seat, bird's mouth, and soffit cuts.
The fence stops just short of the plumb line so that you can line it up to the measurement mark. With this little and a little knowledge, you can make quick work of that pile of rafter stock.
How do you get them all up there?
That’s the ruff part.
(It's also the next part in this series)
Subscribe to ProTradeCraft's YouTube channel for regular updates
 0:04:44
Common Rafter Layout: How to Measure, Mark, and Cut Rafters for a Gable Roof
 0:06:15
Beginner Rafter Layout | Speed Square | Common Rafter
 0:10:44
Step-Off Method | Beginner Rafter Layout
 0:16:53
How To Make Common Rafters [Measure, Mark & Cut]
 0:12:54
Cutting Common Rafters
 0:09:44
Common Rafter Layout DIY!
 0:11:32
How to Lay Out a Common Rafter
 0:35:12
Training the Trades - Cutting Common Rafters
 0:08:27
How to Measure and Cut Rafters
 0:07:37
Rafter Layout Step Out Method
 0:00:45
Fast No Measure Birds Mouth Notch with Speed Square No Math How To DIY
 0:04:29
2 EASY Methods for Making Birdsmouth Cuts
 0:13:28
How To Frame A Hip Roof - Including A Common Rafter Review
 0:31:17
Cutting Common AND Hip Rafters: Simple Solutions for Roof Framing
 0:06:37
How to Frame a Roof (Common Rafter Layout)
 0:03:58
Common Rafter Layout
 0:24:15
Cutting Common Rafters Ep.72
 0:10:40
Rafter Step Off Method - Made Simple
 0:07:31
How To Use A Framing Square To Build A Roof
 0:08:17
Speed Square For Rafter Layout | Speed Square Basics
 0:07:29
Basic Equations For Roof Framing
 0:05:07
How to Install Common Rafters on a Gable Roof: Calculating Ridge Height
 0:05:46
Common Rafter Layout
 0:16:16
The easiest way to make common rafters without a calculator step method
Комментарии