filmov
tv
Best upgrades to a DIY CNC machine

Показать описание
Upgrading my DIY CNC and rating all the upgrades I have added so far. 36V power supply, 1.5kW spindle, new dust shoe, new stepper motor drivers, coolant system and few other quite interesting things that you can add to IndyMill and any other CNC machine.
Instagram: nikodembartnik
 0:24:37
Best upgrades to a DIY CNC machine
 0:16:57
The BEST & WORST DIY Rental Friendly Upgrades *Peel & Stick + More*
 0:03:33
6 Bike-Hacks // (almost) FREE Upgrades
 0:09:32
10 Setup Upgrades That ACTUALLY Matter
 0:10:08
9 RENTER FRIENDLY DECORATING HACKS | DIY REMOVABLE UPGRADES
 0:16:17
The best upgrades for your Bambu Lab 3D printer
 0:38:57
50+ DIY UPGRADES anyone can do! Simple, effective and clever ways to make your 4WD better!
 0:09:33
6 Easy Updates you can make in your Home ( 2022 )
 0:11:26
Top 10 Best Home Defense Upgrades for UNDER $50!!
 0:12:31
Most Effective Performance Upgrades...On A Budget? | Cheap Performance Bike Upgrade Ep. 2
 0:09:27
The BEST Upgrades to Improve Your Bike!
 0:07:48
Best Printable Upgrades for your Neptune 4 /Pro
 0:07:39
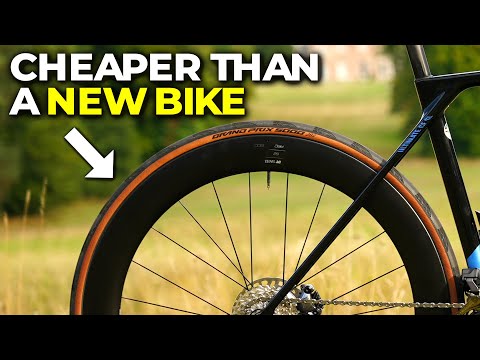
Upgrading Your First Road Bike | GCN’s Bike Makeover Ep. 1
 0:07:04
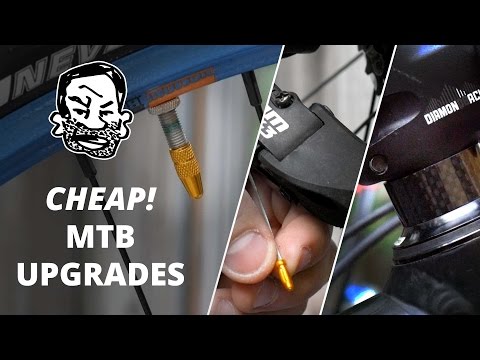
10 Ridiculously Cheap Mountain Bike Upgrades
 0:09:59
7 RV Upgrades and Accessories that Install Quick and Easy// Travel Trailer Layover DIY Projects
 0:04:03
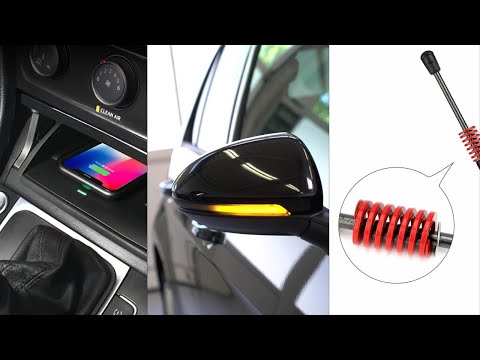
3 DIY Car Upgrades VW Golf 7
 0:10:46
The 10 BEST Upgrades for your Bambu Lab 3D Printer!
 0:05:09
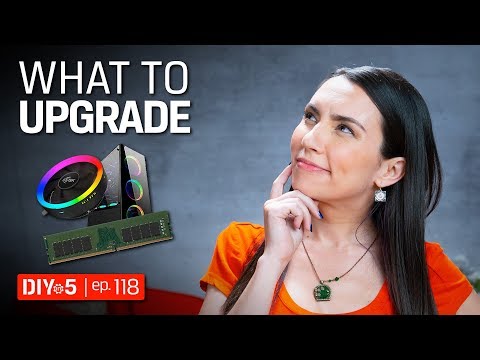
PC Build - Hardware Upgrades to Speed Up Computer - DIY in 5 Ep 118
 0:05:47
8 Home Upgrades That Aren't Worth Your Money
 0:14:08
Cheap and Easy Rally Car Mods - Were they Worth It?
 0:17:09
Best Budget Bass Upgrades!
 0:06:56
6 BMW Upgrades BEST For A DIY Install
 0:18:57
24 *MUST TRY* Apartment Upgrades for 2024! ✨
 0:22:41
Top 7 Table Saw Upgrade Compilation / DIY / Compilation
Комментарии