filmov
tv
7 more easy 3D printed upgrades for your Ender 3

Показать описание
I’m back with another 7 3d printable mods and upgrades for the Creality Ender 3. I wouldn’t say any of these were essential, but there might be something just right for you. Thanks for watching and enjoy seeing everything printed and explained.
I was very cursed while making this video, everything that could go wrong did go wrong. This included having to refilm half of the video which in this case meant removing the mods to refit them. I’m trialling a new microphone approach for this on, but in my opinion it picks up too much ambience and echo. I will be reverting back from the next video. Let me know if you disagree.
Links to everything shown below!
Purchase the Ender 3 from these links:
Take a look around and if you like what you see, please subscribe.
#3dprinting #ender3 #upgrades
 0:13:04
7 more easy 3D printed upgrades for your Ender 3
 0:14:48
7 easy 3D printed upgrades for your Ender 3
 0:04:35
10 Secret 3D Printing Tricks Only Experts Know...
 0:00:35
3D Printed Pin Support Challenge 😱
 0:00:32
3D printed illusion: Breaks the laws of physics! 🤯
 0:10:14
How Easy is 3D Printing ACTUALLY? (Ender 3 S1 Review)
 0:08:26
Creality Ender 3 V2 - Simple Tips for Super Clean 3D Prints
 0:00:30
3D printed Luigi is ready
 0:08:57
Cheaper AND Better? We Put the New HeyGears Reflex RS Desktop Resin 3D Printer to the Test
 0:20:04
Have your 3D Prints started to suck? Watch this!
 0:08:27
3D Printer Blobs: a mysterious problem you won't guess how to fix 🤔
 0:00:48
3D Printing is SLOWWW😩
 0:00:31
New 3Doodler Start. 3D Printing Pen For Young Creators
 0:05:03
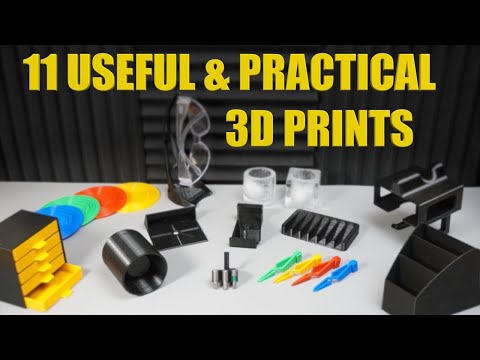
11 USEFUL Things to 3D Print First - Practical Prints 2023
 0:00:55
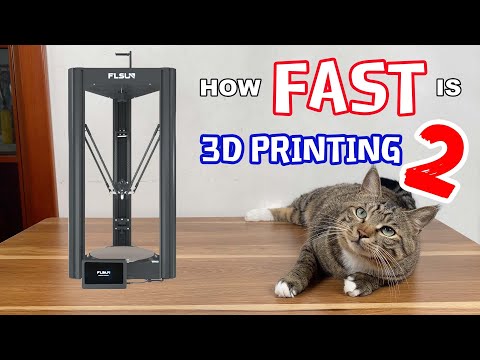
3D Printing is SLOW?| FLSUN V400
 0:00:44
3D Printed Desk Art - Coffee Floating Cup
 0:00:22
3d printed NERF dart vs real
 0:28:23
Best 3D Printing Ideas in 2022 - 3D Printed Trends (Part 2)
 0:05:18
7 Incredible 3D Printed Illusions
 0:00:16
65000:1 gear ratio (3d printed gearbox)
 0:12:32
I Bought the 5 Cheapest 3D Printers on Amazon
 0:00:58
First Tests for any 3D Printer ⛵
 0:05:50
10 EPIC Mechanisms to 3D Print First in (With Timelapses & ASMR)
 0:14:51
Conical Slicing: A different angle of 3D printing
Комментарии