filmov
tv
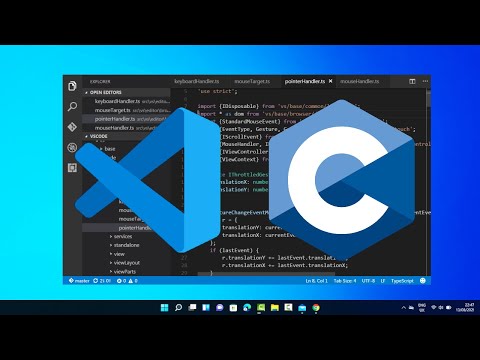
How to set up C++ in Visual Studio Code

Показать описание
How to set up C++ with Visual Studio Code (vscode).
Steps to setup minGW in windows:
2. Open MSYS2, enter the follow command:
pacman -S --needed base-devel mingw-w64-ucrt-x86_64-toolchain
3. Hit Enter for default selection, then type Y and hit Enter to proceed with the installation.
4. In your search bar, look for edit Environment Variables and open the setting. In the window bottom right, click Environment Variables. Click on Path in your list of User Variables. Click edit, new, add the following:
C:\msys64\ucrt64\bin
5. In your seach bar, look for Command Prompt and open it. Type in gcc --version, g++ --version, and gdb -- version. You should see minGW setup correctly.
Open vscode, and in extensions, look for C/C++ Extension Pack and install it. Then, create a new text file. Name it whatever you want, but be sure to include the .cpp extension.
On the top right, click on the play button to run your program. Select Run C/C++ File. You should now see your output display in the built-in terminal of VS Code!
And, there you have it! How to setup C++ for Visual Studio Code!
C++ Programming Playlist:
Java Game Programming Projects Playlist:
JavaScript Game Programming Projects Playlist:
Subscribe for more coding tutorials 😄!
 0:05:44
How to Set up Visual Studio Code for C and C++ Programming
 0:04:40
How to Set up Visual Studio Code for C and C++ Programming [ with MSYS2 ]
 0:09:05
How To Install C Programming Software In Laptop | C Installation Tutorial For Beginners |Simplilearn
 0:09:29
How to Set up Visual Studio Code for C and C++ Programming [Updated 2024]
 0:02:49
How to Set up Visual Studio Code for C and C++ Programming [ 2024]
 3:46:13
C Programming Tutorial for Beginners
 4:05:00
C Programming Full Course for free ⚙️
 0:07:22
How to Set up Visual Studio Code for C and C++ Programming
 0:06:14
How to Run C/C++ Program in Visual Studio Code [2024] | Run C & C++ in VS Code
 0:06:53
How to set up C++ in Visual Studio Code
 0:21:56
How to Run C in Visual Studio Code on Windows 11
 0:15:49
How to install C & C++ in Visual Studio Code | Setup VS Code for C & C++ Programmers [ 2024 ...
 0:05:49
How to Set up Visual Studio Code ( vs code ) for C and C++ Programming
 0:06:18
How to Install and Set up Visual Studio Code for C and C++ Programming || [Updated 2024]
 0:04:19
PRO TIP: How to Set Up a C-Stand
 0:09:58
VS Code Installation for C & C++ in Windows | Step by step process | In Hindi
 0:03:00
How to Set up VS Code for C Programming Language
 0:12:43
How to set up visual studio code for C and C++ programming on Windows 11
 0:07:46
How to Set Up C/C++ on Visual Studio Code [2023] and Run C/C++ Program on VS Code
 0:04:56
Install VS Code In 2 Minutes | Windows & Mac | English
 0:09:18
Set up visual studio code for c and c++ programming. Installing GNU G++ compiler
 0:12:05
Set Up C Development With Visual Studio Code on Mac | VSCode C Development Basics MacOS (2024)
 0:10:08
How To Set Up a C Corp for FREE (Step by Step)
 0:25:18
How to set up Visual Studio Code for Executing and Debugging C Programs | Tutorial
Комментарии