I Built a SNES Classic MAXI!

preview_player
Показать описание
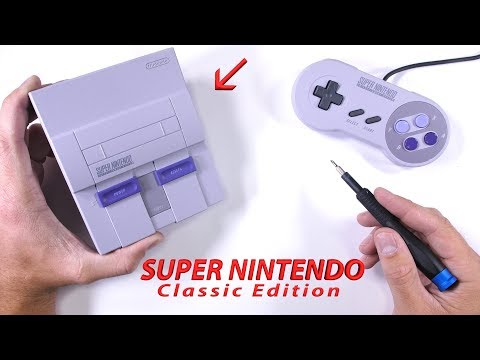
I've been asked to make a full size Nintendo Super Nintendo with the internals of a SNES Mini Classic thing.

The idea is that it has all the built-in games (and extra ones added), with the Mini's controllers, USB power and HDMI out, but it still looks like an original SNES!

I've never done this before, obvs, so let's see how I get on!

Hope you enjoy!
Steve 2
Рекомендации по теме
Комментарии
Автор

We need to get Stez a 3d printer. Proper bodges done right with that.

StuccDude
Автор

If you wanted to make the front and back ports look cleaner, this is where a 3D printer comes in handy.

keithjackson
Автор

For future reference, most LEDs have a narrow viewing angle . So your red indicator pointing to the side makes the visible light dimmer . If you wanted it brighter, when you glue it in place or mount one somewhere, face the rounded end directly facing the lens you're lighting up .

fgunslinger
Автор

Excellent as always.

Hot tip though, remove the original led, otherwise they share the power comming that way witch makes them dimmer if nothing else.

danieltornqvist
Автор

Excellent work man. To keep in with the illusion of this being a proper SNES you could have took the casing from the plug end of some original controllers (broken of course) and hot glued them in with the cable of the mini controllers running through. Would be cool to take a repro game cart case cut the bottom off so it doesn't go all the way in. Hot glue it into place and have a custom label (the bar's logo possibly).

wastelander
Автор

Love your videos so much my friend. Your facial expressions and antics have me on the floor dying with laughter. 😅. Keep it up buddy. Paul ❤

spooktasticaparanormal
Автор

Love the T-Shirt fellow Red Dwarf fan.

someonesomewhere
Автор

I have no idea why, but I find the “But why Steve?” At the beginning HILARIOUS and have been watching that 2 seconds over and over…😅

YS-bywy
Автор

Lots of room in that case to add a USB hub for more connections and you can also easily add an SD card adapter to put a large internal SD card. Hakchi will also recognise and allow use of the SD card without needing to remove it to add games etc. I know you've got to do that in this case, as I managed to do it inside the original mini SNES

imaginitivity
Автор

My OCD kicked in when you glued down the led like you did. It doesn’t fully illuminate the space it’s in.
This was a really cool idea though. Kudos.

OGSERB
Автор

Loved it, only issue I could see is the original LED was drawing power, thats why the new one was so dim. <3

eiv-gaming
Автор

Is that Rimmer's shirt from Polymorph Steve? Excellent. Also I agree with everyone else to get a 3d printer! Excellent vid as always.

morphadge
Автор

I used to be a wireman, I was trained to always “tin” the wire ends first, i’d love to see you take this on board Steve ;-)

iphonejsd
Автор

It's been already said here, but 3D printed "game ports" with a hole for the cables to run out of would make this build look so much cleaner.

livefreeprintguns
Автор

Hy for future reference. Next time you can desolder just one side of the original led an turn it 90° leaving it only with one side connectet to the pcb. This makes it still revertable and the current has not be shared by two LEDs. This will make the new led shine brighter. I really like your videos keep it up

riccardop
Автор

Nice work with the wires Steve, but about that other stuff, you should definitely buy an "untested" 3D printer, fix it, and make a follow-up video. :) It shouldn't be a problem to print a part that would be crewed to unused original holes in the bottom case and would hold the new board as well as LED, reset switch, and maybe a spring under that eject button. Also If you could find some original controllers that can't be saved you could use the original connectors to complete the illusion of a retro machine :) Love what you do and looking forward to future content.

karelpetr
Автор

I still have my Snes & nes mini both boxed, never seen the light of day.

T-Bag
Автор

Great work . However you should consider extending the ports and put them on the front so you can unplug the controllers and the hdmi easily

krissd
Автор

I love this but the only thing id change is 3d print spacers and splice the the wires so they aint just fed through a huge gaping hole

aoneblood
Автор

Buy 2 snes controller extension lead and use the shell at console end to go round the cable to cover the control ports so it looks like they are plugged in

johnengland