filmov
tv
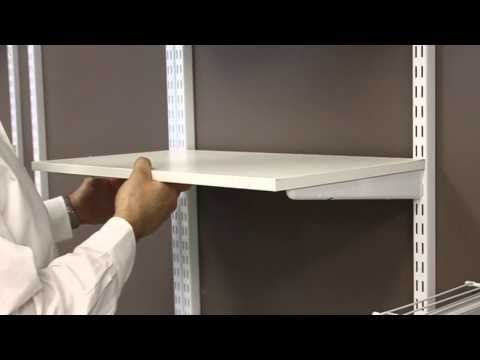
Plywood Shelves with steel uprights and brackets. #044

Показать описание
Hi everyone. Here ’s a quick little job I did this week for neighbours of mine, Duo, a design and architecture practice. Just a quick set of plywood shelves on what I had bought as Spur brackets. It was fun to do something simple, and it wasn’t without its challenges, and just to cap it all it turns out that the brackets and uprights I bought were not the quality British made Spur brand I had asked for. That is a real pity: you can make you sure you get the genuine thing by using the link below. Anyhoo, this is it from start to finish - enjoy!
Please use the ‘Like’ button if you liked this video.
Please subscribe if you think you’d like to see more.
As an Amazon Associate, I earn from qualifying purchases made through these links:-
As an eBay Partner Network member, I earn from qualifying purchases made through these links.
Stuff in this video:-
Woodworking stuff:-
Workwear (seriously, somebody asked!)
Photo/video gear
Seriously, gear doesn’t matter
But if you like me, you quite *like* gear and you’re curious about what I use, then here’s the list:-.
 0:11:06
Plywood Shelves with steel uprights and brackets. #044
 0:01:01
Installing Wood Shelves | freedomRail | OrganizedLiving.com
 0:01:01
How to install closet shelving!! #cabinetmaker
 0:00:22
How To Install Shelf Brackets
 0:00:31
Floating shelves: full mounting process #DIY #woodworking
 0:05:44
Hang Track Shelving Installation “Beginner Friendly”
 0:00:57
Tips for hanging adjustable track shelving
 0:00:15
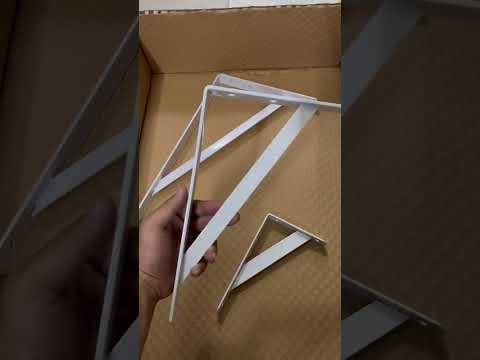
Heavy Duty Shelf Brackets.
 0:00:24
Shelves system installation
 0:10:25
Spur Twin Slot Shelving in the garage - Plywood & MDF shelves with steel uprights and brackets
 0:14:02
Building plywood shelves in my garage - Garage Build Series Part 4
 0:04:19
Simple 3/4' plywood pantry shelving unit
 0:03:15
How to build the Oppen storage range
 0:00:59
Easy Closetmaid Wire Shelving Installation
 0:08:53
Shelf Supports for Cupboards Wardrobes and Bookcases. Video 6/6
 0:01:06
Simple birch plywood shelf brackets
 0:07:30
Garage storage, shelving organization. Cheap and Easy | How To
 0:03:33
DIY Plywood Shelves
 0:21:43
Vertical Sliding Storage Shelves | Maximized Storage
 0:08:54
Adjustable Shelves - Part 2 of Three Plywood Sheet Bookshelves
 0:00:15
How to Make an Adjustable Shelf #Shorts
 0:00:16
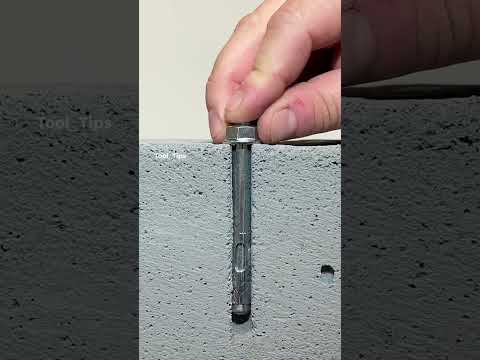
Concrete Anchor #shorts
 0:13:48
adjustable shelves for wall storage, closet or garage
 0:05:44
Making Display Shelves From Reclaimed Plywood
Комментарии