filmov
tv
How To Use a Pinion Depth Gauge
Показать описание
For me, using a pinion depth gauge is the best way to measure pinion depth and finding the perfect pinion shim. It’s way more accurate than going by gear tooth pattern and saves a bunch of time. In this video I show you how to set up and use the tool to measure pinion depth in just about any differential.
I hope you find this information useful!
#ETCGVideo #ETCGDadsTruck
Thanks for watching!
Links
Related Videos
Social Network Links
Stay Dirty
ETCG
Due to factors beyond the control of EricTheCarGuy, it cannot guarantee against unauthorized modifications of this information, or improper use of this information. EricTheCarGuy assumes no liability for property damage or injury incurred as a result of any of the information contained in this video. EricTheCarGuy recommends safe practices when working with power tools, automotive lifts, lifting tools, jack stands, electrical equipment, blunt instruments, chemicals, lubricants, or any other tools or equipment seen or implied in this video. Due to factors beyond the control of EricTheCarGuy, no information contained in this video shall create any express or implied warranty or guarantee of any particular result. Any injury, damage or loss that may result from improper use of these tools, equipment, or the information contained in this video is the sole responsibility of the user and not EricTheCarGuy®.
 0:13:31
How To Use a Pinion Depth Gauge
 0:00:35
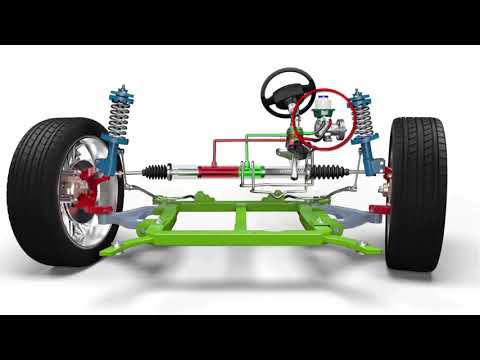
Basic Mechanisms: Rack and Pinion
 0:07:17
Contact Patch & Pinion Depth Explained
 0:01:30
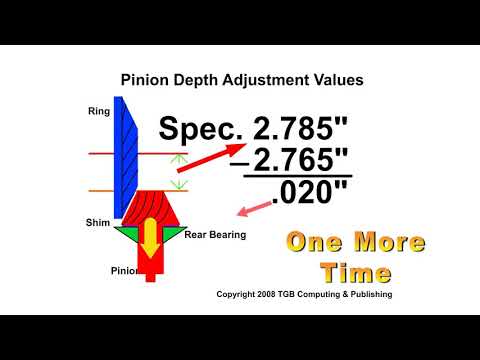
Pinion depth and how to work with measured and specified values
 0:10:20
Helpfull Tip For Pinion Gear Set Up in Differential
 0:01:30
Overhung Pinion depth shim change Explained
 0:00:36
Rack and Pinion Mechanism
 0:31:23
Pinion Depth Checking With Simple Tools
 0:10:01
The 2024 Pinion Gearbox Is A Derailleur KILLER - Shift Under Load, No More Gripshift!
 0:04:48
RC Gear Ratios Explained! Pinion and Spur for max performance
 0:04:16
How to Measure Your Pinion Angle | QA1 Tech
 0:00:45
Rack & Pinion Mate - SolidWorks 2020
 0:10:51
What's The Ultimate Bicycle Gearbox? Rohloff Hub VS Pinion Gearbox
 0:00:50
Rack And Pinion Steering System
 0:13:31
Setting pinion depth starting point
 0:37:45
setting pinion depth with depth tool
 0:01:06
How to tell if your ring & pinion gears need replaced
 0:04:10
RC Overload - How to mesh Spur and Pinion Gears!
 0:17:50
Cutting a Pinion Gear on Bridgeport Mill TIPS #574 tubalcain
 0:08:34
How to Determine the Biggest Pinion Gear for Your RC Car
 0:01:09
Universal Ring & Pinion Setup Tool Kit JEGS With Kenny Wallace
 0:03:37
Setting Pinion Bearing Preload — Yukon Gear & Axle
 0:06:06
You Need This Tool - Episode 29 | Pinion Depth Checker Kit
 0:07:20
⚡ SOLIDWORKS TUTORIAL #12 || Design a rack and pinion mechanism with motion in solidworks.
Комментарии