filmov
tv
How To Align Track Over Baseboard Joints - Model Railway Tutorial

Показать описание
How to align track over a baseboard joint on your model railway - Tutorial
If you've ever needed to know how to align tracks across baseboard joints then this is the tutorial for you. If (like me) you're building a portable or exhibition style layout that needs to come apart then making sure trains run smoothly across the joints between baseboard is absolutely crucial. It can also be useful for permanent layouts too though where the railway crosses in front of a doorway and you want a section that hinges up to allow access.
In this tutorial I'll show you the technique I use to ensure tracks maintain their alignment no matter how many times you dismantle and assemble the layout. I'll also cover how to connect the two sections electrically too as well as sharing some tips on how to blend the scenery together to make the baseboard joints almost invisible!
Products Used:
Chapters:
00:00 - Intro
01:43 - Removing Sleepers
03:10 - Brass Screws
05:10 - Soldering The Rails
07:18 - Cutting The Rails
08:28 - Power Across Baseboards
11:27 - Ballasting Technique 1
13:51 - Ballasting Technique 2
15:07 - The Reveal & Testing
Thanks for watching! 😃
 0:17:30
How To Align Track Over Baseboard Joints - Model Railway Tutorial
 0:02:38
DIY Snowmobile track alignment. How to quickly align your track.
 0:03:48
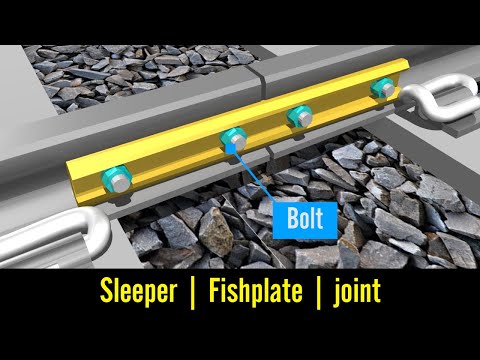
Railway Track Components | #Sleeper | #Ballast | #Joint | #fastening system | #Joggled Fishplate
 0:02:33
QUICK TIPS - Phase Align SNR to Your Overheads - Produce Like a Pro Clips
 0:08:47
How to Connect and Properly Align Festool Guide Rails
 0:03:31
Pro Bowling Targeting Tip. Get Lined Up Properly for Higher Scores.
 0:03:19
How to align the track on your #snowmobile | SLED CHECK
 0:05:34
HOW TO AIM IRONS Correctly and Hit More Greens in Regulation! (GOLF SWING BASICS)
![[Paper Club] Who](https://i.ytimg.com/vi/4o_ic83U1Kw/hqdefault.jpg) 1:00:55
1:00:55
[Paper Club] Who Validates the Validators? Aligning LLM-Judges with Humans (w/ Eugene Yan)
 0:33:13
At Home Alignment Made Easy - How To Use String To Align Your Car
 0:01:19
Sure Align Tracker Troughing Application
 0:15:13
How To Align Your Trailer Axles with Lippert Correct Track
 0:13:33
How To String Align Your Wheels IN SECONDS with QuickString, from QuickTrick Alignment!
 0:06:40
Align Tracks in DaVinci Resolve Faster than You Read This Title
 0:04:13
How-To Align Garage Door Cable | Torsion Cable | DIY Garage Door Repair
 0:05:03
Wheel alignment explained & animation: camber, caster toe | toe in toe out explained
 0:03:35
How to Adjust a NordicTrack Treadmill Belt: Align and Tighten | Treadmill Maintenance
 0:02:56
Audacity Align Tracks 2
 0:10:58
How To Align Your NC Miata For The Track!
 0:01:02
How to Align a Treadmill Walking Belt
 0:03:00
Align monitors like a BOSS - avoid edges - smooth mouse movement - tips and tricks.
 0:01:24
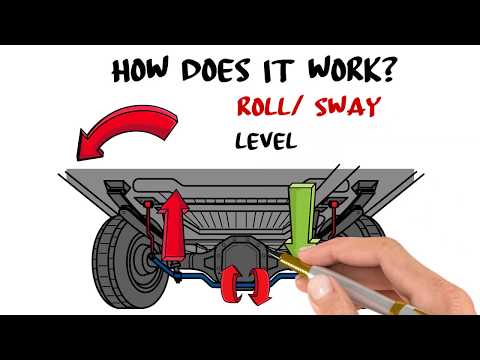
How a Sway Bar Works
 0:07:52
FINALLY Fix Your Swing Path With THIS Drill from Michael Breed
 0:06:43
Most People Don't Know This About Trailer Tires
Комментарии