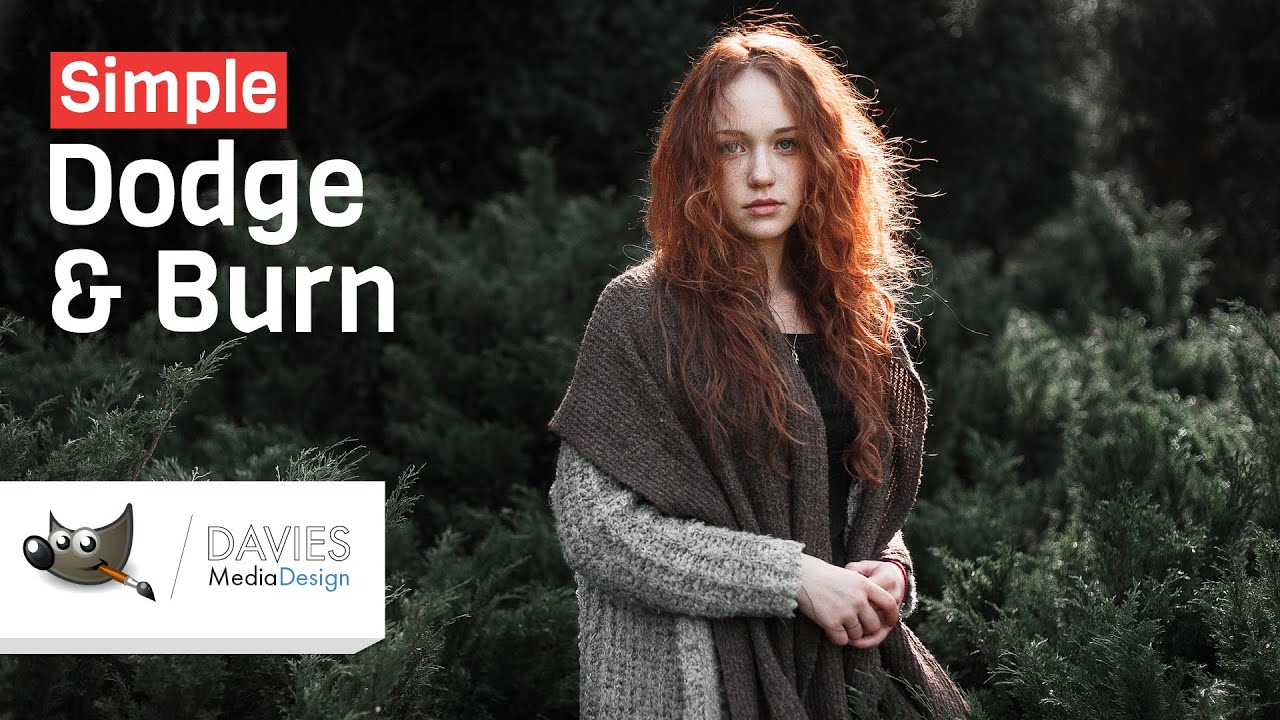
Simple Dodge & Burn in GIMP 2.10

preview_player
Показать описание
In this GIMP 2.10 tutorial, I show you a simple method for using dodge and burn in your photos. Rather than using the Dodge/Burn tool, I show you an alternative method that takes less time and can even be more flexible or non-destructive. I use a combination of the curves tool and layer masks to create this result.

This is a great photo editing tutorial for beginners wanting to learn the GIMP basics.

Visit our website for more text and video tutorials:

Enroll in Our GIMP Photo Editing Masterclass:

Thanks to our Diamond Level Patrons who support us on Patreon!
Ken Brewer
Dilli Contradiction

Thanks to our Gold Level Patrons who support us on Patreon!
BashMurals
commodore256
Jamie Fraser

Thanks to our Silver Level Patrons who support us on Patreon!
Stephanie Paynter

Thanks to our Bronze Level Patrons who support us on Patreon!
Matt Bryan

Support our channel and help us grow by becoming a Patron today - and get cool rewards in return:

Want to make your GIMP theme look like mine? Check out this GIMP tutorial article:

See how you can help out the GIMP Team:

Download the latest version of GIMP 2.10:

Twitter: @DaviesMediaDes
Instagram: @DaviesMediaDesign

#PhotoEditing #GIMPTutorial #DodgeBurn
Рекомендации по теме
Комментарии
Автор

I'm using GIMP for literally the first time and this tutorial is just what I needed, so thank you very much!

michaelpark
Автор

Omg, that's what I need! Thank You soooo much!!!

aleksandrapedryc
Автор

This was really helpful for my project and for future works to come. Thank you!

dee-artist
Автор

You truly are the authority on anything Gimp related, and your videos are always very educational. Any chance that you could do a few Rawtherapee tutorials as well?

waltervanlille
Автор

Great!!! I learned this in a Photoshop tutorial and I tried in gimp... learning something new every day. Thanks!!

aplaza
Автор

Great tutorial. I love the out of the box thinking involved.

AlanTuringWannabe
Автор

Thanks you! This was exactly what I was looking for.

vetoramireziii
Автор

wow, great tutorial! It helped me a lot! I can "Dodge & Burn" now! Thank you so much!

vornamenachname
Автор

Thanks Micheal for this quick tutorial! great way to improve your images!

marcossaraiva
Автор

Dodge and burn is not applied to a negative. Dodge and burn is applied to a print, altering the amount of light allowed into a specific area of the print, The most famous example is likely "Moonrise" by Ansel Adams. Within the domain of the negative, the only commonly available techniques to change tone range is through choice of developer, development time, dilution and temperature. This is pushing or pulling, or affecting grain structure. We still do this. Think of it as Photo-Chemical Shop.

Kitsaplorax
Автор

This is a nice trick I use in my images too. But I have no specific workflow for that and do it slightly different each time.

One different way would be to use straight black and a white colored layer, instead copying the image. This have the big advantage that I can edit, add and rearrange different elements on the image without breaking it much. Big images in 32 bit mode also need a lot of space, so this is something to consider too.
To make the layers work, maybe I would use something like "overlay" layer mode with 50% transparency.

thingsiplay
Автор

I had to switch back to v2.10.8 because selection system is messed up when openCL is enabled. But with openCL disabled plugins and gegl graphic filters takes ages to finish preview.

For some reason in 2.10.10 version openCL is again labeled as "experimental option that may crash program". 2.10.8 version dont have this warning.

oldi
Автор

great tutuorial ill register when i can afford to, im currently unemployed,

VixenLoveu
Автор

Thanks for the tutorial! I dont quite understand why you demonstrated the technique on a new copy of the image. Was that just for the sake of the clarity, since you had already worked on the original copy?

In any case, this is a very good method for performing dodge and burn. I have used it many times (although I often just work on a neutral grey layer in soft light blend mode instead). The curves tool provides a lot of control in how the image is lightened and darkened. One thing that I didn't hear you mention is that one can apply Gaussian blur to the layer mask as needed to smooth out the effect. This is especially useful for portraits. Even if one is working with a soft brush, the smaller strokes of the dodge and burn often look more natural after blurring.

violondesocrate
Автор

Thanks! I really understand it now but what do you do at the very end- just save the final image or do you have to merge the layers? Sorry don't understand about layers. Can anyone help? Thanks.

petersheridan
Автор

You don't realize how important shading and lighting is until you start doing it!

WickerVarietyShow
Автор

OT: and many apologies. When exporting to .jpg with 2.10.10, the image is washed out. I played around with adding a color profile(?) and I think that worked once, but I can't seem to replicate. Any ideas on what I am doing wrong, and/or what changed between versions?

AustrianAnarchy
Автор

There's a luminasity mask plugin by Pat David. Everything you just did with the darks and highlights could be done in under 4 clicks

KhoPhi
Автор

wow, is that a laptop with 23" or 27" screen?

yuanho
Автор

For some reason this shii ain't working

woodmxn.