filmov
tv
4 Ways to Cut Circles in Wood // DIY Circle Cutting Jigs

Показать описание
In this woodworking video, I’ll show you 4 ways to cut circles in wood using DIY circle cutting jigs. Learn how to cut circles in wood using various circle cutting jigs like a router circle jig, bandsaw circle jig, table saw circle jig or a jigsaw.
►Sign up for my newsletter: project updates, plans, woodworking book of the month and more!
►SUPPORT ME ON PATREON
►SUBSCRIBE TO MY CHANNEL
►WRITTEN ARTICLE
Thank you to CMT Orange Tools for sponsoring this video!
►TOOLS & MATERIALS USED (affiliate links):
· Rikon bandsaw
►ALL MY TOOLS & GEAR
►PLANS & ONLINE STORE
►Follow me on SOCIAL MEDIA
►MUSIC
Cover by Patrick Patrikios
►CHAPTERS
0:00 Intro
0:29 Router circle jig
2:51 Router jig + Jigsaw
5:08 Bandsaw Circle jig
8:15 Table saw circle jig
10:44 Wrap up
 0:12:03
4 Ways to Cut Circles in Wood // DIY Circle Cutting Jigs
 0:11:38
6 Ways to Cut Any Size Circle
 0:04:56
Amazing Technique for jigsaw circle cutting jig
 0:00:30
How to cut a perfect circle - tips
 0:04:10
Circle cut with Makita 3709 Trimmer (Very easy)
 0:17:50
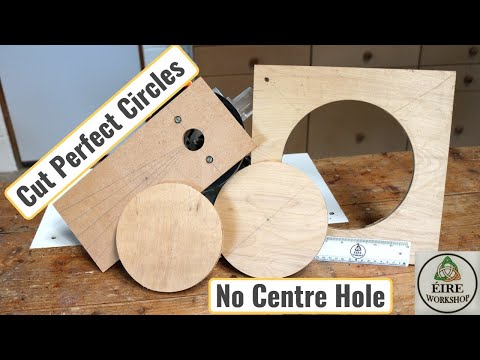
Easy Circle Cutting Jig and No Centre Hole Template For Your Router
 0:04:40
How To Cut PERFECTLY CIRCULAR HOLES! (Hole Saw Bit/Circle Bit--Cut Circles in Wood, Drywall, PVC!)
 0:13:24
I tried 6 different ways to cut circles and 2 surprised me
 0:05:04
10 Easy Home Remedies To Get Rid Of Eye Bags | Get Rid Of Dark Circles
 0:05:30
How to Cut Circles with a Router and Jig
 0:02:49
How to Make a Super Simple Circle Cutting Jig for Your Router
 0:11:39
7 Different Ways to Cut a Circle | Woodworking Tips that WORK!
 0:03:16
✅ Router Table Circle Jig - Cut Perfect Circles!
 0:02:21
Circular Saw (Cutting a Circle Part 1)
 0:10:27
How To Cut Perfect Circles with a Router & Bandsaw | WOOD magazine
 0:26:19
Amazing ideas for circle machining
 0:15:15
How to Cut Perfect Circles…with ANY Tool!
 0:05:11
How to Cut Perfect Circles in Cardboard with a Knife (No Special Tools)
 0:04:15
How to Cut Circles on a Table Saw
 0:07:22
Circle Cutting Jig for a Trim Router - Cutting Circles in Wood
 0:10:32
How To Cut Perfect Circles On A Bandsaw
 0:05:07
How to cut circles with a router
 0:27:50
How to Cut Circles?
 0:08:25
Cutting Perfect Circles On A Bandsaw With No Holes and Making A Jig In Less Than 5 Minutes
Комментарии