filmov
tv
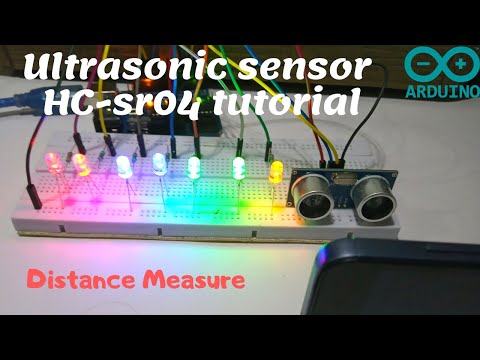
Using Ultrasonic Distance Sensor HC-SR04 with Buzzer, LED and Arduino

Показать описание
In this Arduino Tutorial we will learn how the HC-SR04 Ultrasonic Sensor works and how to use it with Buzzer and LED.
Required Hardware
Arduino Board:
Ultrasonic Sensor HC-SR04 :
Breadboard:
Jumper Wires:
Recommended Items:
Connections:
The HC-SR04 Ultrasonic Module has 4 pins, Ground, VCC, Trig and Echo. The Ground and the VCC pins of the module needs to be connected to the Ground and the 5 volts pins on the Arduino Board respectively and the trig and echo pins to any Digital I/O pin on the Arduino Board.
The HC-SR04 sensor attach to the Breadboard
The Sensor VCC connect to the Arduino Board +5V
The Sensor GND connect to the Arduino Board GND
The Sensor Trig connect to the Arduino Board Digital I/O 9
The Sensor Echo connect to the Arduino Board Digital I/O 10
Buzzer and LED
The Buzzer attach to the Breadboard
The Buzzer long leg (+) connect to the Arduino Board Digital 11
The Buzzer short leg (-) connect to the Arduino Board GND
The LED attach to the Breadboard
The Resistor connect to the LED long leg (+)
The Resistor other leg (from LED's long leg) connect to the Arduino Board Digital 13
The LED short leg (-) connect to the Arduino Board GND
Social Media:
 0:04:07
Using Ultrasonic Distance Sensor HC-SR04 with Buzzer, LED and Arduino
 0:05:28
HC-SR04 Ultrasonic Distance Sensor and Arduino (Lesson #9)
 0:05:30
Using Ultrasonic Distance Sensor HC-SR04 with LCD Display and Arduino
 0:48:03
Using the HC-SR04 Ultrasonic Distance Sensor with Arduino - Everything you need to know!
 0:05:31
Arduino distance sensor project HC-SR04 Ultrasonic Distance sensor in Arduino projects for beginners
 0:07:22
Arduino ultrasonic sensor led projects | Hc-sr04 Ultrasonic sensor
 0:05:16
Ultrasonic Sensor HC-SR04 and Arduino Tutorial
 0:03:26
Arduino distance measurement using Ultrasonic HC-SR04 Sensor
 0:04:09
How To Use Ultrasonic Sensors with Arduino! + Project Idea!
 0:00:21
Measuring distance using raspberry pi and ultrasonic sensor hc-sr04
 0:07:45
Using Ultrasonic Distance Sensor HC-SR04 with Buzzer, LED and Arduino
 0:00:11
Ultrasonic sensor HC-SR04 - Arduino due
 0:06:49
ULTRASONIC DISTANCE SENSOR HC-SR04 WITH ADRDUINO DISTANCE SENSOR PROJECT TURORIAL ARDUINO PROJECTS
 0:01:45
Ultrasonic Distance Sensor HC-SR04 and Arduino Tutorial
 0:00:58
You NEED to Know How Ultrasonic Sensors Work! #electronics #robotics #STEM #arduino
 0:04:38
Raspberry Pi Pico Tutorial - HC-SR04 Ultrasonic Distance Sensor
 0:00:22
Sustainable Living: Water Level Monitoring With Ultrasonic Sensor, Blynk And ChatGPT Generated Code
 0:00:19
DIY Radar With Ultrasonic Sensor And Chat-GPT Generated Arduino Code | Coders Cafe
 0:00:15
Ultrasonic distance Sensor | 📡#shorts #youtubeshorts #viral #experiment_time
 0:00:17
Ultrasonic Distance Sensor Module - HC-SR04
 0:04:10
HCSR04 Ultrasonic Sensor With Arduino in 3 Minutes!
 0:06:14
Ultrasonic Distance Sensor HC-SR04 with Arduino | Ultrasonic Range Finder
 0:00:37
How to use Ultrasonic Sensor HC-SR04 with Arduino | Distance Measurement Project using Arduino
 0:12:05
Distance Measurement using Arduino and Ultrasonic Sensor HC-SR04 | Tutorial | DIY Projects
Комментарии