filmov
tv
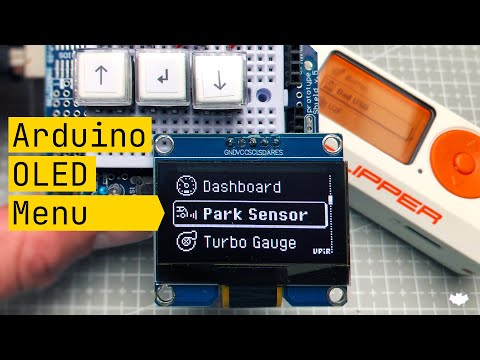
Arduino OLED Menu Tutorial (for beginners - Arduino UNO, 128x64px SSD1306 OLED screen, u8g)

Показать описание
------------------------------------------------------------------------------
This tutorial is for beginners, and I try to describe every single step in an understandable way. We would be using Photopea to create graphics, image2cpp to convert images into C code arrays, and WOKWI online Arduino emulator to test our sketch before running this on the real Arduino UNO. The final project uses Arduino UNO, a prototyping shield (but any breadboard is fine), an OLED display, and 3 push buttons (and, of course, some wires).
------------------------------------------------------------------------------
Links from the video:
Related videos:
------------------------------------------------------------------------------
PCBWay is a service for manufacturing custom PCBs. If you click the link above, you will get a coupon for $5, which is exactly the price of 10 pieces of custom PCBs. In that case, you will only pay for shipping. Do you have any experience doing this? Please let me know in the comment section!
------------------------------------------------------------------------------
Hashtags:
#OLED #arduino
------------------------------------------------------------------------------
Do you have any questions? Suggestions for the next video? Please put those down in the comment section. I try to answer as many questions as I can. Thank you for watching and reading the video description, and I hope to see you next time. Good luck with your projects!
------------------------------------------------------------------------------
 0:27:57
Arduino OLED Menu Tutorial (for beginners - Arduino UNO, 128x64px SSD1306 OLED screen, u8g)
 0:00:30
Ssd1306 Oled Display Arduino Menu Code with Button
 0:08:21
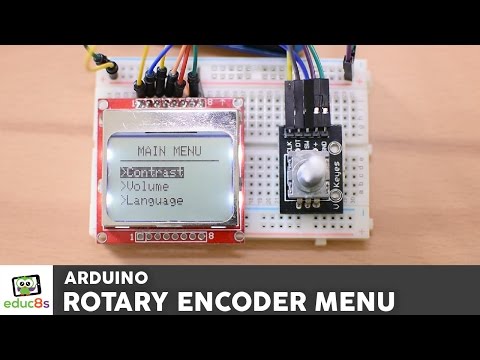
Arduino Menu Tutorial with a Rotary Encoder and a Nokia 5110 LCD display.
 0:00:32
OLED 1,3' 128x64 Menu with Arduino using I2C OneButton Library
 0:05:45
Arduino OLED Display Menu with selection
 0:03:24
Arduino Menu With OLED display and Rotary Encoder | Code Included
 0:00:47
Arduino + OLED display + custom made menu + buttons
 0:12:32
Arduino & OLED: No Coding Needed (Arduino UNO, SSD1306 OLED IIC, Lopaka, Photopea, u8g2)
 0:09:32
Arduino OLED Custom Fonts (tutorial for beginners, u8g2 library, SSD1306, IIC, SSD1309, UNO)
 0:16:33
Making an OLED Radial Menu & Games in Arduino IDE | Quark Part 1
 0:34:46
Arduino ATtiny85 OLED Menu
 0:01:45
Useful OLED Menu using Arduino Nano + nrf24l01
 0:00:12
ARDUINO MENU DESIGN WITH OLED DISPLAY (USER INTERFACE)
 0:13:13
Arduino OLED Animations -- tutorial for beginners, Arduino UNO, u8g2, Adafruit GFX, SSD1306, SSD1309
 0:44:26
EP1 - How to Program Arduino - Making Menus!
 0:01:16
Arduino OLED Menu Part II
 0:06:21
Arduino Tutorial: Menu on a Nokia 5110 LCD Display Tutorial
 0:00:53
Arduino + Oled + Encoder Simple Menu
 0:00:46
Arduino and OLED display Knob + Menu FREE CODE
 0:00:11
Menu oled arduino
 0:00:47
Arduino OLED Main Menu
 0:01:01
How to Use an OLED Screen!#electronics #tinkering #maker #STEM #tech #engineering #robotics #arduino
 0:00:28
Rotary encoder based menu interface using OLED and Raspberry Pi
 0:01:23
Arduino Menu tutorial - OLED Display + Encoder + switch button
Комментарии