filmov
tv
How to Connect to a Remote Server Over SSH on Windows 11

Показать описание
To connect to a remote server over SSH on Windows 11, you can use the following steps:
2. Obtain the remote server's SSH credentials: Before you can connect to the remote server, you'll need the SSH credentials. This typically includes the server's IP address or hostname, SSH username, and SSH password or private key.
3. Launch PuTTY: Once PuTTY is installed, open the application. You will see the PuTTY Configuration window.
4. Enter the server details: In the "Host Name (or IP address)" field, enter the IP address or hostname of the remote server you want to connect to. Make sure the "Connection type" is set to SSH. Leave the port as the default (port 22) unless you need to use a different SSH port.
5. Configure the SSH settings: In the left-hand panel of the PuTTY Configuration window, click on "SSH" to expand the options. You can configure settings such as enabling compression, specifying SSH protocol versions, and setting authentication preferences.
6. Authenticate: Depending on the server's configuration, you will need to provide your SSH username and password or private key. Enter your credentials in the appropriate fields.
7. Save the session: To save the session for future use, enter a name in the "Saved Sessions" field and click the "Save" button.
8. Connect to the remote server: Click the "Open" button to initiate the SSH connection to the remote server. If the server is reachable and your credentials are correct, you will establish a secure SSH connection.
Once connected, you can interact with the remote server through the PuTTY terminal window, run commands, transfer files, and perform other tasks as needed.
By following these steps, you can connect to a remote server over SSH on Windows 11 using PuTTY.
#Windows11 #SSH #PuTTY #RemoteServer #SecureShell #SSHClient #WindowsSSH #ServerConnection #WindowsTutorial
 0:03:08
Tapswap: How to connect your Tapswap withdrawal address successfully
 0:01:37
Nintendo Switch: How to Connect to Wifi Internet Network
 0:02:07
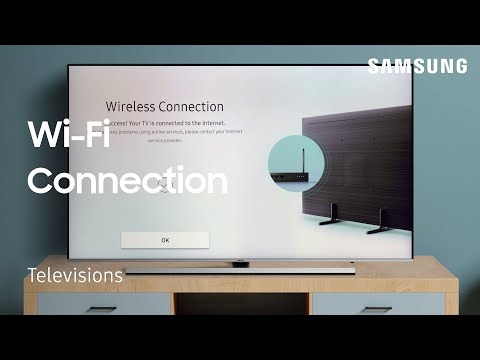
Samsung Smart TV: How to Connect to Internet WiFi (Wireless or Wired)
 0:01:12
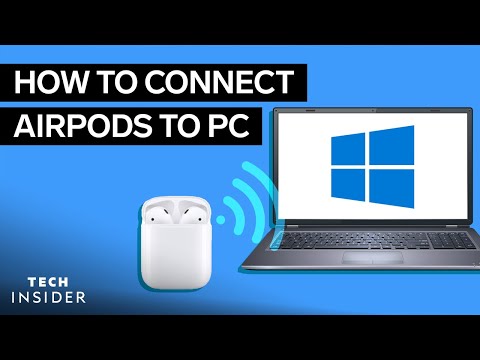
How To Connect AirPods To PC (2022)
 0:02:01
How to connect an iPhone to a TV
 0:03:28
How To Connect A Laptop To A Monitor
 0:02:09
How to connect an Android phone to a TV
 0:01:11
Galaxy TAB A: How to Connect to Wifi Internet Network
 0:04:13
How To Fix Acrobat Failed To Connect To A DDE Server
 0:00:46
How to Connect Your Hopper to the Internet
 0:00:50
How To Connect To Wi-Fi On Windows 11
 0:00:37
Volvo - How to connect to the Internet via the car modem (P-SIM)
 0:04:54
How to connect your Smart TV to a Mobile Hotspot
 0:04:21
How to Connect to a Wired Network // Learn Windows //
 0:02:21
Sony Bravia TV: How to Connect to Wifi Network (Internet)
 0:01:32
How To Connect Alexa To Wi-Fi (2022)
 0:01:50
LG Smart TV: How to Connect/Setup to WiFi Network
 0:02:08
How to Connect your Smartphone to a Projector
 0:00:48
How to Connect to a PC | Insta360 ONE RS Tutorial
 0:03:26
How to Connect a Laptop to a TV - Tech Tips from Best Buy
 0:00:57
How to connect your TV to a Wi-Fi Network | Samsung US
 0:08:15
How To Connect Meta Quest 2 to a PC
 0:02:30
How to Connect Nintendo Switch to the TV
 0:00:20
How to connect a lavalier mic to your Galaxy Smartphone
Комментарии