filmov
tv
Level Up Your Arduino Code: External Interrupts

Показать описание
We examine external interrupts on this episode of Adventures in Science as we continue our journey learning about the inner workings of Arduino. External interrupts are anything that’s outside (but connected to) the microcontroller and can interrupt the main execution thread to perform some action. We look at the attachInterrupt() Arduino function and then break it apart to set up an interrupt by manually writing to registers.
 0:21:09
Level Up Your Arduino Code: Registers
 0:18:55
Level Up Your Arduino Code: External Interrupts
 0:17:22
Level Up Your Arduino Code: Timer Interrupts
 0:02:22
Arduino in 100 Seconds
 0:05:09
Optimize Your Arduino Code with Registers
 0:19:18
How Fast Does Your Arduino Code Run? ⏱
 0:09:27
Optimizing Arduino Code: no setup(), no loop() ⛔
 0:06:33
Arduino Coding for Beginners | How to Program an Arduino?
 0:00:56
DISCOVER AMAZING Arduino Uno Board Tricks NOW!
 0:09:37
Arduino Basic 101: Level Up Your Arduino Coding Skill | Optimize Your Arduino Code | ArduinoTutorial
 1:25:31
Arduino MASTERCLASS | Full Programming Workshop in 90 Minutes!
 0:00:19
DIY Radar With Ultrasonic Sensor And Chat-GPT Generated Arduino Code | Coders Cafe
 0:16:34
You can learn Arduino in 15 minutes.
 0:00:17
When The Quiet Kid Does Your Homework 💀 #electronics #arduino #engineering
 0:00:22
What engineering students actually do in labs 💀 #electronics #arduino #engineering
 0:15:22
Port Register Control | Increase speed of Read/Write - Arduino101
 0:09:26
Arduino To ESP32: How to Get Started!
 0:04:21
How to Install Arduino Software IDE on Computer / Laptop
 0:00:24
Coding for 1 Month Versus 1 Year #shorts #coding
 0:00:17
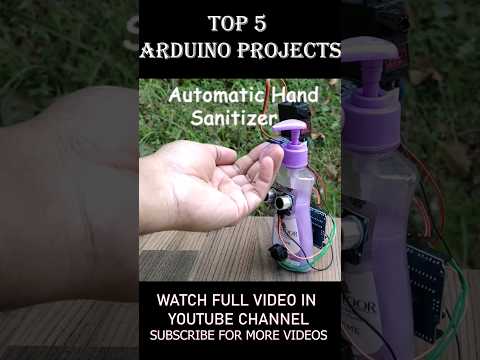
Top 5 Arduino Projects for Beginners. Full tutorial videos in Youtube Channel #arduino
 0:00:10
Beyond the Basics: Automatic Gatekeeper With IR Sensor And ChatGPT Generated Arduino Code
 0:08:14
Workbench Essentials When Starting Arduino! (Beginner Guide)
 0:00:16
Arduino project how to make a laser electronic alarm, an amazing invention DIY
 0:00:19
BATTERY level MONITOR | Arduino IoT cloud #electronics #diy #arduino
Комментарии