filmov
tv
Flattening Boards with a Router Sled

Показать описание
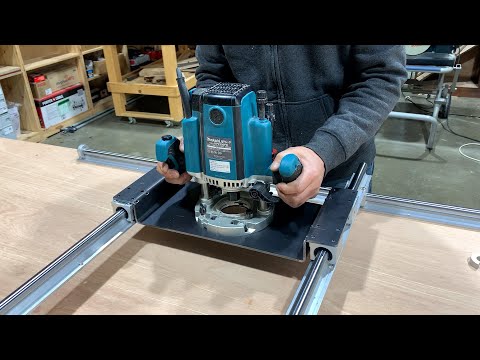
If you don't have a jointer or a planer or you need to flatten something large or difficult to flatten, building a simple sled for your router is a great solution.
 0:08:05
Flattening Boards with a Router Sled
 0:00:59
How to make a Flattening Jig
 0:08:32
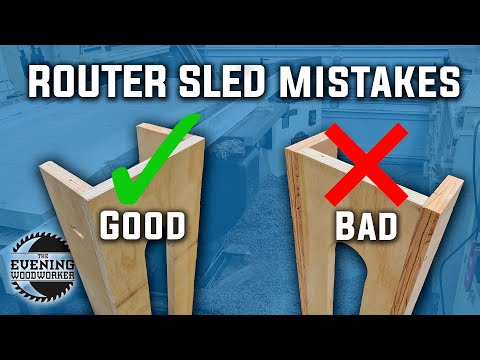
DON'T make these Router Sled Mistakes! | Evening Woodworker
 0:06:37
How to make a DIY Router sled / Flattening Jig / Router Jig
 0:05:07
Planing with a Router
 0:00:16
Using my router sled to flatten a slab. #slab #woodwork #router #liveedgewood
 0:15:56
Flattening Wood Doesn't Have to Be Expensive.
 0:10:02
Router Sled Planer For Slab Flattening Comparison Test : MUST Have Woodworking Tools
 0:00:56
Flattening End grain cutting boards with a trim router #woodworkingtools #woodshop #woodworking
 0:00:36
Trim router flattening sled for easy flattening boards  #tools #woodworking #diy
 0:00:36
Router Flattening Jig #shorts
 0:04:22
Flattening Board On the Simple Router Table / Woodworking Router Skill
 0:00:59
Flattening an endgrain cutting board safely #woodwork #tool #cuttingboard
 0:03:09
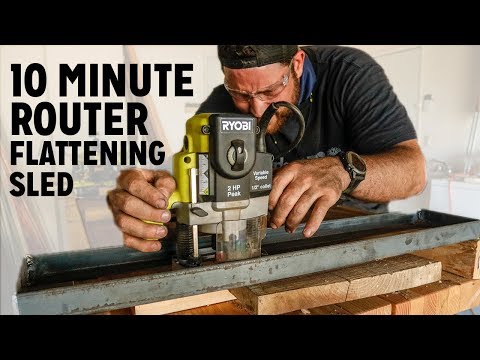
10 Minute Router Flattening Sled
 0:02:54
Squaring up board edges (edge jointing) with a router | Mere Mini
 0:04:43
Effective & EASY Slab Flattening Sled | Router Sled Flattening Jig
 0:07:22
Flattening Wood Cutting Boards Using a Router Sled
 0:04:12
Flattening my Workbench using a Router: Woodworking Project
 0:11:26
How to Flatten a Live Edge Wood Slab
 0:09:25
Simple Router Sled Jig For Flattening End Grain and Small Slabs
 0:00:14
Flattening an African Beli LIVE EDGE slab with a router sled!
 0:04:33
Router Flattening Sled / Router Slab Planing Jig, Woodworking
 0:00:57
Flat boards EVERY time! EASY!
 0:00:12
Small shop slab flattening router sled.
Комментарии