filmov
tv
BASEMENT WALL CRACK REPAIR : HOW TO FIX LEAKS A STEP BY STEP GUIDE

Показать описание
#basementwallcrackrepair #concretecrackinjection # mikeday
How to fix a leaking basement wall crack. This video shows you how to repair a crack in a foundation wall that leaks. It also shows you how to do crack injection on a cracked foundation wall.
BASEMENT WALL CRACK REPAIR COURSE:
Updated course price: $97.00
BUY THE CRACK REPAIR KIT FROM THE LINK ON THIS PAGE:
This video is about basement wall crack repair. I'm showing you my helpful step by step guide so you can learn how to repair and stop leaks in your concrete walls.
I'm also telling you how I make $300 dollars per hour doing this as part of my business, Day's Concrete Floors, Inc.
If you're looking into starting your own business, making some extra money, or just fixing a leaking crack, this video is for you.
I make $300 dollars per hour fixing basement wall cracks like the one in the video. It takes me about 1 - 1.5 hours to repair a crack like this one. I charge $500 dollars per crack. If it takes you a little longer, that's still really good money.
RadonSeal's diy foundation crack repair kit is the best one I've used. Their customer service is top notch. The kit comes with everything you need except the single tube caulking gun.
You could literally buy my course and learn how to do this, post on facebook you are now repairing leaking foundation wall cracks, and be making extra money in a week or less.
Fixing two of these cracks, for most of you with a job, would probably be more money than your weekly paycheck.
Try it and let me know if I can help you!
VISIT MY WEBSITE:
USE THE SAME TOOLS I DO:
TOPCON LASER LEVEL:
BULLFLOAT:
HAND FINISHING KNEE BOARDS:
MAG FLOAT & STEEL TROWEL SET:
2" MARGIN TROWEL:
CONCRETE PLACER OR KUMALONG:
CONCRETE FINISHING BROOM:
CONCRETE SCREED:
CONCRETE EDGER:
CONCRETE GROOVER:
MY CONCRETE SLAB COURSE:
The best tools for doing concrete work like I do:
Get my FREE video guide on how to get the perfect broom finish on a concrete patio:
Follow me on Twitter:
Follow me on Instagram:
Follow my Facebook Page:
 0:04:43
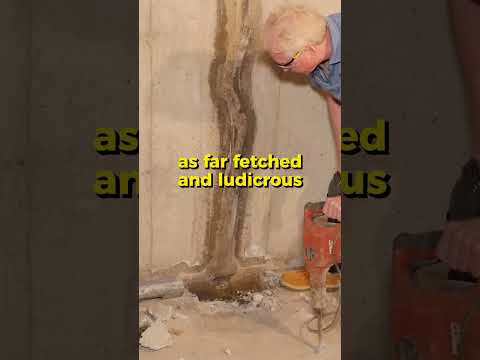
The ultimate foundation crack fix that actually works! WINNI
 0:07:53
BASEMENT WALL CRACK REPAIR : HOW TO FIX LEAKS A STEP BY STEP GUIDE
 0:14:59
Using the SikaFix Injection Repair Kit to Fix a Crack in a Basement Wall : EP 039
 0:04:18
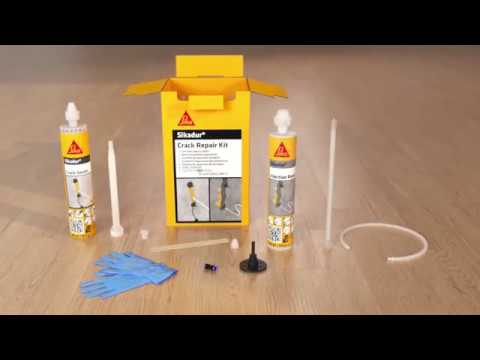
Sikadur® Crack Repair Kit for concrete and solid masonry
 0:00:52
How To Easily Fix Small Cracks In Your Foundation With The Sika Foundation Repair Kit - Mike Holmes
 0:00:59
Bad Basement Wall Crack Repair
 0:07:59
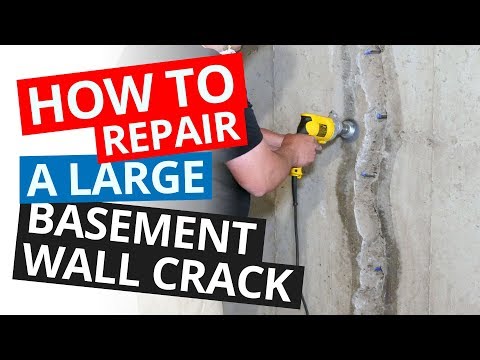
How to Repair a Large Basement Wall Crack | Stop a Leaking Wall Permanently
 0:04:51
How To Fix a Concrete Foundation Crack | This Old House
 0:00:32
Cracks in Your Basement Walls? Here’s Why You Shouldn’t Ignore Them!
 0:02:06
DRICORE PRO Concrete Repair Kits - Features and Benefits (Single-Tubes)
 0:02:29
Polyurethane Vs Epoxy for Foundation Wall Crack Injection
 0:11:45
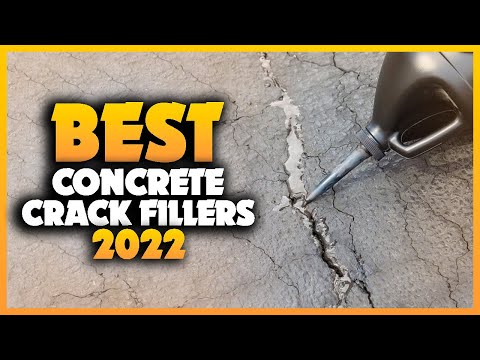
TOP 7 BEST CONCRETE CRACK FILLERS: Top Concrete Crack Fillers (2023)
 0:00:38
What is this sorcery - Magic Crack Filler on Amazon
 0:00:35
How to fix a crack in your foundation?
 0:10:07
QUIKRETE Crack Repair - Acrylic VS Advanced Polymer - Vertical & Horizontal Test - 1 Year Result...
 0:00:59
How to Fix Foundation Cracks (in less than 60 seconds!) #shorts
 0:18:29
How to Waterproof Basement Walls With Flex Seal Products
 0:04:33
Quikrete Concrete Crack Seal REVIEW AFTER 1 YEAR
 0:05:11
Fix large structural cracks in stucco.
 0:06:32
Fast-Set Polyurethane Concrete Crack Injection In a Basement Wall
 0:05:14
Top 6 Best Concrete Crack Fillers You can Buy Right Now [2023]
 0:05:58
How to fix a crack in the wall - DIY
 0:01:43
Vertical Cracks in Basement Walls | HydroHelp911 Basement Wall Vertical Crack Repair
 0:05:47
Repairing Inside Corner Cracks, over 20 inside wall cracks done quickly
Комментарии