filmov
tv
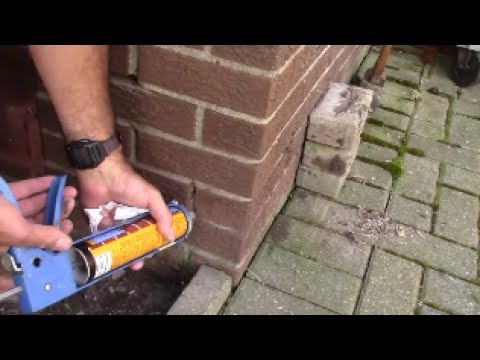
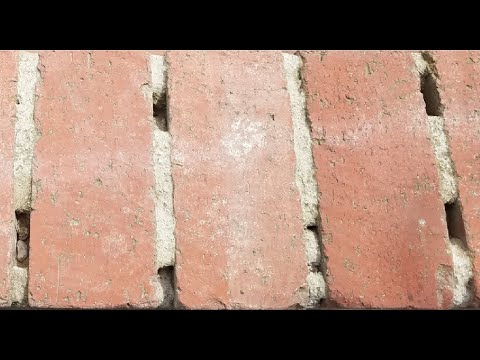
How to repoint mortar joints

Показать описание
This tutorial and guidance video demonstrates how to repair and repoint damaged or broken mortar joints in brickwork, helping to maintain a walls strength and structure, but also keeping it weatherproofed.
This video has been produced using Draper Redline tools with the aim of helping viewers develop their skills and knowledge in tackling various DIY and home improvement tasks.
The Draper Redline range offers quality guaranteed tools at affordable prices with the assurance of the Draper name.
This video has been produced using Draper Redline tools with the aim of helping viewers develop their skills and knowledge in tackling various DIY and home improvement tasks.
The Draper Redline range offers quality guaranteed tools at affordable prices with the assurance of the Draper name.
 0:03:47
How to repoint mortar joints
 0:03:49
Repointing Brick Steps | This Old House
 0:05:39
How to repoint old brickwork
 0:04:02
Brick Repointing - DIY Workshop
 0:02:24
Tuckpointing
 0:01:20
How to Tuck-Point Mortar Joints with QUIKRETE Mortar Repair
 0:04:35
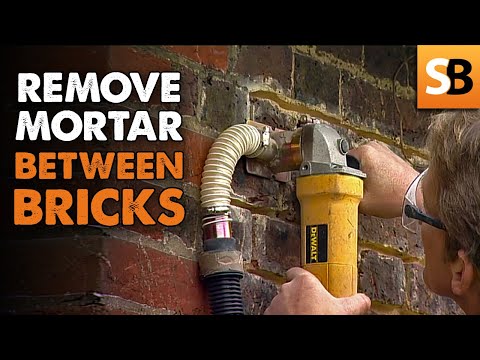
Removing Mortar Between Bricks with Morta Sortas
 0:04:10
Brick and Mortar Repair Tuck Pointing demonstration
 0:23:01
How to Re-Point a Wall made easy including Tips and Tricks with Tibby Singh!
 0:06:35
REPOINTING BRICKWORK BRICKLAYING
 0:01:35
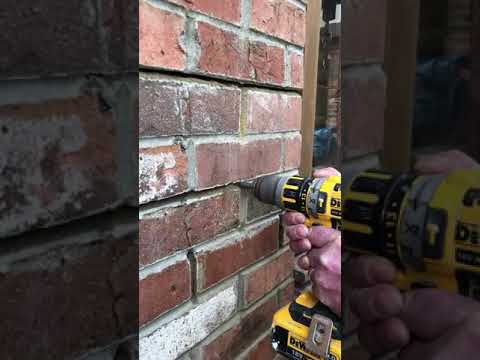
How to Rake out Mortar Joints and Remove Bricks
 0:10:49
REPOINTING BRICKWORK| THE PREP WORK.
 0:01:16
Miracle + Crosscut Repointing Tools ask for tool4 hard cement and Grout remover info@gtstools.co.uk
 0:07:41
How to Repoint Brick Using Only Hand Tools | Ask This Old House
 0:00:16
Cement block repointing with masonry s mix
 0:13:24
Repointing Old Brickwork - Best Mix & Tools
 0:00:50
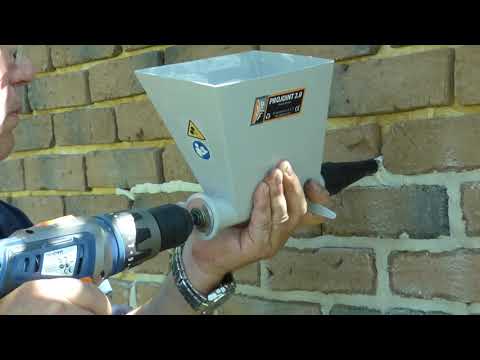
How to make brick and stone joints with the grouting machine: Projoint 2.0
 0:14:30
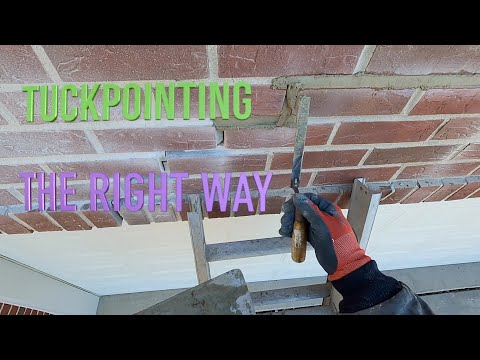
DIY Step by Step Tuck Pointing By Actual Mason
 0:07:46
Mortar Repair, 1 Hour - Easy Tuckpointing, Repointing Caulk Stops Water
 0:03:18
Brick Mortar Repair - DIY
 0:00:39
How to use the No Nonsense Easy Fix Patio Joint Mortar | Screwfix
 0:11:13
REPOINTING BRICKWORK using a hawk and trowel.
 0:08:25
How To - Flush Pointing
 0:02:01
Bostik Express Pointing Mortar
Комментарии