filmov
tv
The Ultimate Short Circuit High Side MOSFET Tutorial Guide. 10 ways to find the faulty VRM. GPU CPU

Показать описание
LER #222 In this video we will look at TEN different ways to locate a short circuit high side MOSFET on GPU and Motherboard VRM
00:00 Chapter 1 - Prelude
02:16 Chapter 2 - The Diagnosis
16:58 Chapter 3 - Finding The Shorted VRM
21:10 Chapter 4 - Understanding The VRM Circuit
33:59 Chapter 5 - What Is Shorted High Side MOSFET?
38:27 Chapter 6 - The Problem
39:25 Chapter 7 - Identifying VRM MOSFETs And Drivers
44:59 Chapter 8 - Method 1
47:18 Chapter 9 - Method 2
48:34 Chapter 10 - Method 3
49:41 Chapter 11 – Method 4
50:41 Chapter 12 – Method 5
53:26 Chapter 13 – Method 6
58:23 Chapter 14 – Method 7
59:33 Chapter 15 – Method 8
1:02:47 Chapter 16 – Method 9
1:04:03 Chapter 17 – Method 10
1:05:26 Chapter 18 – Bonus Method 11
1:11:20 Chapter 19 – Epilogue
I work in collaboration with:
The Electronics Channel (with Carlos and Detlef)
Gran Canaria Uncovered
For All Your PCB needs: free $5 discount coupon
Equipment used in my videos. These are affiliate links, you pay the normal price and I make a small commission.
TEST METERS
ANENG AN8009 MULITIMETER
KAIWEETS HT118E MULTIMETER
VC480C+ MILLIOHM METER
MESR-100 ESR METER
XC6013L CAPACITOR METER
TM-902C TEMPERATURE METER
LCR-T4 COMPONENT ANALYZER
FNB58 USB ANALYZER
PCI POST ANALYZER
TL460S PLUS PCI_E ANALYZER
TOOLTOP ET120MC2 SCOPE
FNIRSI 1014D SCOPE
NPS3010W 30V 10A PSU
T12 STATION WITH M8 9501 HANDLE
M8 9501 HANDLE
YIHUA 982 Soldering Station C210/C245
FNIRSI HS-02 PORTABLE SOLDERING C210/C245
QUICK 861DW
PROS'KIT SS-331H
INFIRAY P2 PRO IR CAMERA + MACRO LENS
TOOLTOP ET13S THERMAL CAMERA METER
ET13S MACRO LENS
OPTICAL MICROSCOPE
TOMLOV TM4K AF FLEX
TL866 II+ PROGRAMMER
CH341 PROGRAMMER
NC-559-ASM FLUX
DESOLDER BRAID (I use size 8045)
HX-T100 SOLDER (0.6MM)
ESD-11 TWEEZERS
If you would like to support this channel
You can send donations
You can subscribe to Patreon
You can click Join to become a channel member
Thank you
Richard
 1:15:09
The Ultimate Short Circuit High Side MOSFET Tutorial Guide. 10 ways to find the faulty VRM. GPU CPU
 0:00:12
Distribution Transformer Arc Discharge High Voltage Transformer #shorts #highvoltage #shortcircuit
 0:00:11
High Voltage Pendulum - Electrical Arc 28KV 1.2A #shorts #highvoltage #shortcircuit #pendulum
 0:00:14
circuit breaker tripping when short the circuit #shorts
 0:00:20
110 kV power line short circuit. Короткое замыкание ЛЭП - 110 кВ.
 0:00:43
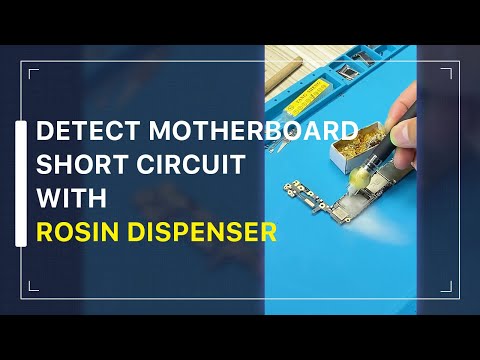
How to Quickly Detect Motherboard Short Circuit with the Rosin Dispenser #Shorts
 0:00:51
Short Circuit Protection Circuit | HOW TO MAKE A SHORT CIRCUIT PROTECTION CIRCUIT
 0:00:41
🔰Electrical short-circuit | Amazing fire 💥 Do not try at home be safe🚫⚠️
 0:06:54
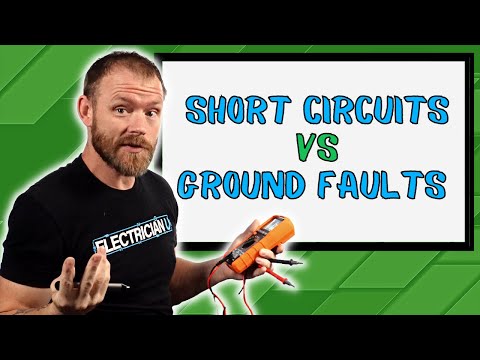
Overcurrent, Overload, Short Circuit, and Ground Fault
 0:00:56
JN Technologies Pte Ltd Stainless Steel Cable Cleat Short Circuit Testing(100KA)
 0:16:18
What is the Difference Between a Short Circuit and a Ground Fault?
 0:01:34
Electrical Short Circuit | Transformers
 0:09:20
Synchronous generator transient and sub-transient short circuit current
 0:01:20
High Quality Short killer SUNSHINE P-30A Quickly Locate Short-Circuit Fault Detection Of Mobile
 0:10:31
How to use the ECT3000 by #powerprobe to find open/short circuit on your car or truck!
 0:08:41
Extra High Voltage SF6 Circuit Breaker Technology
 0:00:56
Flip-Flop LED Chaser Circuit | Electronics Projects | LED circuits
 0:00:23
Non contact voltage tester
 0:00:05
Shorting a capacitor 60uF 230V #shorts #capacitor #shortcircuit
 0:01:25
IEC 61439 - Short-circuit withstand tests
 0:11:23
Transformer Circuit breaker and Fuse size Calculation
 0:03:56
How to find an open circuit or shorted wire the FAST easy way
 0:08:41
Diagnosing Open & Short Circuits
 0:02:04
Circuit Breaker vs Fuse (Short Circuit Tests)
Комментарии