filmov
tv
Arduino Tutorial Part 7: Millis Vs Delay in Arduino | Which is Best

Показать описание
Everything is multi-tasking now-a-days. Then, why not our Arduino?
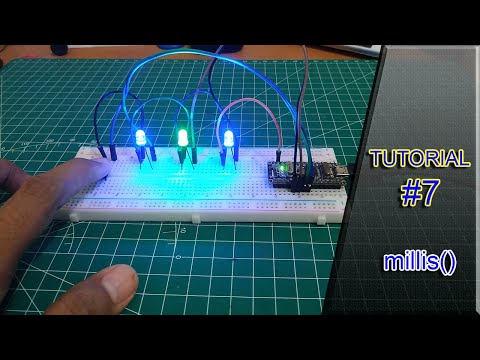
Okay, without further delay, let's go to our today's topic, that is Delay versus Millis command, of Arduino. Delay command makes the Arduino, sleep, it will wait for the defined time without doing anything. But Millis command values can be manipulated to take decisions. Let's take an example. I put clothes in washing machine and set the timer to 30 minutes. Do I wait for 30 minutes till the task is completed? Obviously, No, I can do some other works during that time. Exactly that happens with 'Millis' command. Let's see in coding, I will make L.E.D ON for 2 seconds and OFF for 2 seconds using 'delay' command, then the same will be done using 'Millis' command.
Coding is simple using 'delay', that we have already seen in previous video. You can get the link in description. I upload the code and you can see the L.E.D blinks every 2 seconds. This is the internal L.E.D connected to pin number 13, internally. Let's rewrite the code using 'Millis', you can get the link in the description. We have used L.E.D.-pin to define L.E.D connected to pin number 13 and L.E.D.-state defined to take the value 'LOW' or 'HIGH'. Previous-millis is an unsigned long data-type to hold a long integer value, that we get from 'millis' command. It is initialized to zero. We set the interval value to 2000 milli-second to get the same effect as it we used in 'delay' code. In set-up code, we only make the L.E.D-pin as 'OUTPUT'. Inside 'LOOP', we create another variable 'current-millis' to store the current value of 'millis' command, and that we compare with 'previous-millis' command. When this current value exceeds the previous value of by 'interval value', we change the state of L.E.D. If it is LOW, then make it HIGH, and vice-versa. Then we write that L.E.D state value to the output pin using 'digital-write' command.
#diy
#millis
#arduino
#ArduiniMillis
#delay
#ArduinoDelay
 0:06:10
 0:14:27
 0:14:26
 0:13:44
 0:28:41
 0:26:56
 0:23:38
 0:50:17
 0:26:21
 0:07:33
 0:00:09
 0:32:32
 0:04:20
 0:38:15
 0:00:35
 0:00:25
 0:08:47
 0:00:21
 0:07:32
 0:00:16
 0:13:46
 0:00:31
 0:00:28
 0:04:42